

You won't believe how easy it is to make this Garlic Rosemary Focaccia Bread! The dough is made by hand (no fancy equipment, no kneading!), rises overnight in the fridge, and bakes up beautifully golden and crispy. The best part is the homemade garlic and rosemary infused olive oil that gives every bite incredible flavor!
This recipe has flexible timing for your convenience, is almost entirely hands-off, and yet still turns out restaurant worthy. Like all of our homemade bread recipes, we have included detailed tips on baking, freezing, and more to ensure you have great success!
After making it many times, I can confidently suggest this focaccia bread to both beginner and seasoned bakers alike. In fact, it's a confidence builder because it truly is easy and the results are so tasty!
This recipe was lightly adapted from Alexandra's Kitchen, where I first learned the fundamentals of making overnight focaccia bread. We hope you enjoy this jazzed up version with infused oil and extra tips for success!
Skip to:
Why this recipe is great
- It's more flavorful than traditional focaccia thanks to an easy infused oil!
- It's simple to make - no kneading, no bread maker, no fancy flour.
- You can make the dough the day before so it's ready for freshly baking.
- You're gonna feel pro when it's done!
What is focaccia bread?
Focaccia (pronounced fuh-kaa-chuh) is an Italian "flatbread" (in quotes because in reality it is a fluffy ½-1 inch tall!) made with a no-knead, yeasted dough. It is unique from other breads because it is coated liberally in olive oil, dimpled across the top, and then baked in a very hot oven to create it's signature crispy surface.
Ingredients
Full ingredient quantities are in the recipe card below, but I suggest reading these tips before you start.
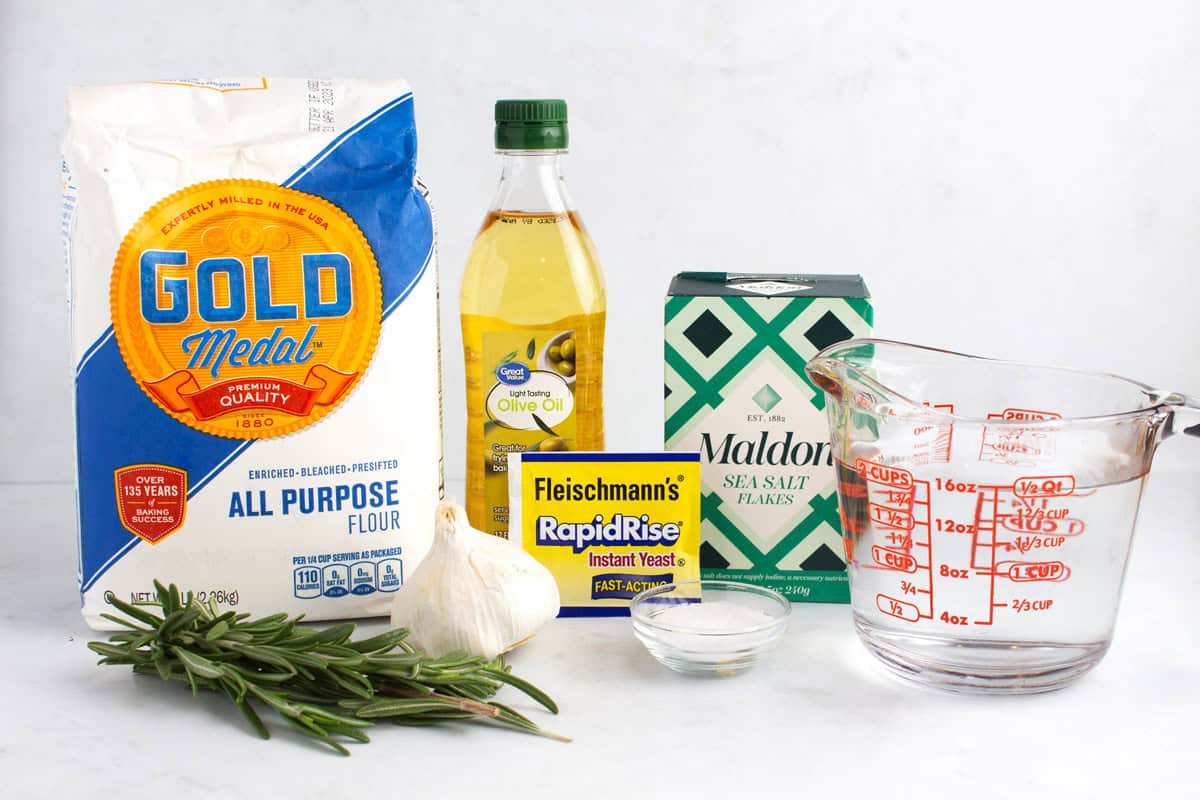
- All purpose flour: I suggest measuring this with a food scale to really get it right. If you don't have a scale, use a fork to really loosen the flour in it's container before measuring so that it isn't too densely packed.
- Salt: Kosher salt is my preference. Table salt really does not have the same flavor.
- Yeast: The KEY is using fresh instant yeast (not active yeast). If yours is getting close to expiring, I suggest buying a new packet.
- Water: You will need lightly warmed water to activate the yeast. If it's too hot, it will kill it and it it's too cold it won't activate. See further down for tips to get this right.
- Olive oil: You will be using quite a bit, so the higher the quality the better the taste will be. But at the end of the day, any olive oil will work.
- Garlic: Fresh whole garlic cloves are truly worth it here. Use your palm to partially crush the cloves under the flat side of a knife. This will allow you to remove the peel, plus it will release some of the flavorful juices.
- Fresh rosemary: Dried really doesn't compare, so fresh is highly recommended.
- Sea salt: This is optional, but really worth it! Flaky salt on top pulls all the flavors together. I really like Maldon Sea Salt for this.
Helpful tools


How to make garlic rosemary focaccia
My top tip for success is to read through the whole recipe before you start. That will prepare you for the steps and the timing.
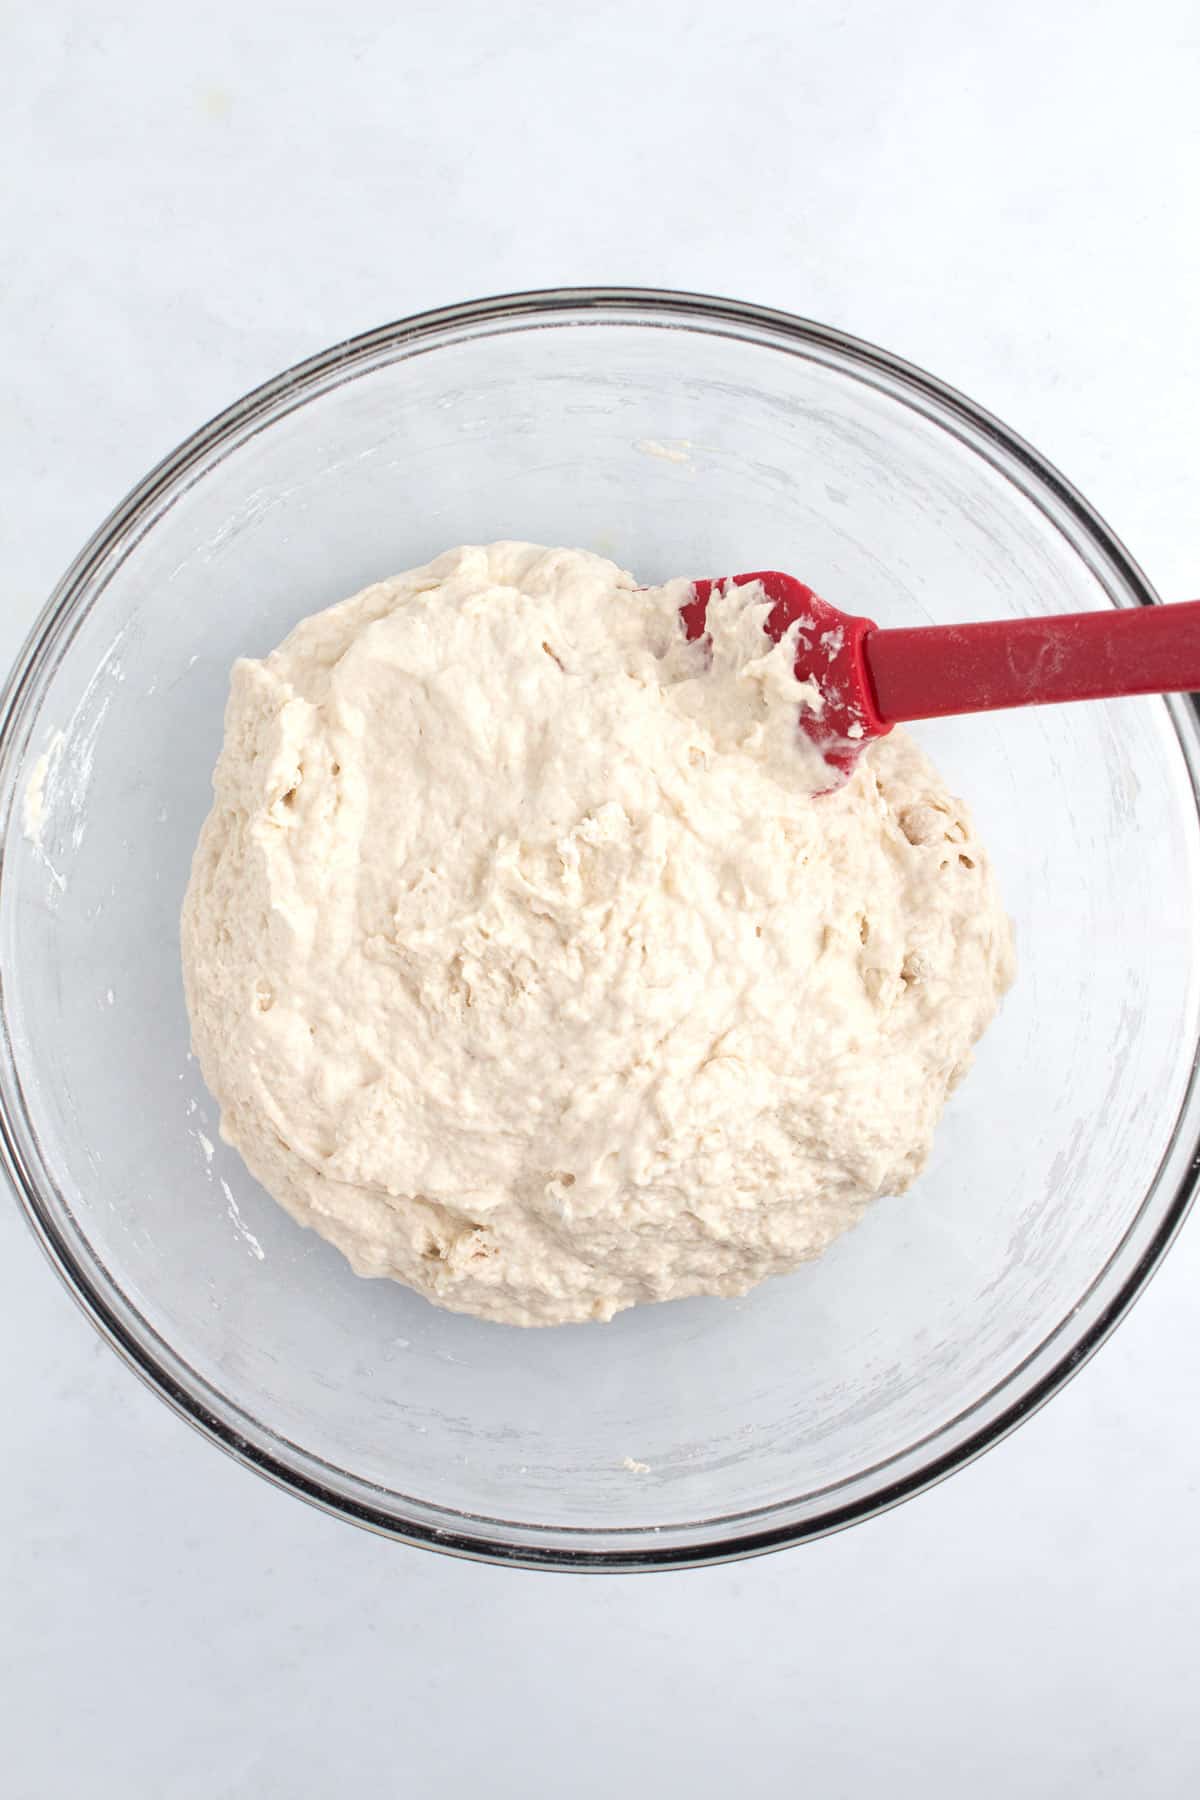
Step 1: In a large bowl, combine the the flour, salt, and instant yeast with a rubber spatula. Add lukewarm water (I microwave ½ cup of water in a glass container until it's boiling, then add 1 ½ cups of cold water for the perfect temperature).
Mix it all together until the liquid is absorbed and the ingredients form a sticky dough.
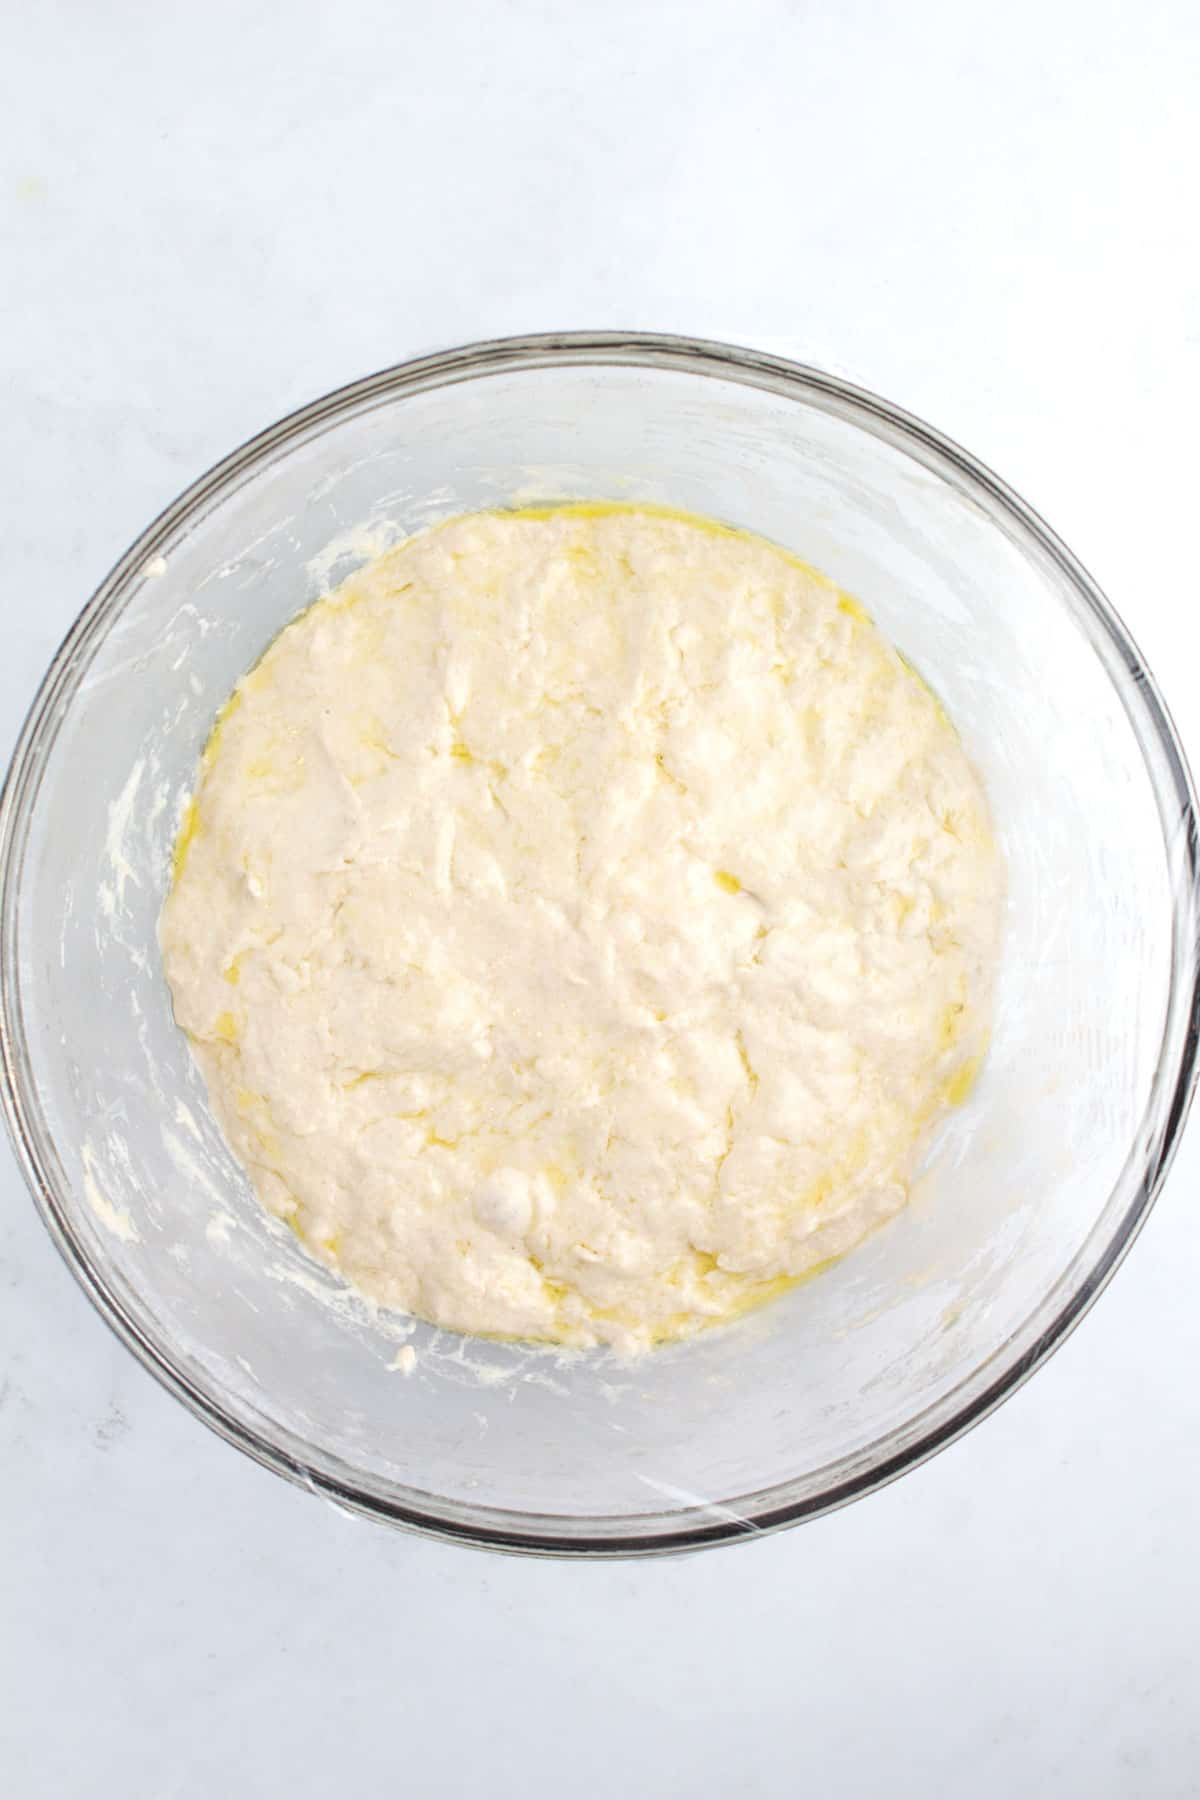
Step 2: Drizzle the top with some olive oil and use your hands to rub it all over the surface and sides of the bowl. There is no need to measure here, you simply want to use enough so that everything is thoroughly coated to prevent sticking and a dry crust forming.
Cover the bowl with plastic wrap and refrigerate for 12-18 hours (in my experience, that's the golden window).
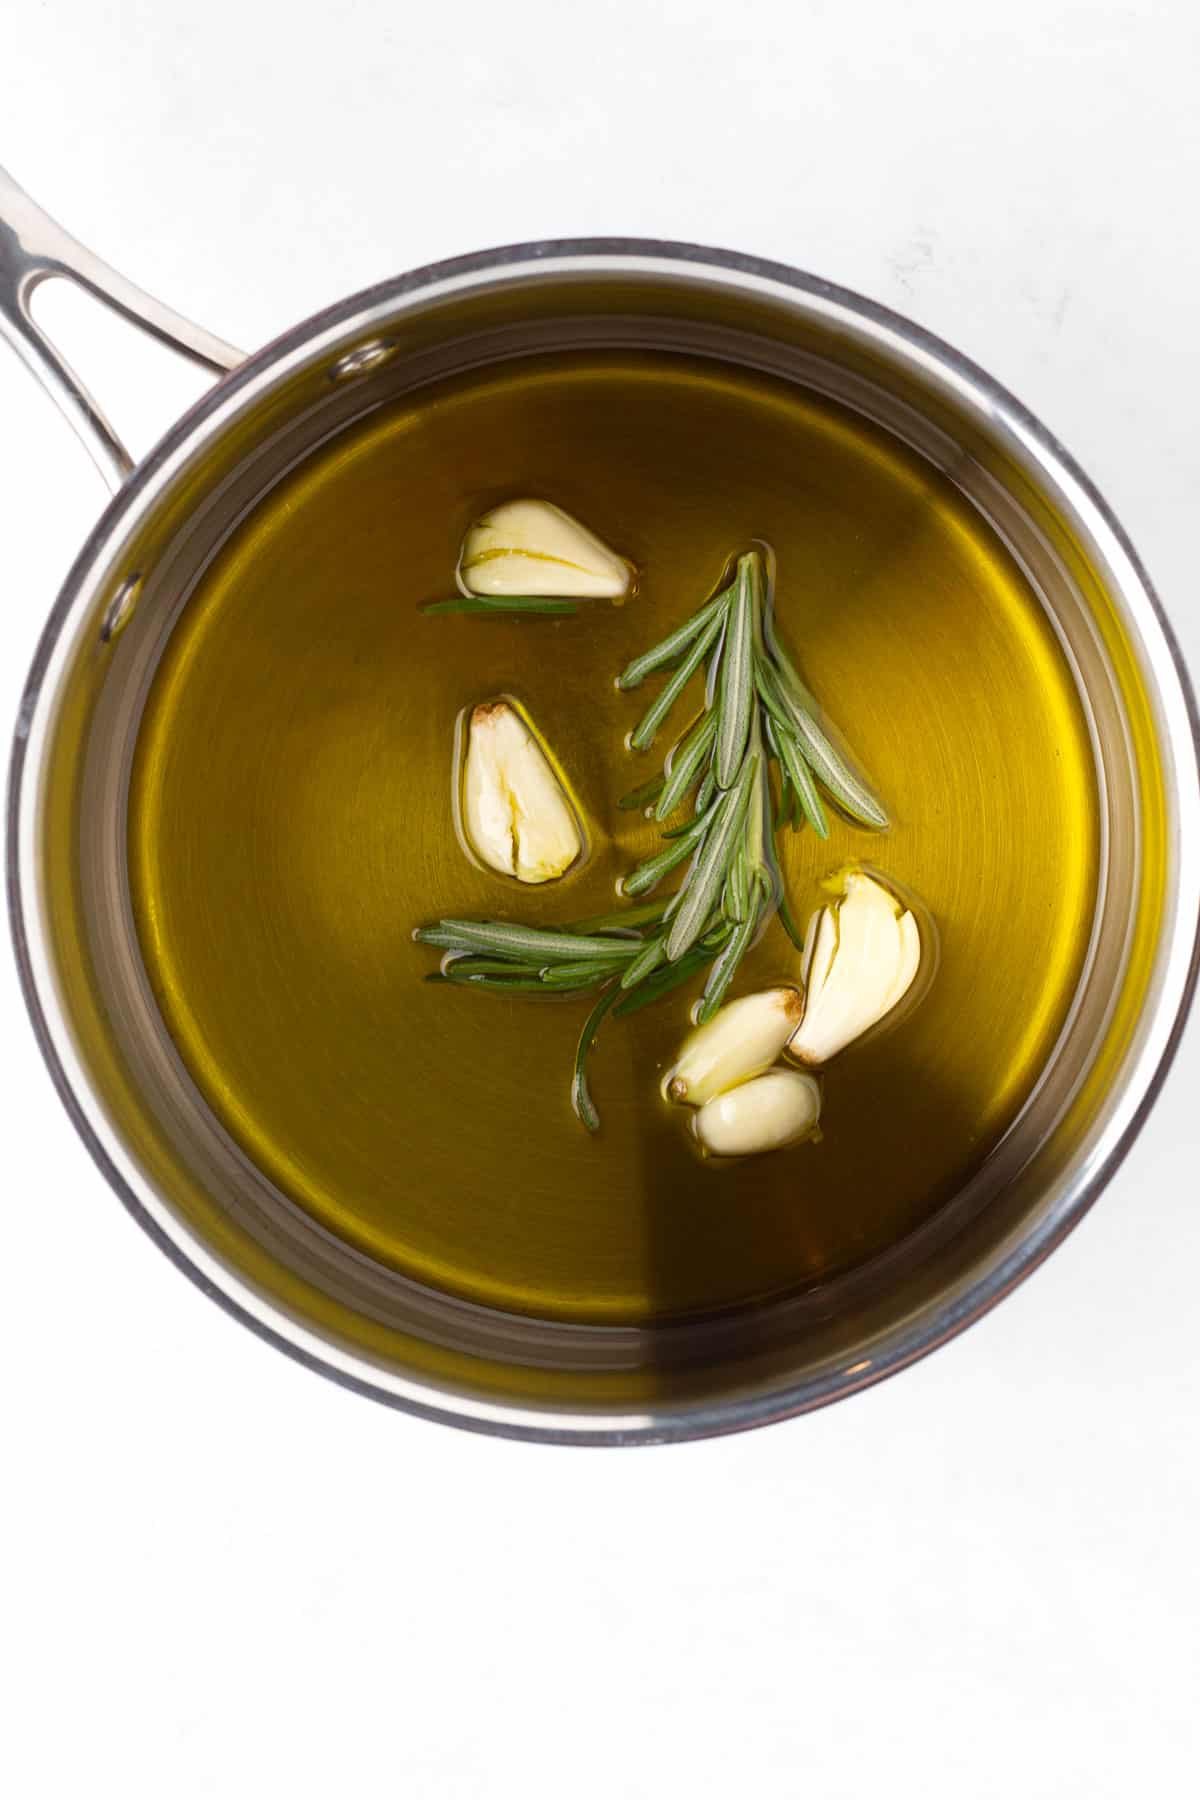
Step 3: Meanwhile, combine ½ cup olive oil, garlic cloves, a 3-4 inch sprig of fresh rosemary leaves in a small saucepan. Heat the mixture over med-low heat for 5-7 minutes, until the oil is warm but not simmering.
Remove the pan from the heat and allow the oil to steep for 5 minutes, then fish out the garlic and herbs (or pour it through a sieve). Set aside to cool.

Step 4: When you are 3.5-4.5 hours away from eating, pull out the dough. It should be puffy, risen, and may have some bubbles on the surface like the above image.
Use two forks to release the dough from the sides of the bowl, pulling it towards the center and rotating the bowl in small turns as you go, until it is a rough ball. It will have deflated some during this process, but stop once the sides are released to avoid overdoing it.
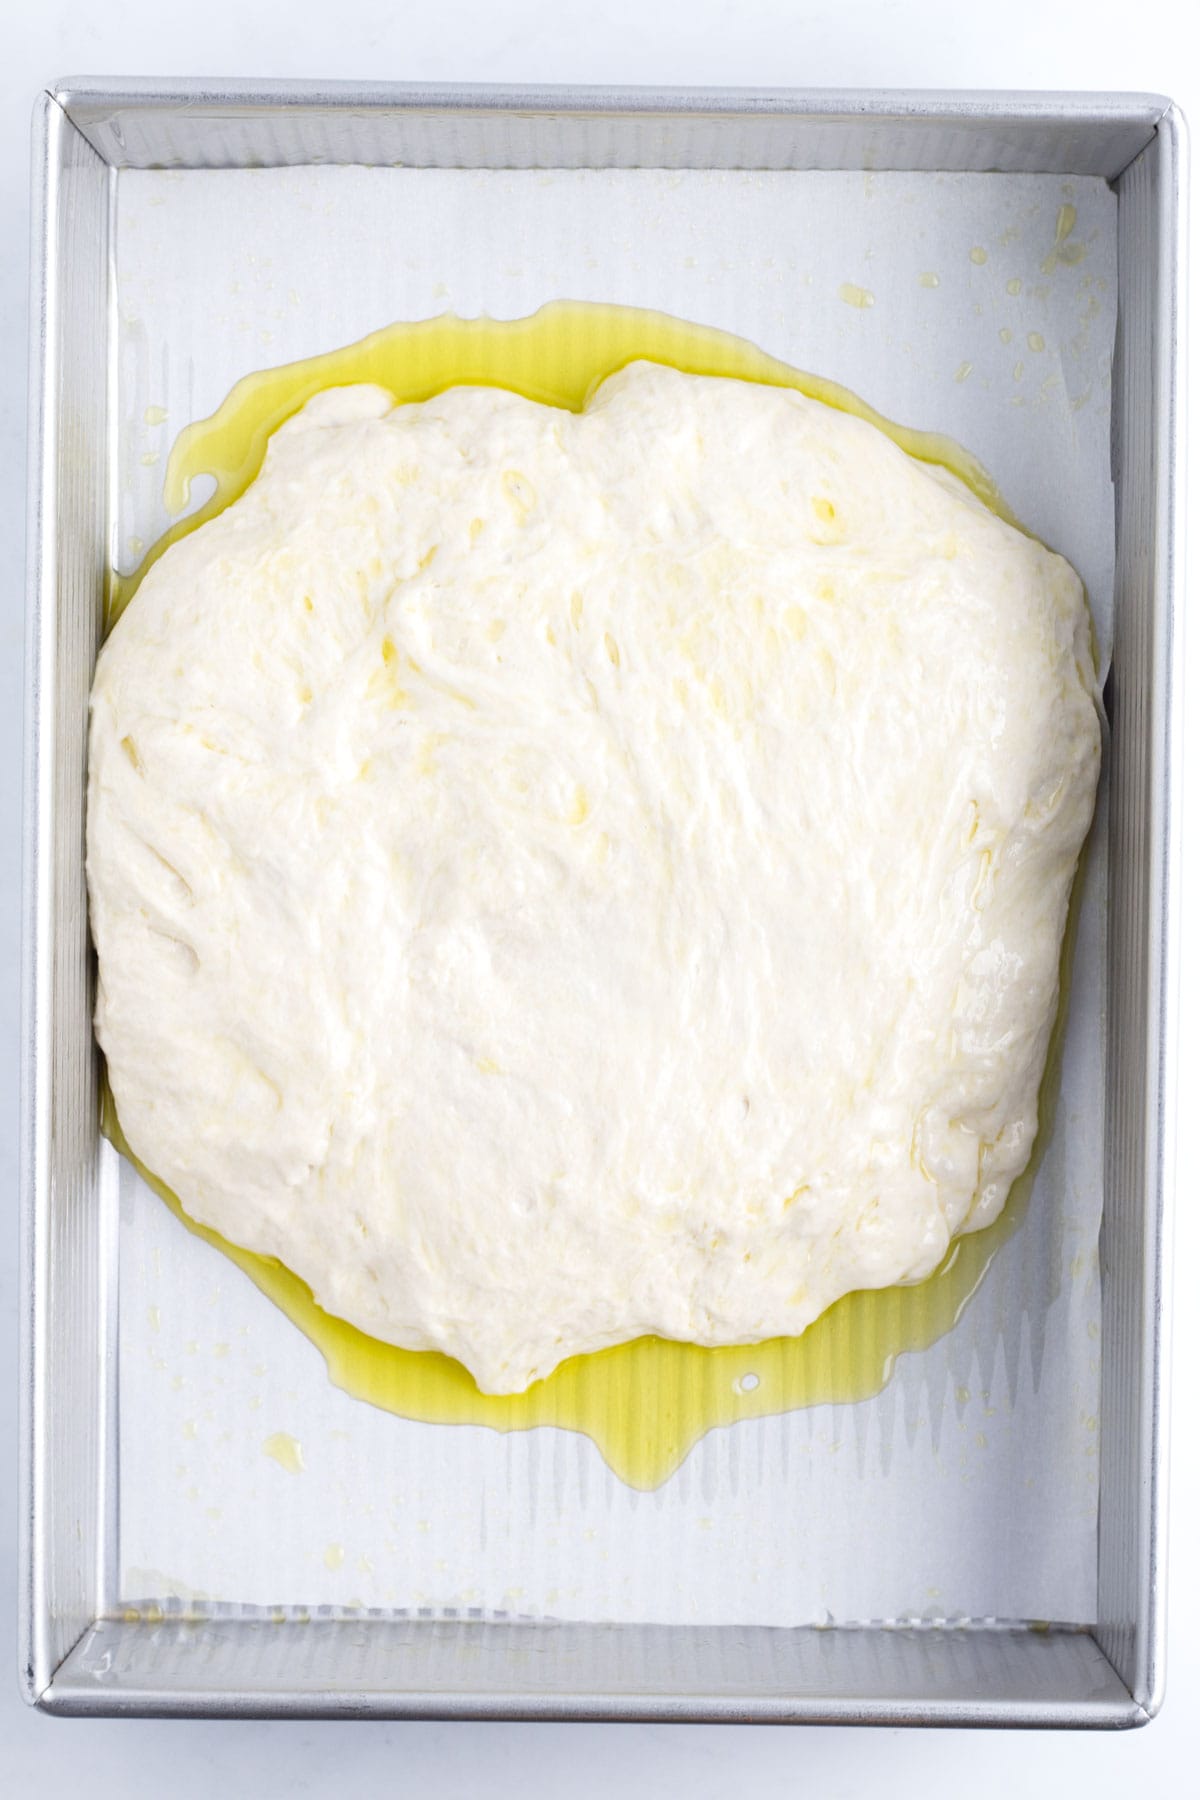
Step 5: Line a non-stick 9x13 pan with parchment paper, then grease the sides and bottom generously with more olive oil (I use a paper towel to help rub it around).
After it is greased, measure 2 tablespoons of the flavored oil into the bottom of the pan. Place the ball of dough in the center of the pan, then roll it around gently to coat it thoroughly on all sides, keeping the ball shape as much as possible. Be careful not to over-handle it or it will deflate more.
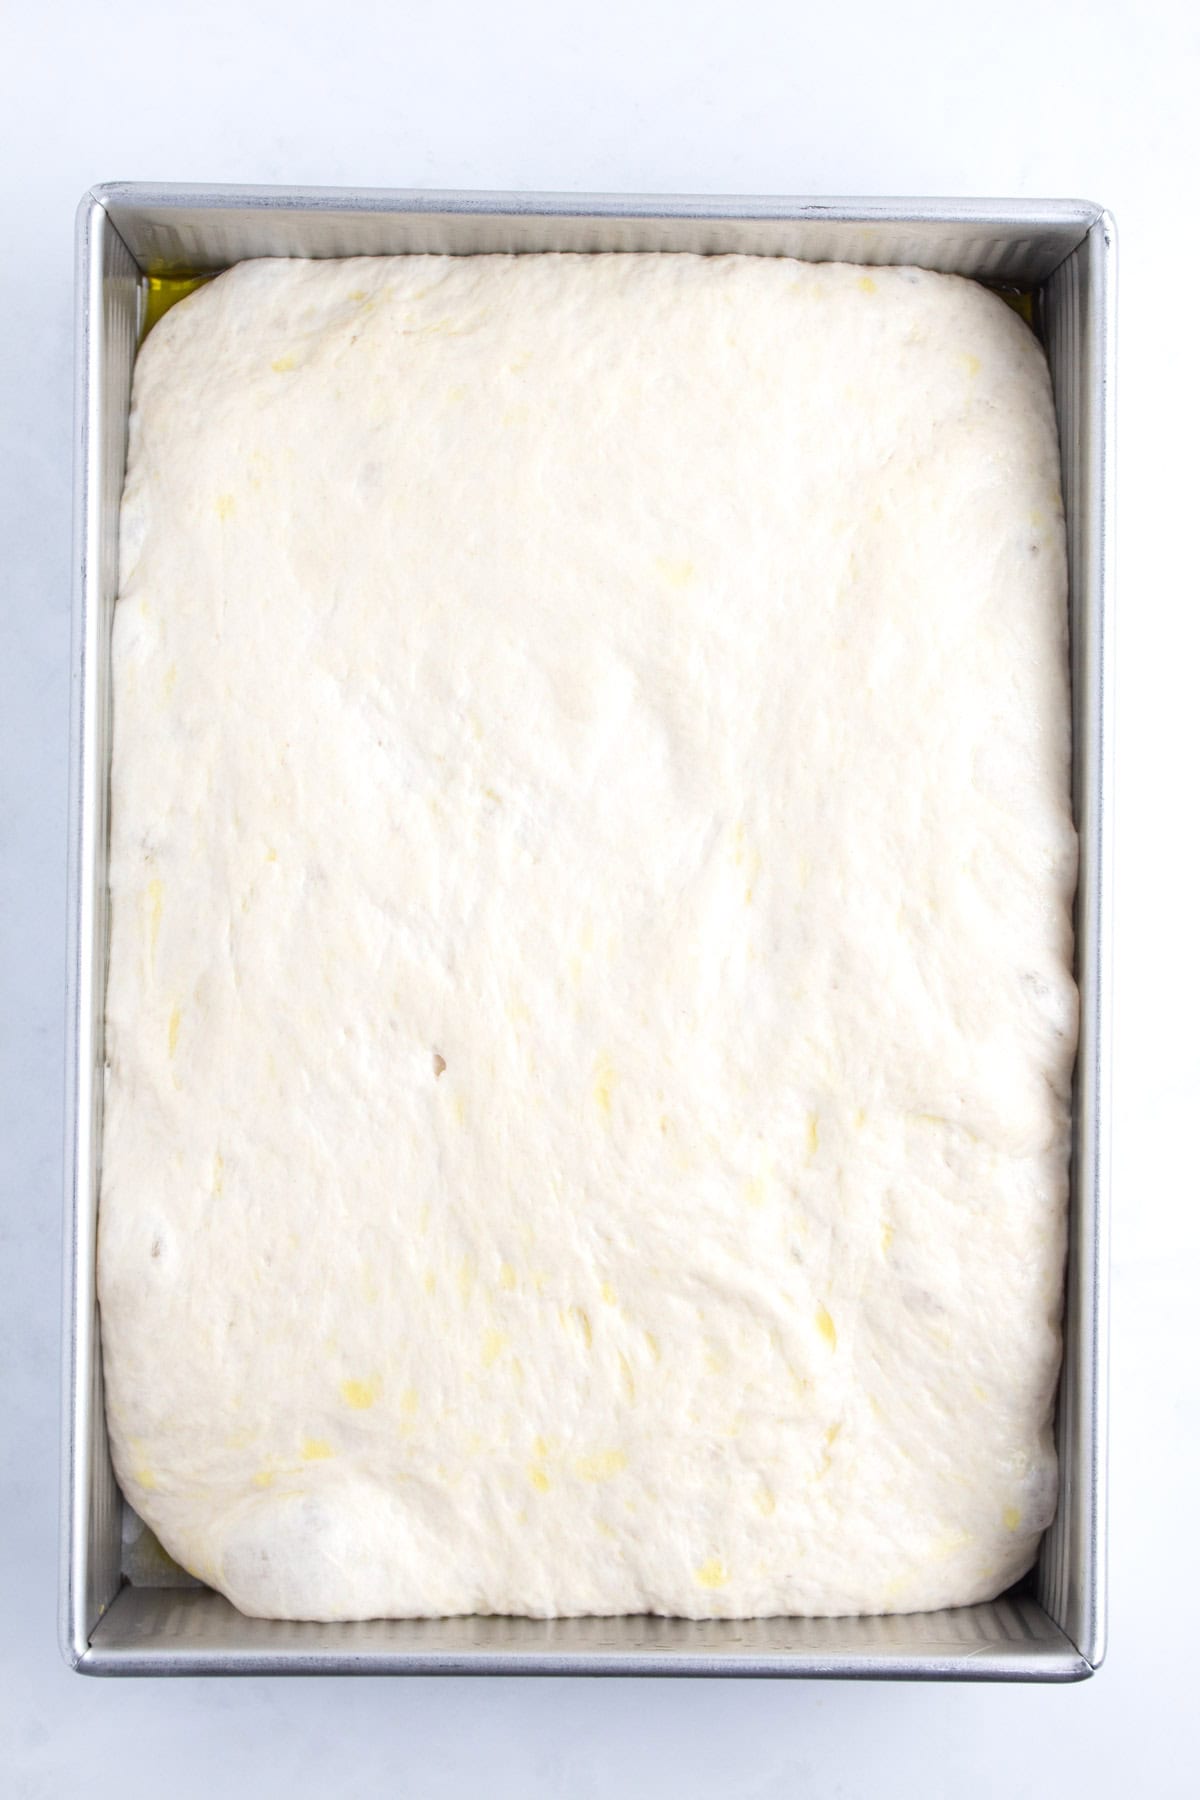
Step 6: Let the dough rise uncovered at room temperature for 3-4 hours for the final rise. It should puff up and mostly fill the pan all by itself.
After 3-4 hours, preheat the oven to 425°F. I suggest allowing it to preheat an extra 5-7 minutes after it says it has reached temperature just to make sure it is extra hot.
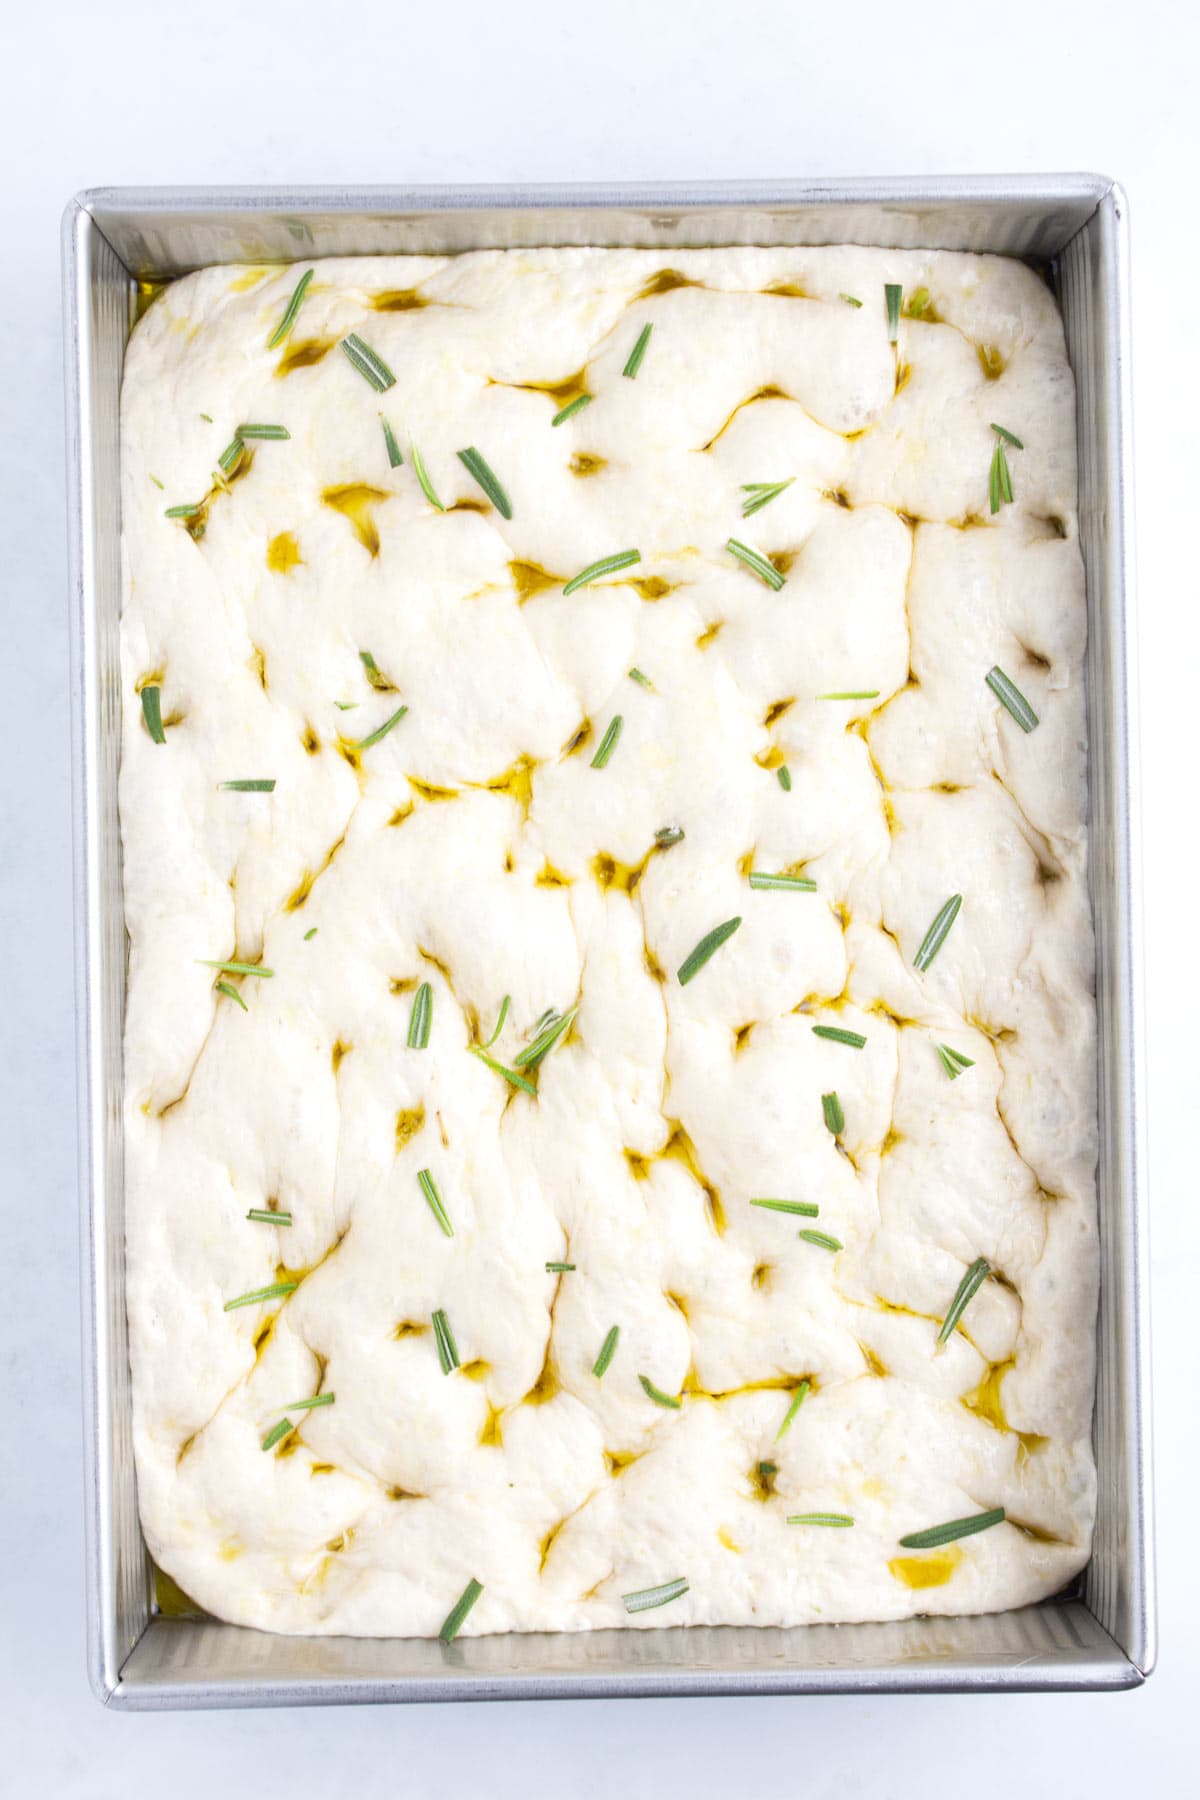
Step 7: While the oven is heating, pour 2 more tablespoons of the garlic oil on the top. Grease your hands with a bit as well, then use all of your fingers to press straight down into the dough, creating dimples and spreading it to the edges of the pan. You can use your fingers to gently stretch it to the edges if needed, but be very careful not to lift it or overly deflate the corners.
Sprinkle the top with 1 teaspoon of fresh rosemary leaves and ¼ teaspoon of flaky sea salt.
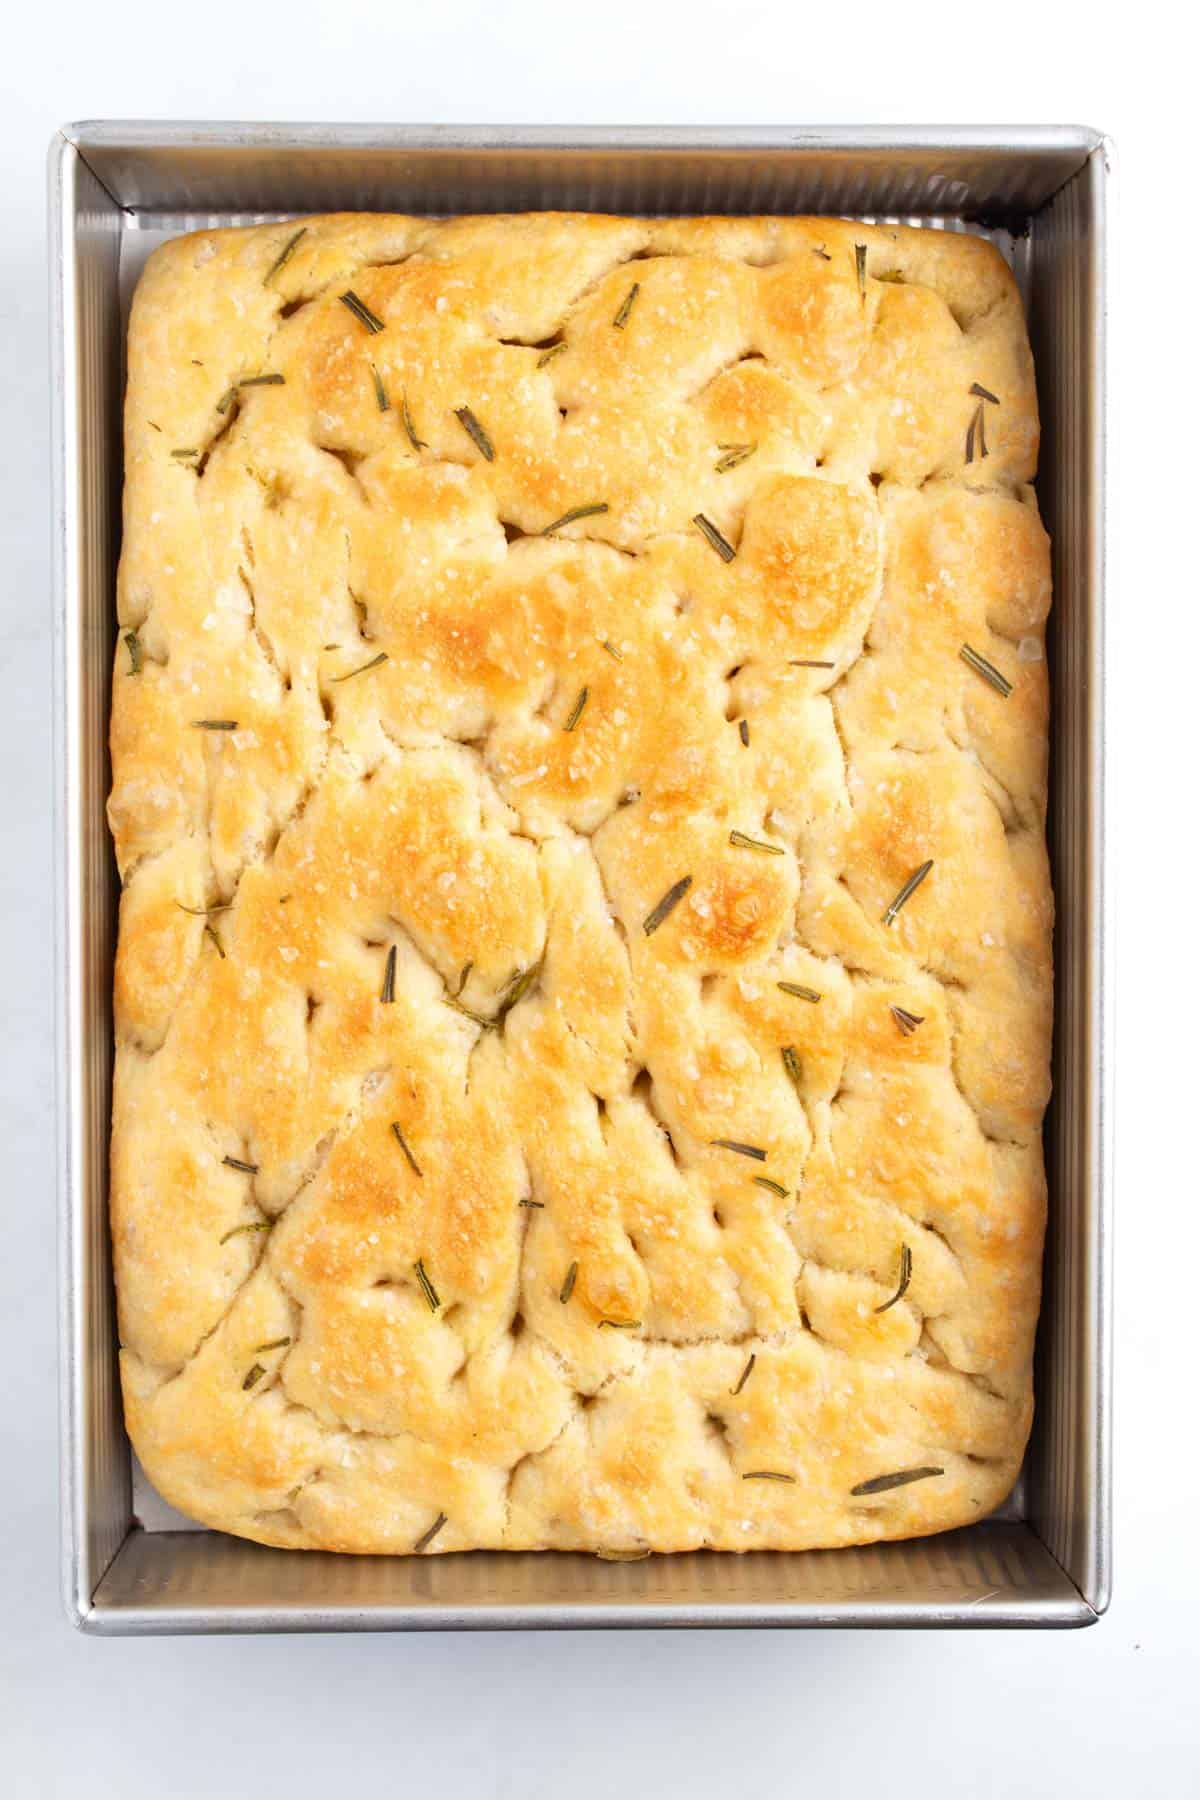
Step 8: Bake the bread on the middle rack of your oven for 25-30 minutes, until the bottom is golden brown and crispy. Remove it from the oven and place onto a cooling rack for about 10 minutes.
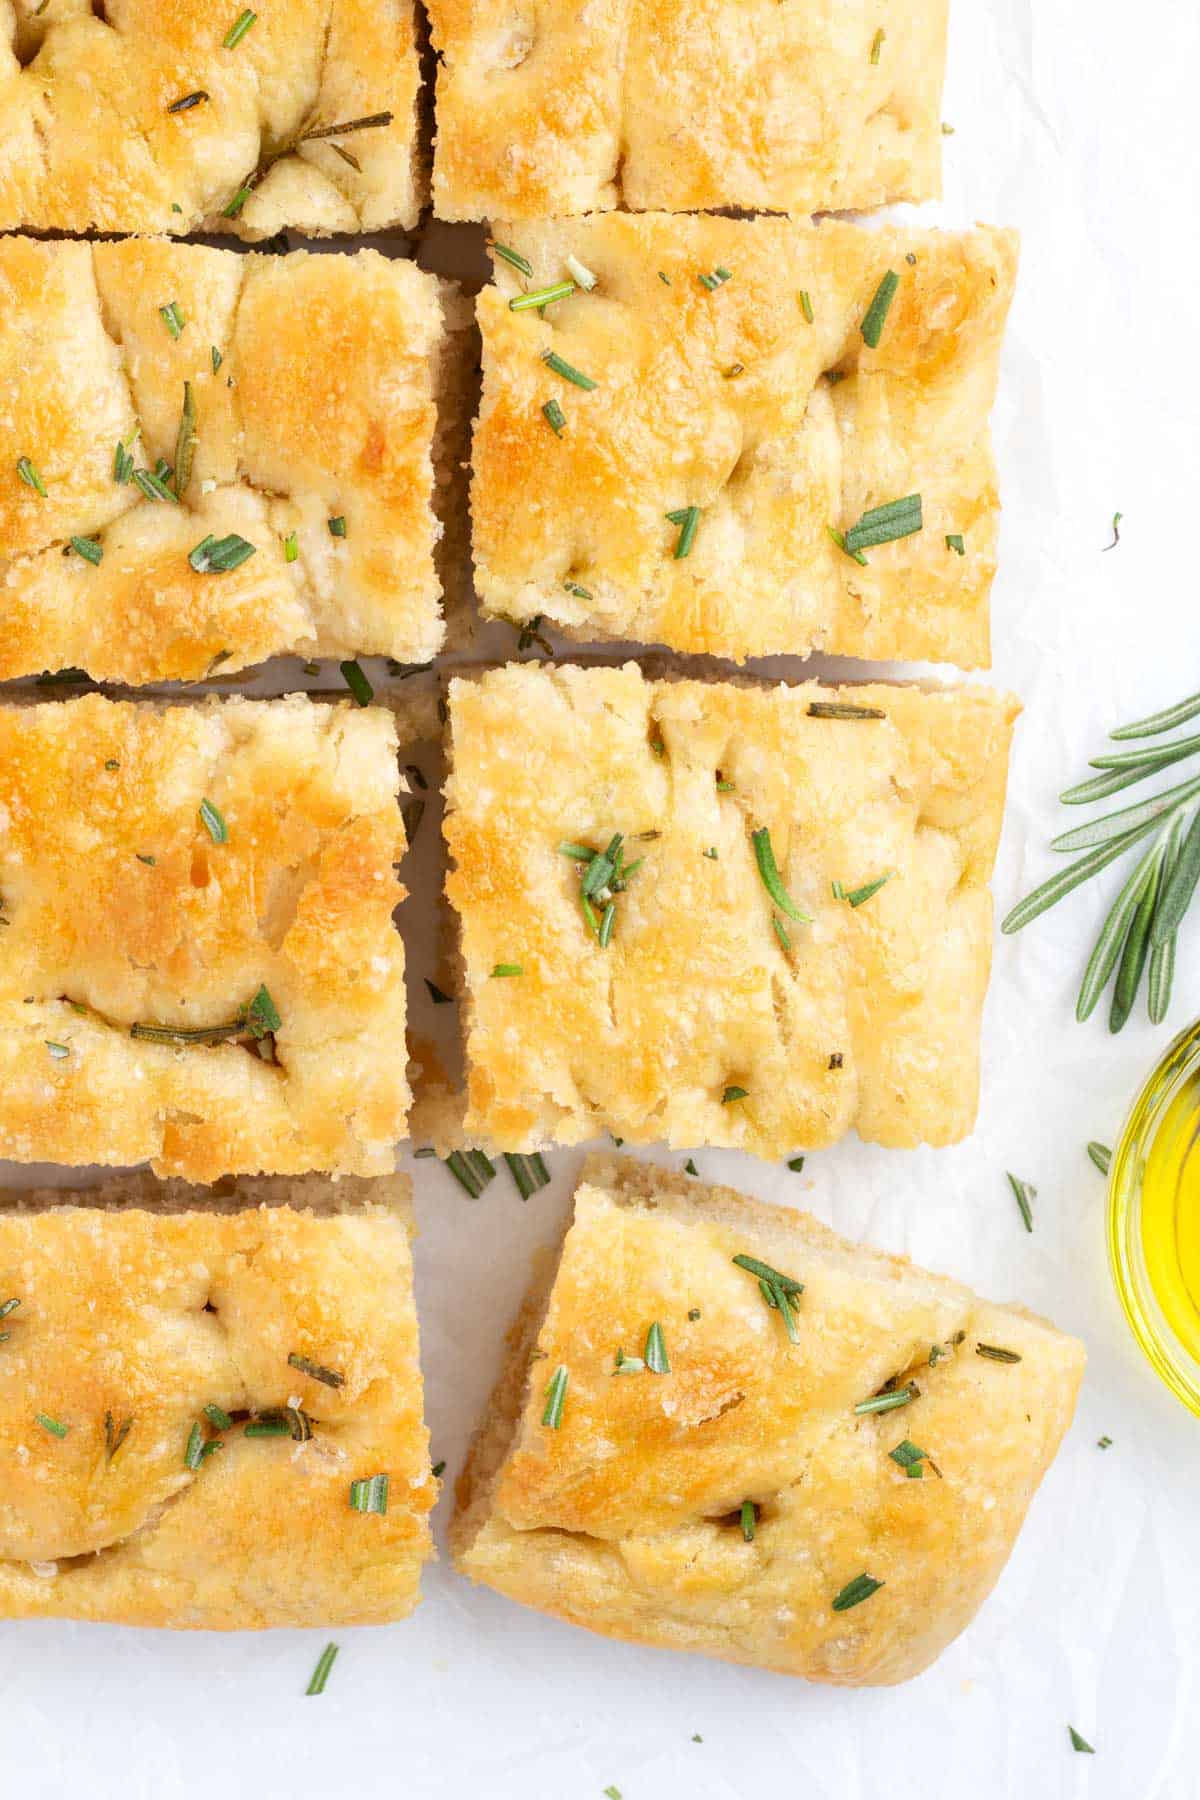
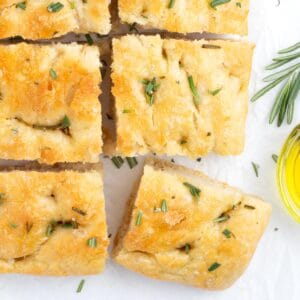
Remove the warm loaf onto a cutting board and cut into pieces with a serrated bread knife. Some people like to cut it into squares and others prefer traditional long, skinny strips. You can choose whatever look you prefer!
Serve warm and enjoy!
Pro tip: Use your leftover infused oil the next time you sear a steak, in a savory salad dressing, or on fresh bread slices before broiling.
Variations
- Instead of rosemary, try fresh thyme, sage, tarragon, or a mix of your favorites!
- Grate fresh parmesan or pecorino cheese on top right before serving.
- Add some balsamic vinegar to your leftover flavored oil for a delicious dipping sauce.
- Add toppings! Thinly sliced onions, tomatoes, sun-dried tomatoes, olives or spinach are popular options.
- Buy a different infused olive oil instead. My local mall has an excellent oil shop with lots of flavor options.
What to serve with garlic rosemary focaccia bread
Anything Italian and practically any pasta dish will be a delicious pairing! Here are some of my top combinations.

Storage and reheating instructions
Without a doubt this recipe is very best served within minutes after baking - that is when it is at it's crunchiest on the edges without being dry in the middle. But if you have leftovers, you can store individual slices tightly sealed in plastic, a zipper bag, or an airtight container at room temperature for 2-3 days.
To reheat, use your oven or a toaster oven at 350F. I like to brush the tops lightly with leftover garlic oil, then bake unwrapped until the bread is warm and a bit of the crispiness is revived. Be careful not to overheat or it will dry out.
Can you freeze focaccia bread?
I believe it is best served fresh, but you can freeze it if needed. Allow the slices to cool fully before wrapping them tightly in plastic wrap and aluminum foil. Then freeze for up to 3 months.
To reheat frozen focaccia, start by allowing it to thaw at room temperature for a few hours. Once thaw, follow the reheating instructions above.
FAQs
I have found that non-stick pans are the most reliable for avoiding sticking while still developing a crispy crust. If you use a glass pan, you are more likely to have an over-cooked bottom crust and possibly have trouble removing it from the pan.
Yes, if you allow it to sit at room temperature for too long (or if your house is very warm), the dough can rise too much. Once it bakes, it will actually collapse and result in a more dense, flat texture. To avoid this, don't remove it from the fridge until 3.5-4.5 hours before you want to serve it.
This recipe is designed to rise overnight in the fridge. If it does not have adequate time in the fridge, it will not puff enough before baking. We have not skipped the refrigerating to test it on the same-day.
The key to a crispy crust is a really hot temperature! We bake out focaccia at 425 degrees Fahrenheit.

Tips & Tricks
- For the most consistent measuring, I highly recommend weighing the flour with a digital scale. This is optional, but it will help you truly achieve the right texture.
- You can skip the infused oil and use regular olive oil instead, it just won't be as flavorful.
- You can also skip the herbs entirely, but again it won't be as flavorful.
- Triple check that your yeast is fresh to avoid the headache of proofing issues.
More recipes
Looking for other recipes like this? Try these:
Recipe
Foolproof Garlic Rosemary Focaccia Bread (Overnight!)
Equipment
- Parchment Paper
Ingredients
- 3½ cups all purpose flour (512 grams - best to measure by weight)
- 2 teaspoon kosher salt
- 2 teaspoon instant yeast
- 2 cups lukewarm water (½ cup boiling water mixed with 1.5 cups cold water)
- ½ cup olive oil + more for greasing
- 3-4 whole garlic cloves peeled and smashed
- 3-4 inch sprig fresh rosemary
- 1 teaspoon fresh rosemary leaves
- ¼ teaspoon flaky sea salt
Instructions
- In a large mixing bowl, combine the the flour, salt, and instant yeast with a rubber spatula. Add lukewarm water. Mix the dough together until the liquid is absorbed and the ingredients form a sticky dough.3½ cups all purpose flour, 2 tsp kosher salt, 2 tsp instant yeast, 2 cups lukewarm water
- Drizzle the top of the dough with some olive oil and use your hands to rub it all over the surface and sides of the bowl. There is no need to measure here, you simply want to use enough so that everything is thoroughly coated to prevent sticking and a dry crust forming. Cover the bowl with plastic wrap and refrigerate for 12-18 hours.
- Meanwhile, combine ½ cup olive oil, garlic cloves, and a 3-4 inch sprig of fresh rosemary leaves in a small saucepan. Heat the mixture over med-low heat for 5-7 minutes, until the oil is warm but not simmering. Remove the pan from the heat and allow the oil to steep for 5 minutes, then remove the garlic and herbs (or pour it through a sieve). Set aside to cool.½ cup olive oil, 3-4 whole garlic cloves, 3-4 inch sprig fresh rosemary
- When you are 3.5-4.5 hours away from eating, remove the dough from the fridge. It should be puffy, risen, and may have some bubbles on the surface. Use two forks to release the dough from the sides of the bowl, pulling it towards the center and rotating the bowl in small turns as you go, until the dough is a rough ball. It will have deflated some during this process, but stop once the sides are released to avoid overdoing it.
- Line a non-stick 9x13 pan with parchment paper, then grease the sides and bottom generously with more plain olive oil (I use a paper towel to help rub it around). After it is greased, measure 2 tablespoons of the flavored garlic oil into the bottom of the pan.
- Place the ball of dough in the center of the pan, then roll it around gently to coat it thoroughly on all sides, keeping the ball shape as much as possible. Be careful not to over-handle it or it will deflate more. Allow it to rise uncovered at room temperature for 3-4 hours for the final rise. It should puff up and mostly fill the pan all by itself.
- After 3-4 hours, preheat the oven to 425°F. While the oven is heating, pour 2 more tablespoons of the garlic oil on the top. Grease your hands with a bit as well, then use all of your fingers to press straight down into the dough, creating dimples and spreading it to the edges of the pan. You can use your fingers to gently stretch it to the edges if needed, but be very careful not to lift it or overly deflate the corners. Sprinkle the top with 1 teaspoon of fresh rosemary leaves and ¼ teaspoon of flaky sea salt.¼ tsp flaky sea salt, 1 tsp fresh rosemary leaves
- Bake the bread on the middle rack of your oven for 25-30 minutes, until the bottom is golden and crispy. Remove it from the oven and place onto a cooling rack for about 10 minutes.
- Remove the warm loaf onto a cutting board and cut into squares or long strips with a serrated bread knife. Serve warm and enjoy!
Notes
- For the most consistent measuring, I highly recommend weighing the flour with a digital scale. This is optional, but it will help you truly achieve the right texture.
- You can skip the infused oil and use regular olive oil instead, it just won't be as flavorful.
- You can also skip the herbs entirely, but again it won't be as flavorful.
- Triple check that your yeast is fresh to avoid the headache of proofing issues.
Add Your Own Notes
Nutrition
All nutrition information is provided by a third party and is an estimate only. Use your own nutritional calculator for more specific measurements.


Danielle says
This recipe is so easy and so flavorful!