Is there anything easier than serving warm, toasty Grilled Bread alongside your favorite summer meals? We grill for our family all the time (perks of living in a warm state!), so we've used this method on all kinds of breads over the years. We're sharing our take on butter vs. oil, flavor variations, and the best way to get those pretty grill lines (because c'mon, presentation is half the fun!).
This recipe is one of many in our Homemade Bread Recipes collection, filled with simple recipes for any occasion.
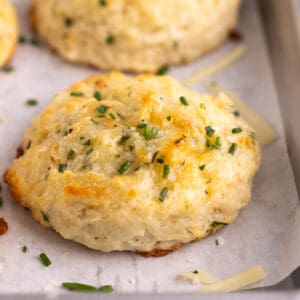
Some of our family's all-time favorite summer dinners are grilling menus! Sometimes we go the extra mile to bake up some Cheddar Chive Drop Biscuits or some Rhodes Dinner Rolls. But honestly, when we take the fast and easy route of tossing some sliced bread onto the already hot grill, it's one of the first things to disappear!
We make this the most during peak summer months, but you could even use an indoor grill pan if the weather is a bit chilly. That's the beauty of this recipe - it's versatile, easy, and just so delicious.
Skip to:
Why we use this method
Every recipe on Borrowed Bites gets made many times before being deemed worthy of sharing with our readers, and this one is no exception. The truth is, you can make grilled bread a lot of different ways and still get decent results. But if you want it to turn out truly perfect, our method delivers!
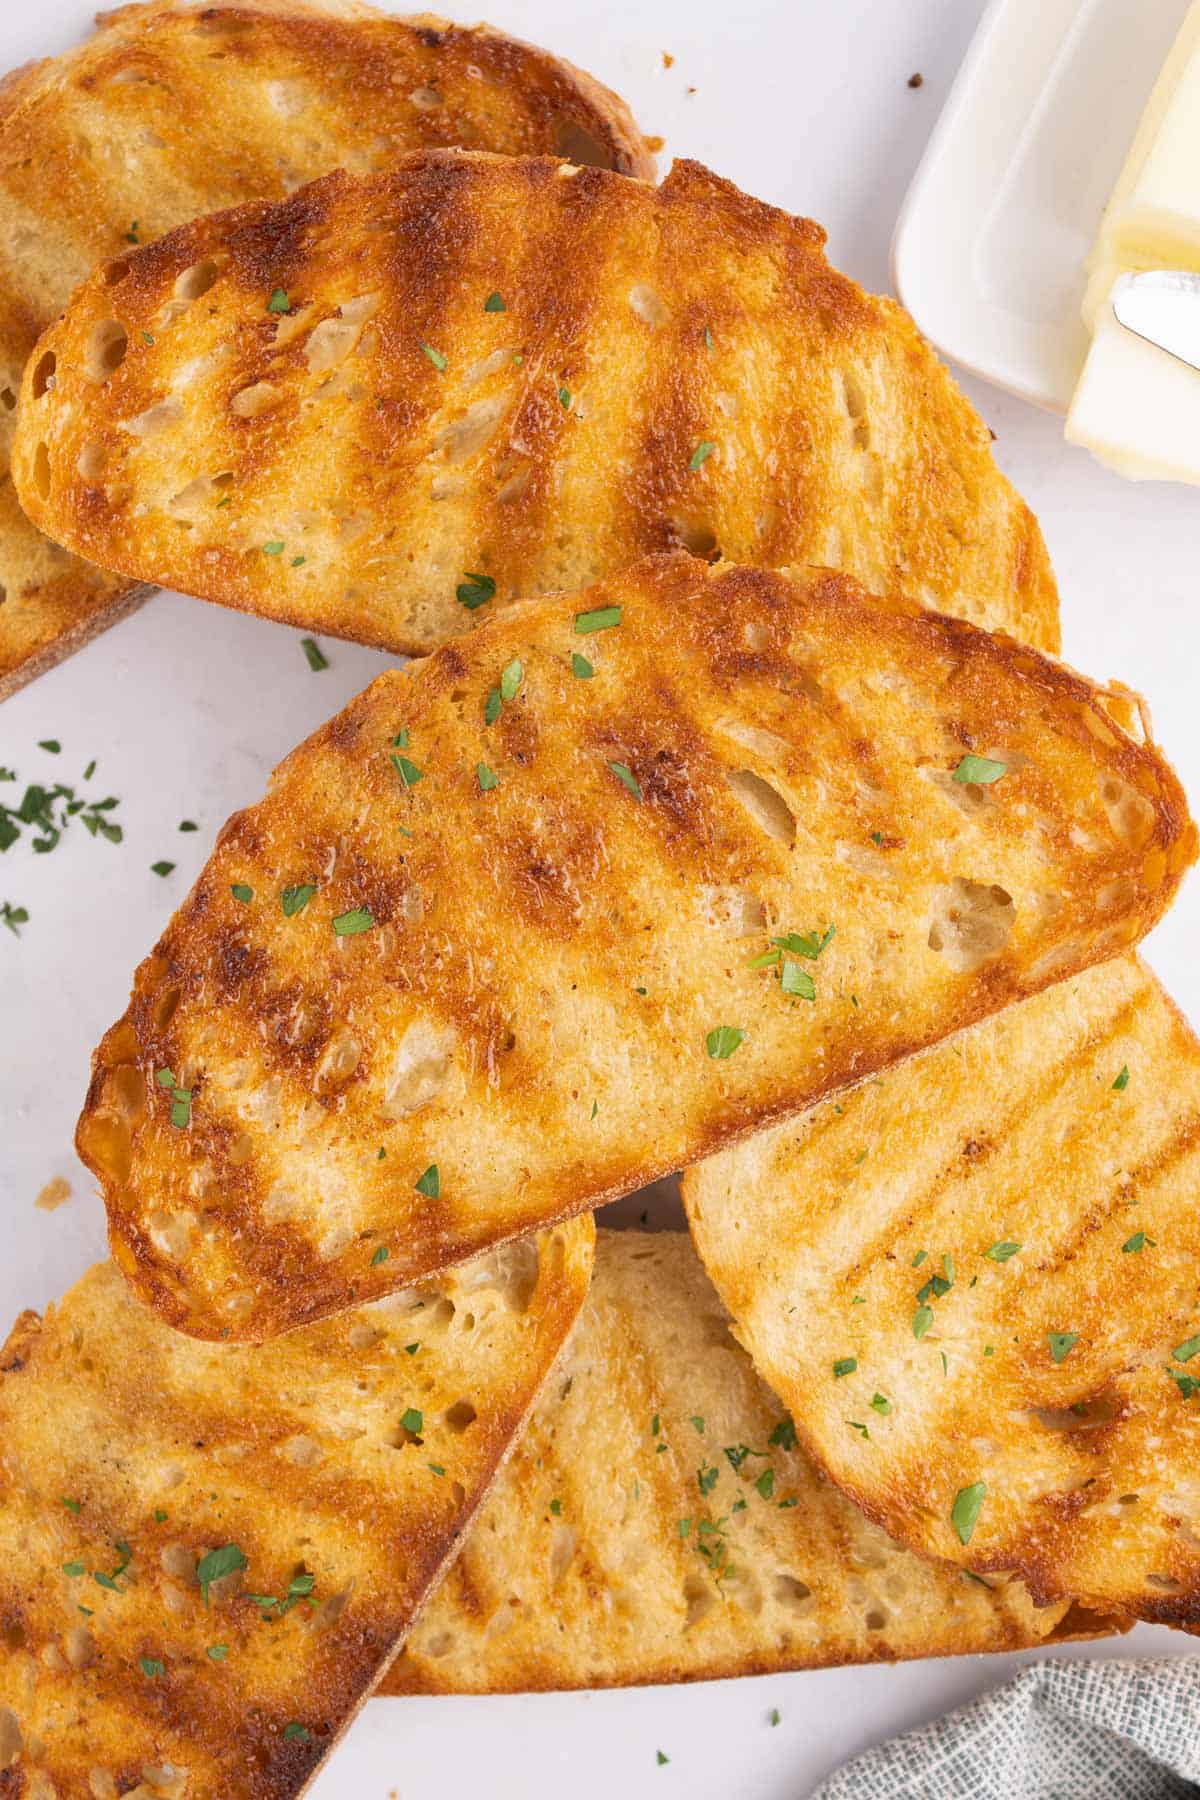
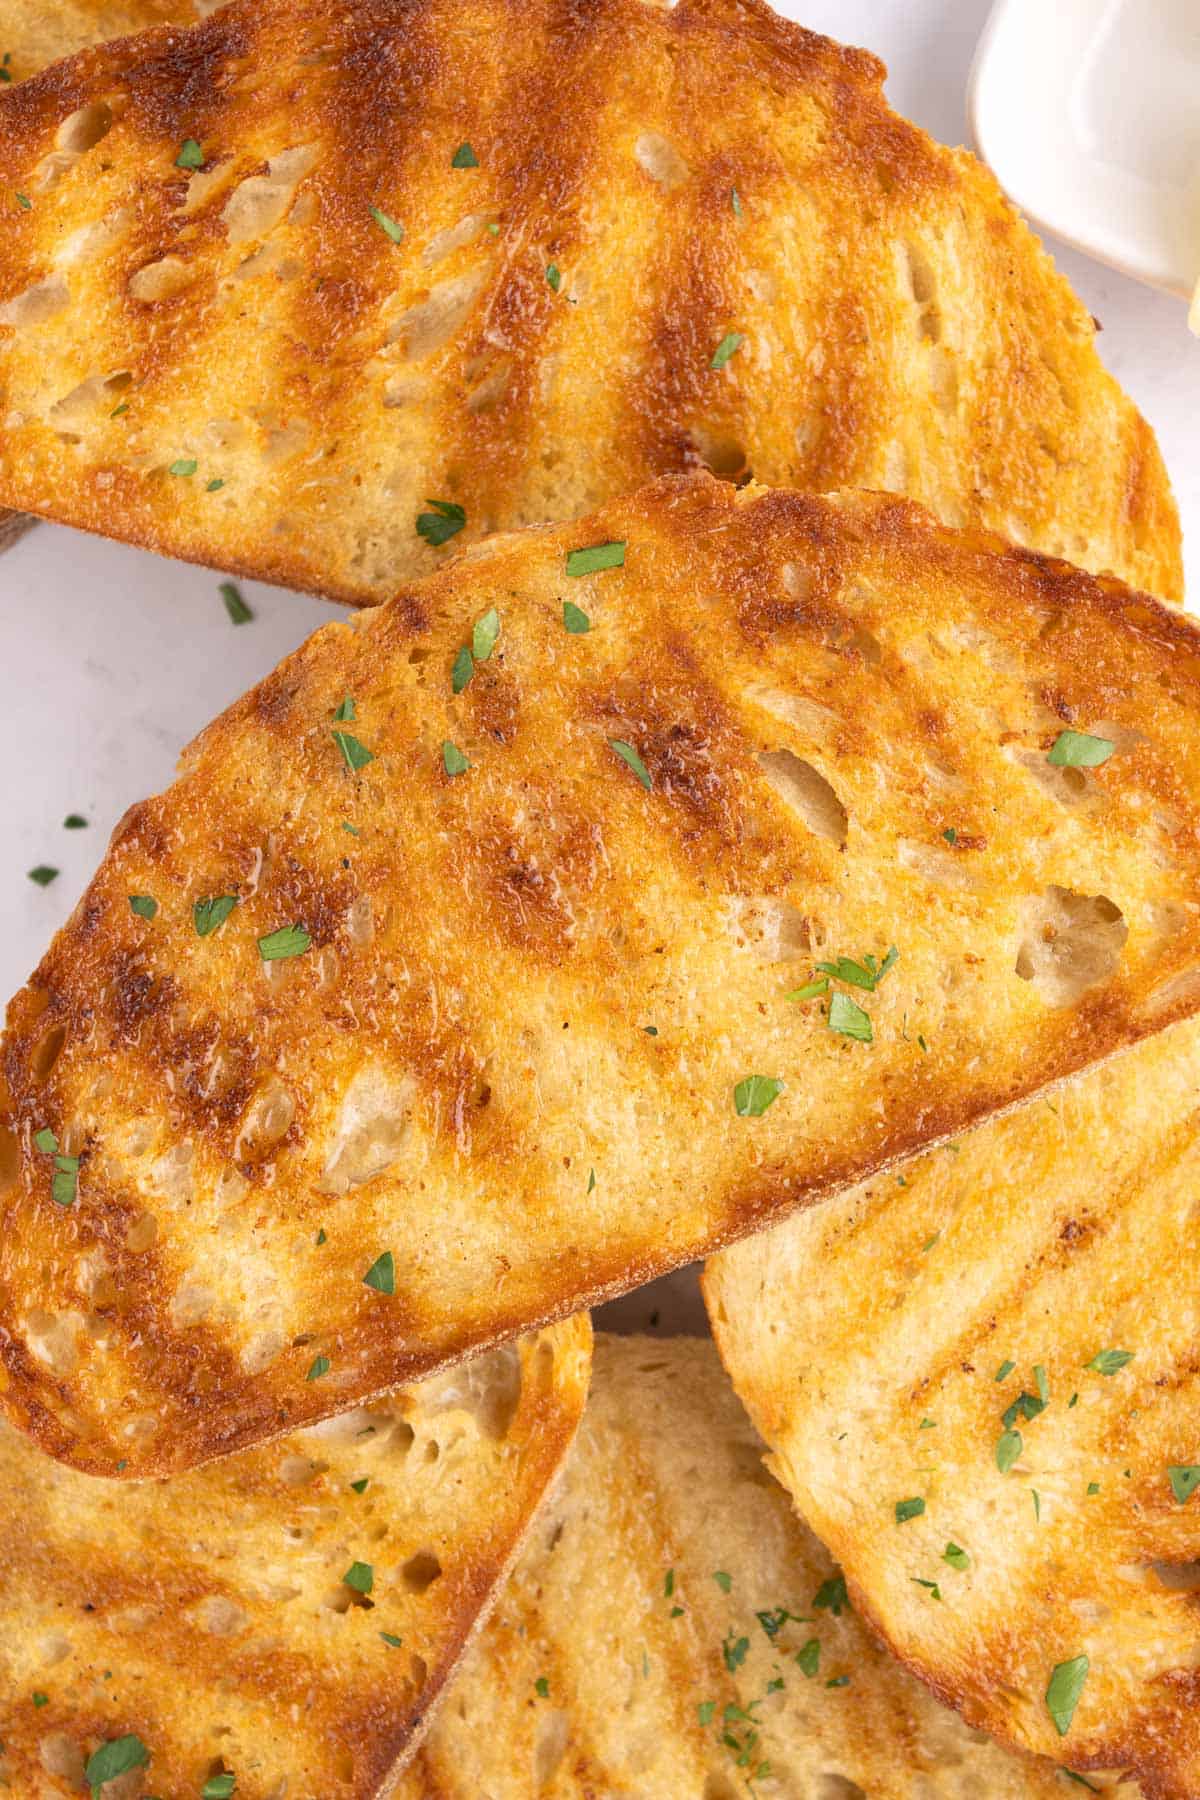
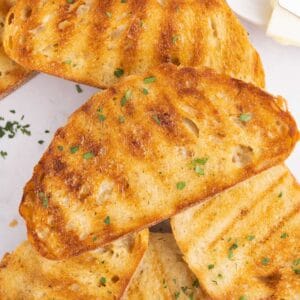
- You can go for deeply golden (like the pictures shown) or more of a delicious charred look, depending on the flavor and appearance you want (see my tips for this in the FAQ section).
- It's wonderfully flavorful with absolutely no fuss (literally just 2 ingredients).
- This works beautifully on both charcoal and gas grills. The slices pictured here were made on Danielle's charcoal grill, but I (Misty) use my gas one too!
Ingredients for grilling bread
This is a 2-ingredient recipe, so it literally doesn't get easier! Even with simple ingredients, here are a few tips that make a big difference in getting the best results.
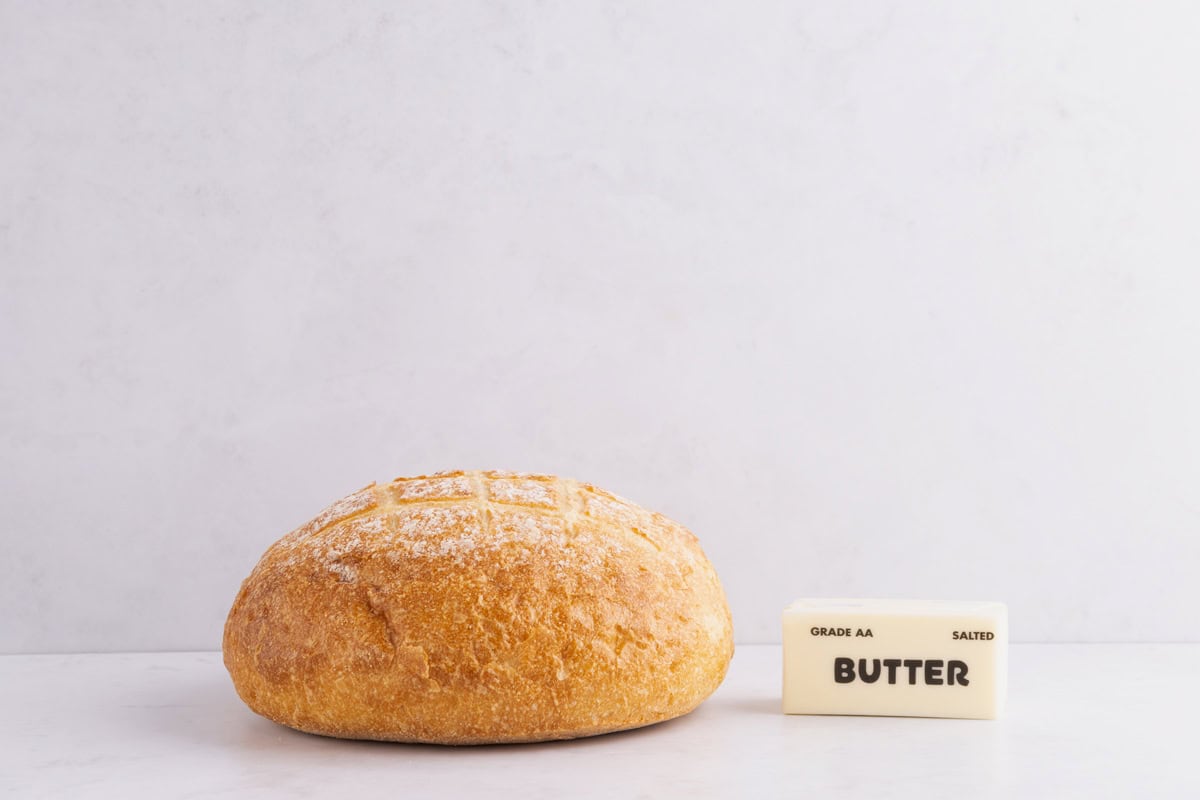
- Bread: You just need to know two words: Fresh and crusty. First, always choose a fresh loaf! If you can't buy it the day of cooking, wrap it tightly in plastic and foil, and even consider freezing it if it's going to sit for longer than 1-2 days. Second, choose a crusty bread loaf, such as a rustic Italian loaf, sourdough loaf, or ciabatta loaf. It can work with a typical French bread, but in my opinion the texture is too squishy and doesn't have the optimal chewy bite.
- Butter: When I can swing it, I use grass-fed butter because the flavor is noticeably richer. But regardless of the brand you use, stick with real butter (not "I Can't Believe It's Not Butter" or anything similar). And definitely use salted butter, you can absolutely taste the difference!
Helpful kitchen tools


How to make grilled bread
Start by heating your grill to medium-high heat, which will be around 400-425 degrees Fahrenheit. After it's hot, use a brush to ensure the grates are clean. If there is a lot of buildup on them, it tends to stick and distract from the pretty lines you're looking for.
While it's heating, use a serrated knife to slice the bread into thick slices, about ½ - ¾ inch thick.
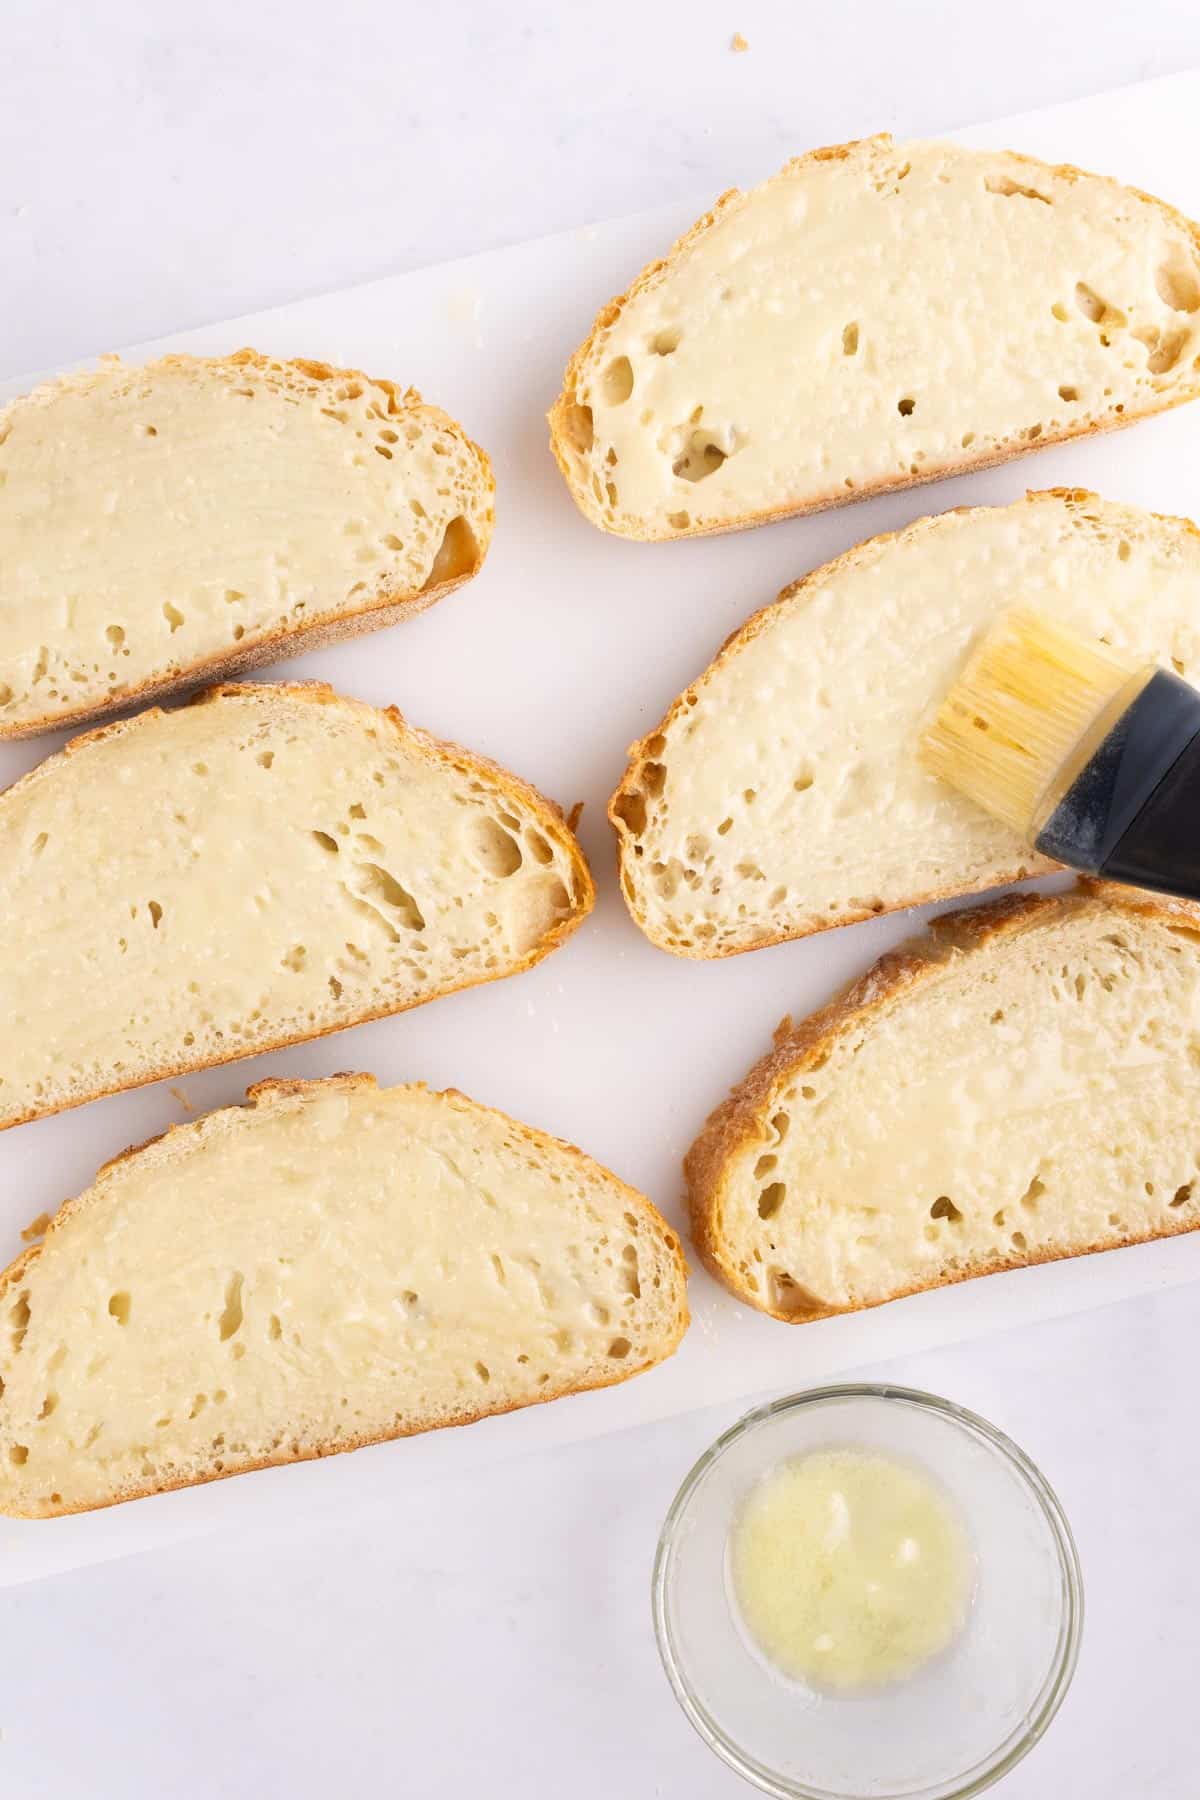
Use a silicone brush to lightly brush one side of each slice with melted butter. Flip the slices over and brush the second side generously with the remaining butter, about one tablespoon per slice.
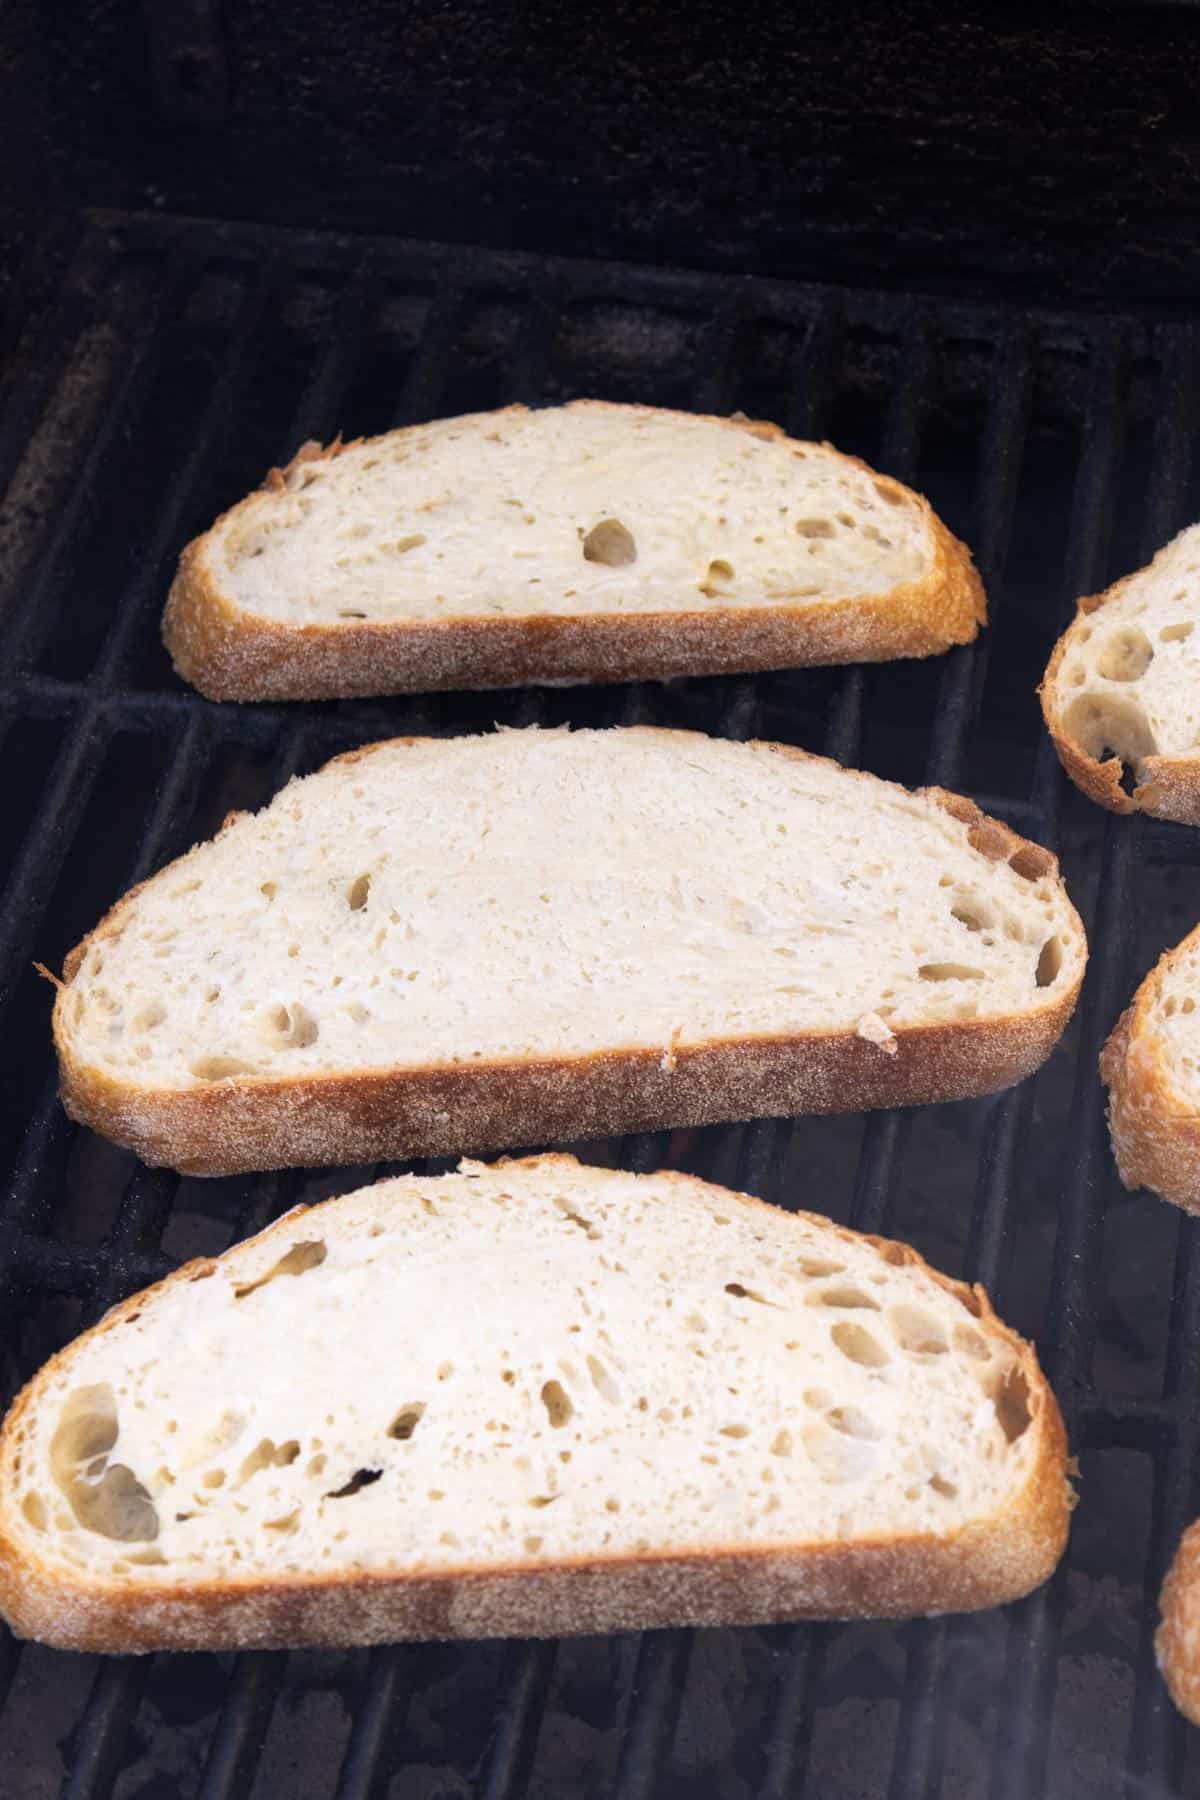
Place the bread on the grill with the heavily buttered side down, positioning them on a slight slant across the grates for the prettiest lines. Cook over direct heat for 1-3 minutes with the lid open, being sure to leave the slices untouched so that clean grill marks can develop.
Continue cooking until you reach the desired golden brown color and the edges are crispy. You may have some flare-ups, so just watch carefully to avoid burning. Flip the slices and cook the second side for 30-60 seconds, until lightly toasted. Serve warm and toasty!
Variations
- For fresh garlic flavor, rub a peeled, raw garlic clove vigorously across the top after cooking. It will catch all the snags on the crispy surface, leaving a really nice flavor.
- For a classic garlic bread taste, add one teaspoon of minced garlic and ½ teaspoon of dried parsley to the melted butter before brushing it on the slices.
- Add fresh diced herbs to the butter for a summery flavor, such as rosemary, sage, thyme, or parsley.
- Sprinkle finely grated parmesan cheese on top right after cooking for a slightly Italian flare.
- Make the recipe exactly as written, but just on a whole loaf that's been sliced in half horizontally. Then cut it into individual slices after cooking.
Dinner ideas to serve with this
Why you should use butter vs oil
I mentioned earlier that there are plenty of ways to make this recipe decently, and olive oil is one of them. I've made it that way many times and it's not bad. But it also isn't the BEST. Butter is far more flavorful and also turns into a much prettier golden brown, in my experience.
You can use either melted or softened butter, but I usually go with melted because it doesn't require remembering to pull out butter ahead of time.
FAQs
The final look depends on two factors: the temperature of the grill and how long you cook it. A really hot grill will cook faster and tends to yield more black, charred bits. If it's on the slightly cooler side, it will cook a little slower and yield more golden brown. For a gas grill, simply adjust the burners to your liking. For a charcoal one, if able, move the charcoal tray closer for more char or farther away for more golden.
This is absolutely best served hot and fresh! I don't recommend making it ahead. However, if you have leftovers you can seal them in an airtight bag or container at room temperature for 1-2 days.
Tips & tricks
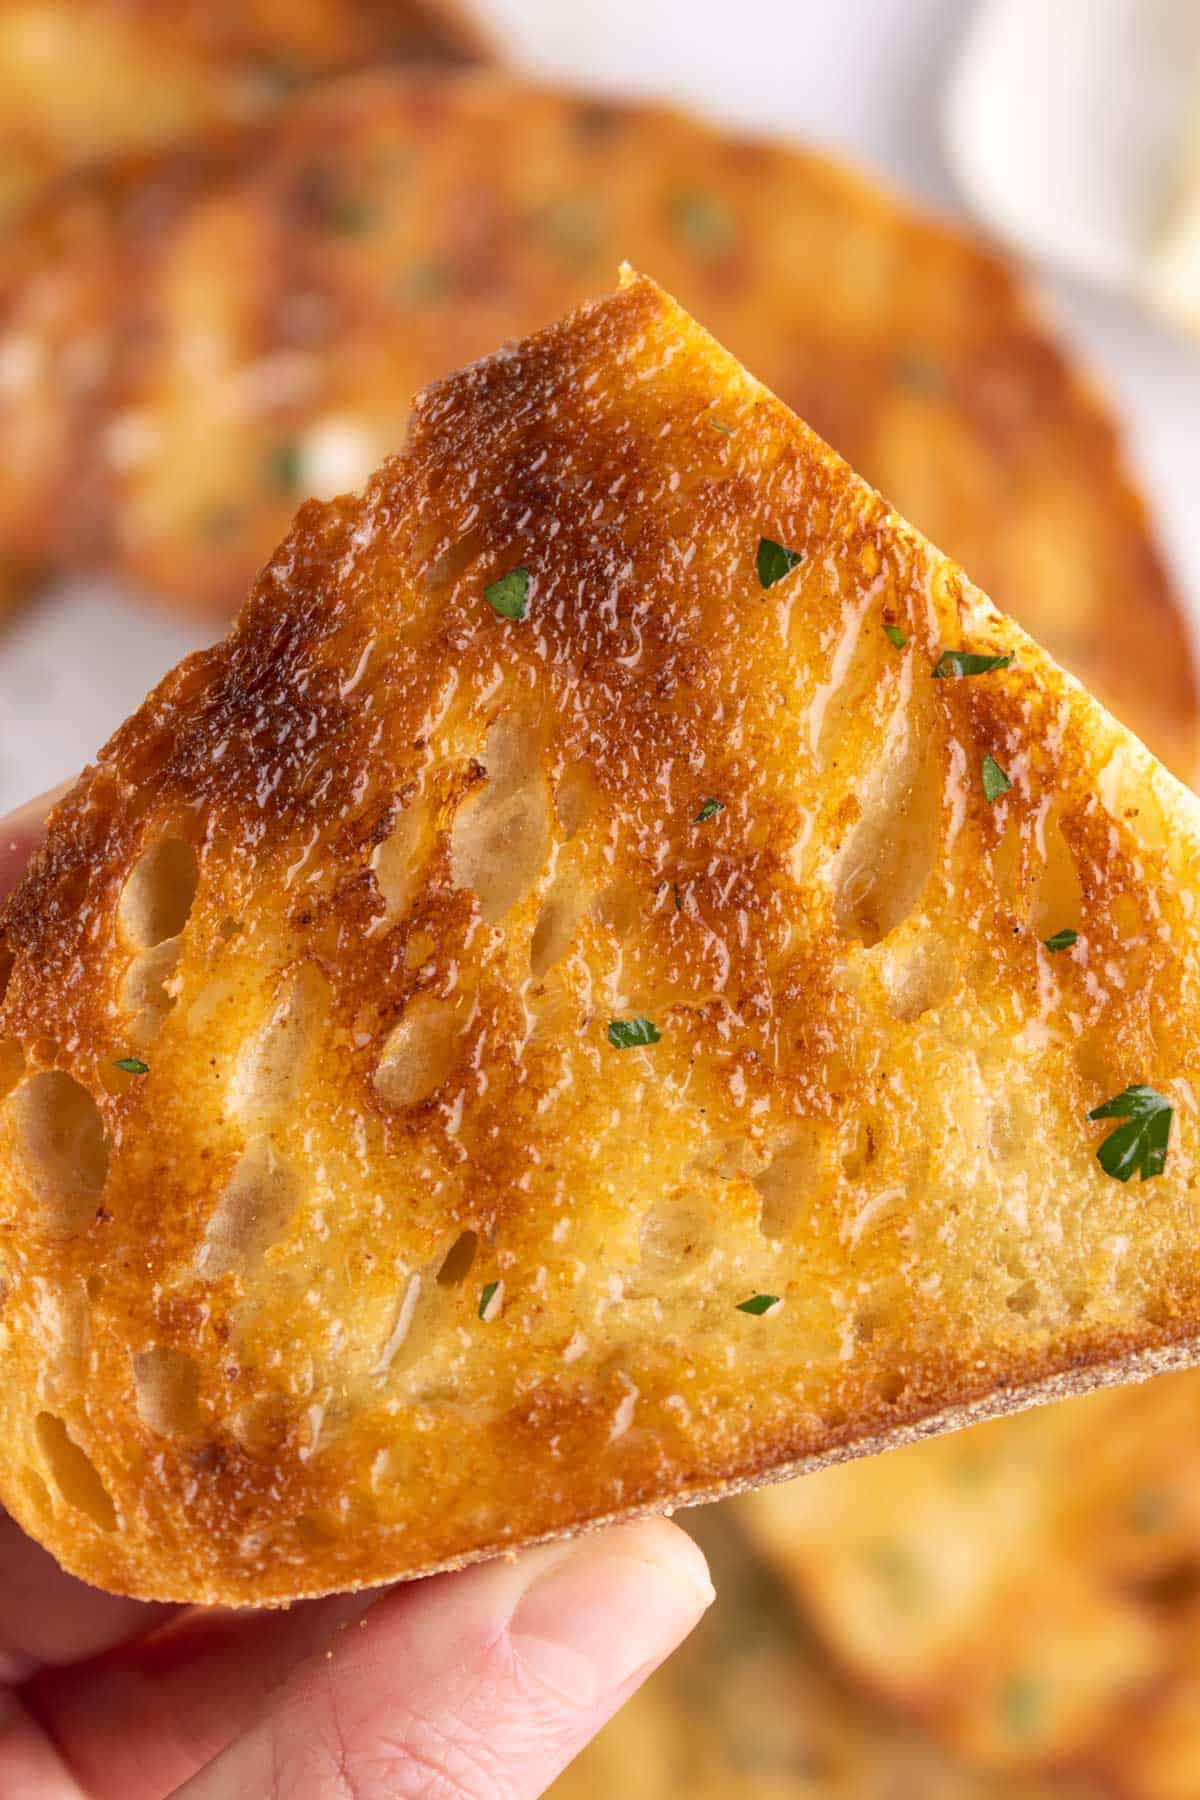
- Cut slices on the thicker end if you like it to have a soft chew in the middle, and cut them on the thinner side if you want extra crunch.
- Don't skimp on the butter - it adds moisture, flavor, and is the key to developing color.
- For the prettiest results, place the slices on a slant over the grates and leave it undisturbed while it cooks.
More recipes
Looking for other recipes? Try these:
Recipe
Grilled Bread Recipe
Ingredients
- 6 slices of bread ½-¾ an inch thick
- About 8 tablespoons salted butter melted (see notes)
Instructions
- Heat your grill to medium-high heat, which will be around 400-425 degrees Fahrenheit. After it's hot, use a grill brush to ensure the grates are clean.
- While the grill is heating, use a silicone brush to lightly brush one side of each slice of bread with melted butter. Flip the slices over and brush the second side generously with the remaining butter, about one tablespoon per slice.6 slices of bread, About 8 tablespoons salted butter
- Place the bread on the grill with the heavily buttered side down, positioning them on a slight slant across the grates for the prettiest lines. Cook over direct heat for 1-3 minutes with the lid open, being sure to leave the slices untouched so that clean grill marks can develop. Watch carefully to avoid burning.
- Once they reach the desired golden brown color and the edges are crispy, flip the slices and cook the second side for 30-60 seconds, until lightly toasted. Serve warm and toasty!
Notes
- Cut slices on the thicker end if you like it to have a soft chew in the middle, and cut them on the thinner side if you want extra crunch.
- Don't skimp on the butter - it adds moisture, flavor, and is the key to developing color.
- For the prettiest results, place the slices on a slant over the grates and leave it undisturbed while it cooks.
Add Your Own Notes
Nutrition
All nutrition information is provided by a third party and is an estimate only. Use your own nutritional calculator for more specific measurements.
xx

Misty says
This recipe shares all the tips and tricks to get the perfect grilled bread!