

We've made many a quesadilla while feeding our family of seven, and these Sheet Pan Quesadillas are our new favorite method! It's the best way to get everyone's dinner on the table in under 30 minutes, with no need for flipping or dirty stoves. Best of all, each quesadilla is completely customizable so everyone gets what they want.
We'll share our favorite Honey Chipotle Chicken filling, along with plenty of variations and other filling ideas so that you can make this fit whatever you're craving or have on hand. It's another winner in our collection of One Pan Dinner Recipes!
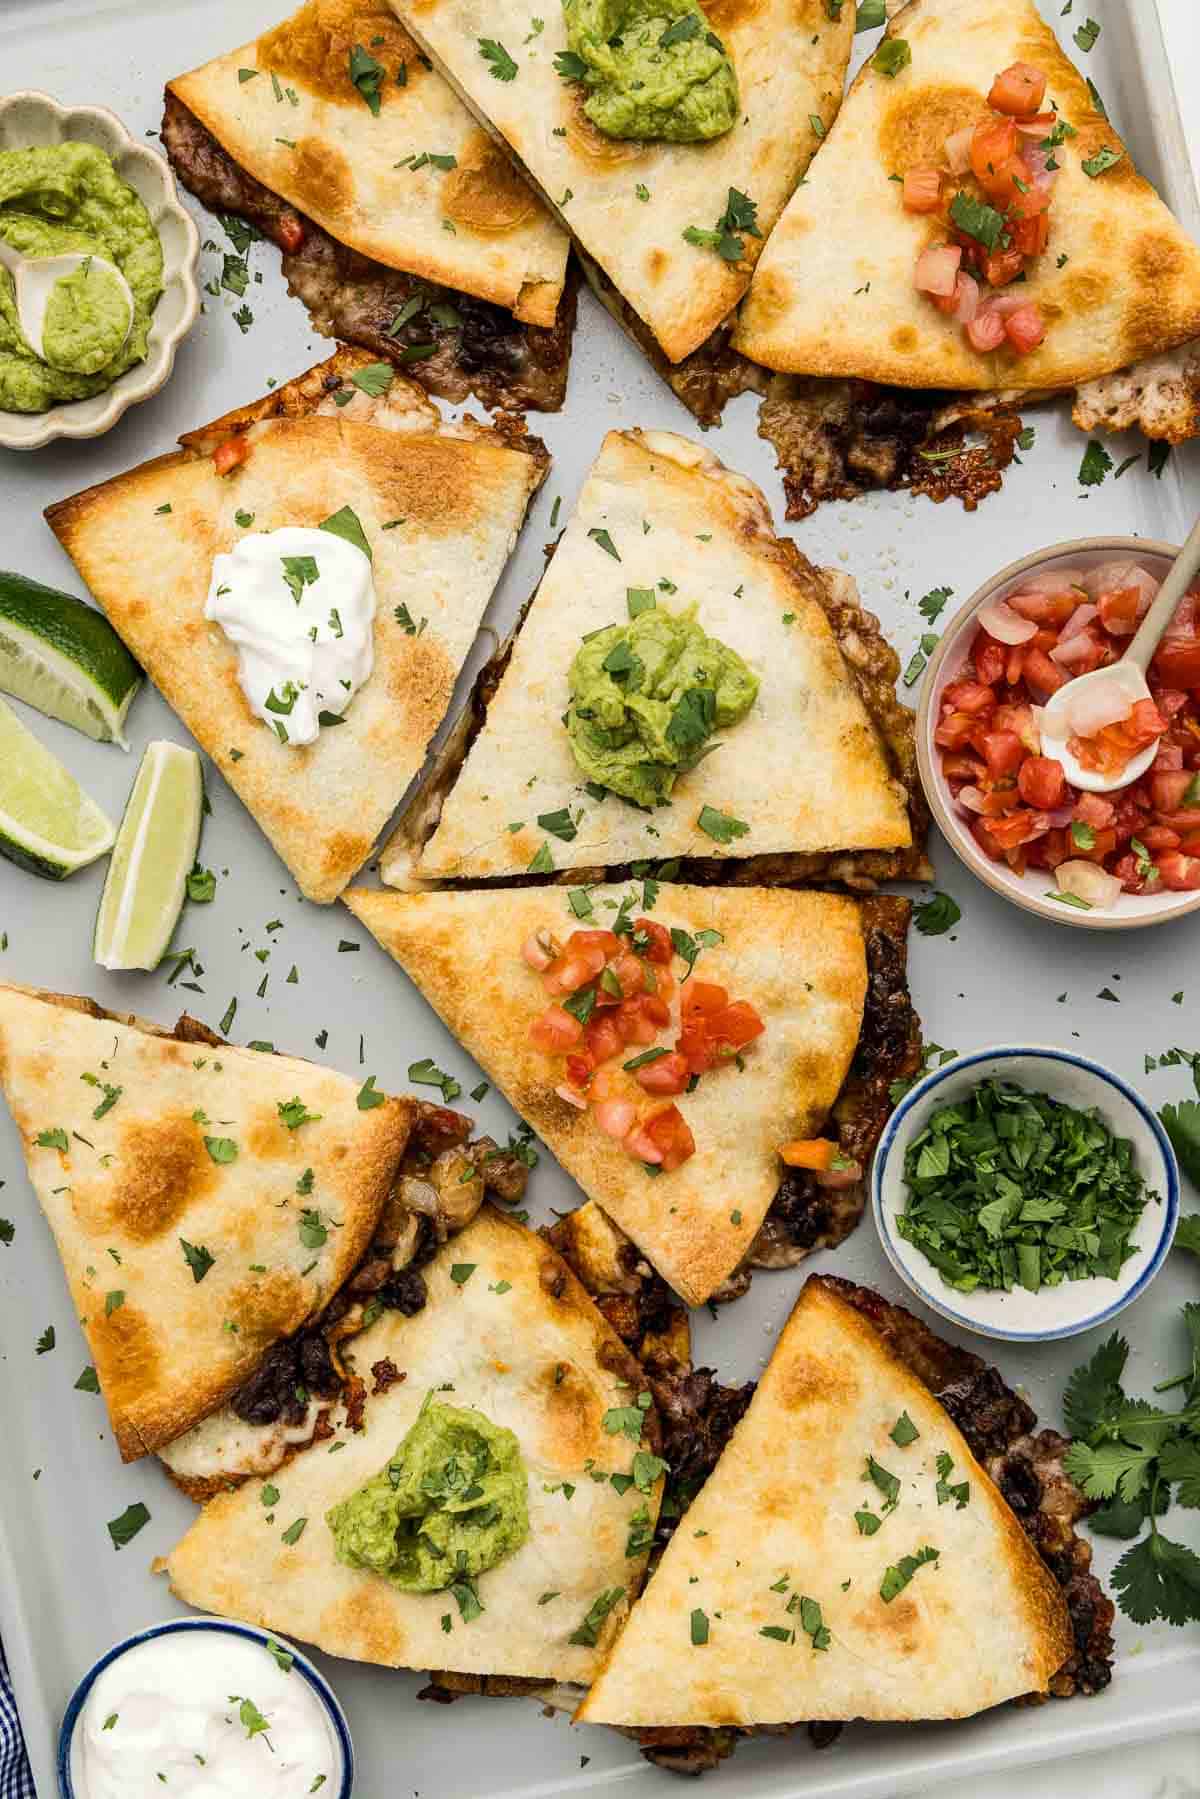
After seeing the viral sheet pan chicken quesadillas on Instagram, I knew I had to master my own version that would be quick to make and easily feed the whole family. Instead of making one giant version that you cut into pieces, this recipe is better! It makes individual servings that each person can customize and bake all at once.
These make for a really quick weeknight dinner or even a fun addition to your Game Day Recipes spread!

Recipe Notes from Danielle & Misty
We've made these so many different ways in pursuit of the perfect method! We tested oil vs butter for a golden brown, crispy outside (spoiler alert: the butter wins). We've tried different cheeses, different fillings, more filling vs less, and even if flipping them halfway through the cooking time made a valuable difference (honestly, it didn't!).
So basically, we did all the experimenting for you! This is the method we now use every time and are confident you will too.
Ingredients for oven quesadillas
We've written this recipe below to show our favorite way to make these, but they are highly customizable! Feel free to swap ingredients with what you have in your kitchen.
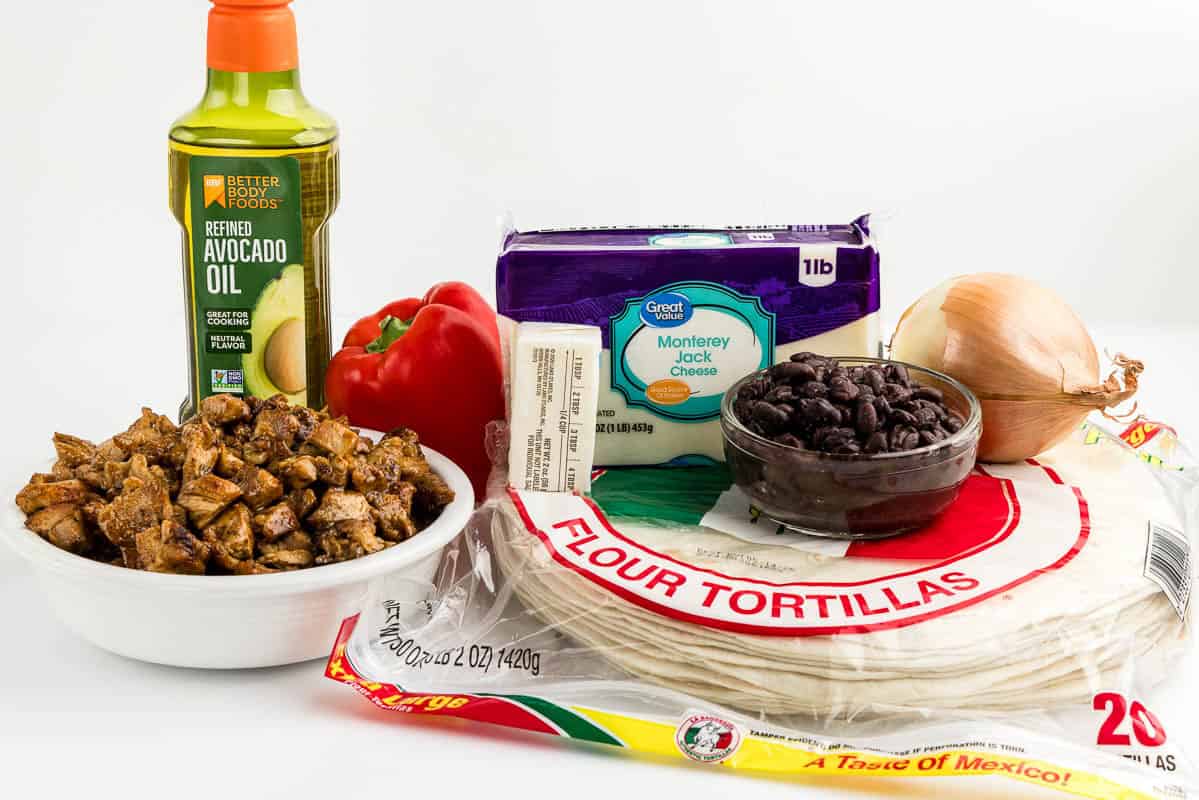
- Onion: I typically use yellow, but white or red will also work. Dice them to about ¼ inch chunks or slightly larger. They should be easy to eat, but also still provide some texture.
- Bell peppers: Red is my favorite, but use your favorite color and dice them to a small to medium size. The onions and peppers are completely optional in this recipe, but add a great foundation of flavor and texture that make these taste like a restaurant-style dinner!
- Oil: You'll be cooking the vegetables with a little bit of oil to soften them, so I suggest using avocado or light olive oil so that the flavor isn't overpowering.
- Flour tortillas: It's important to get burrito size tortillas here, because they are a nice large size that makes a quesadilla large enough to serve one person. I don't suggest using whole wheat because they don't turn out as soft and tend to crack.
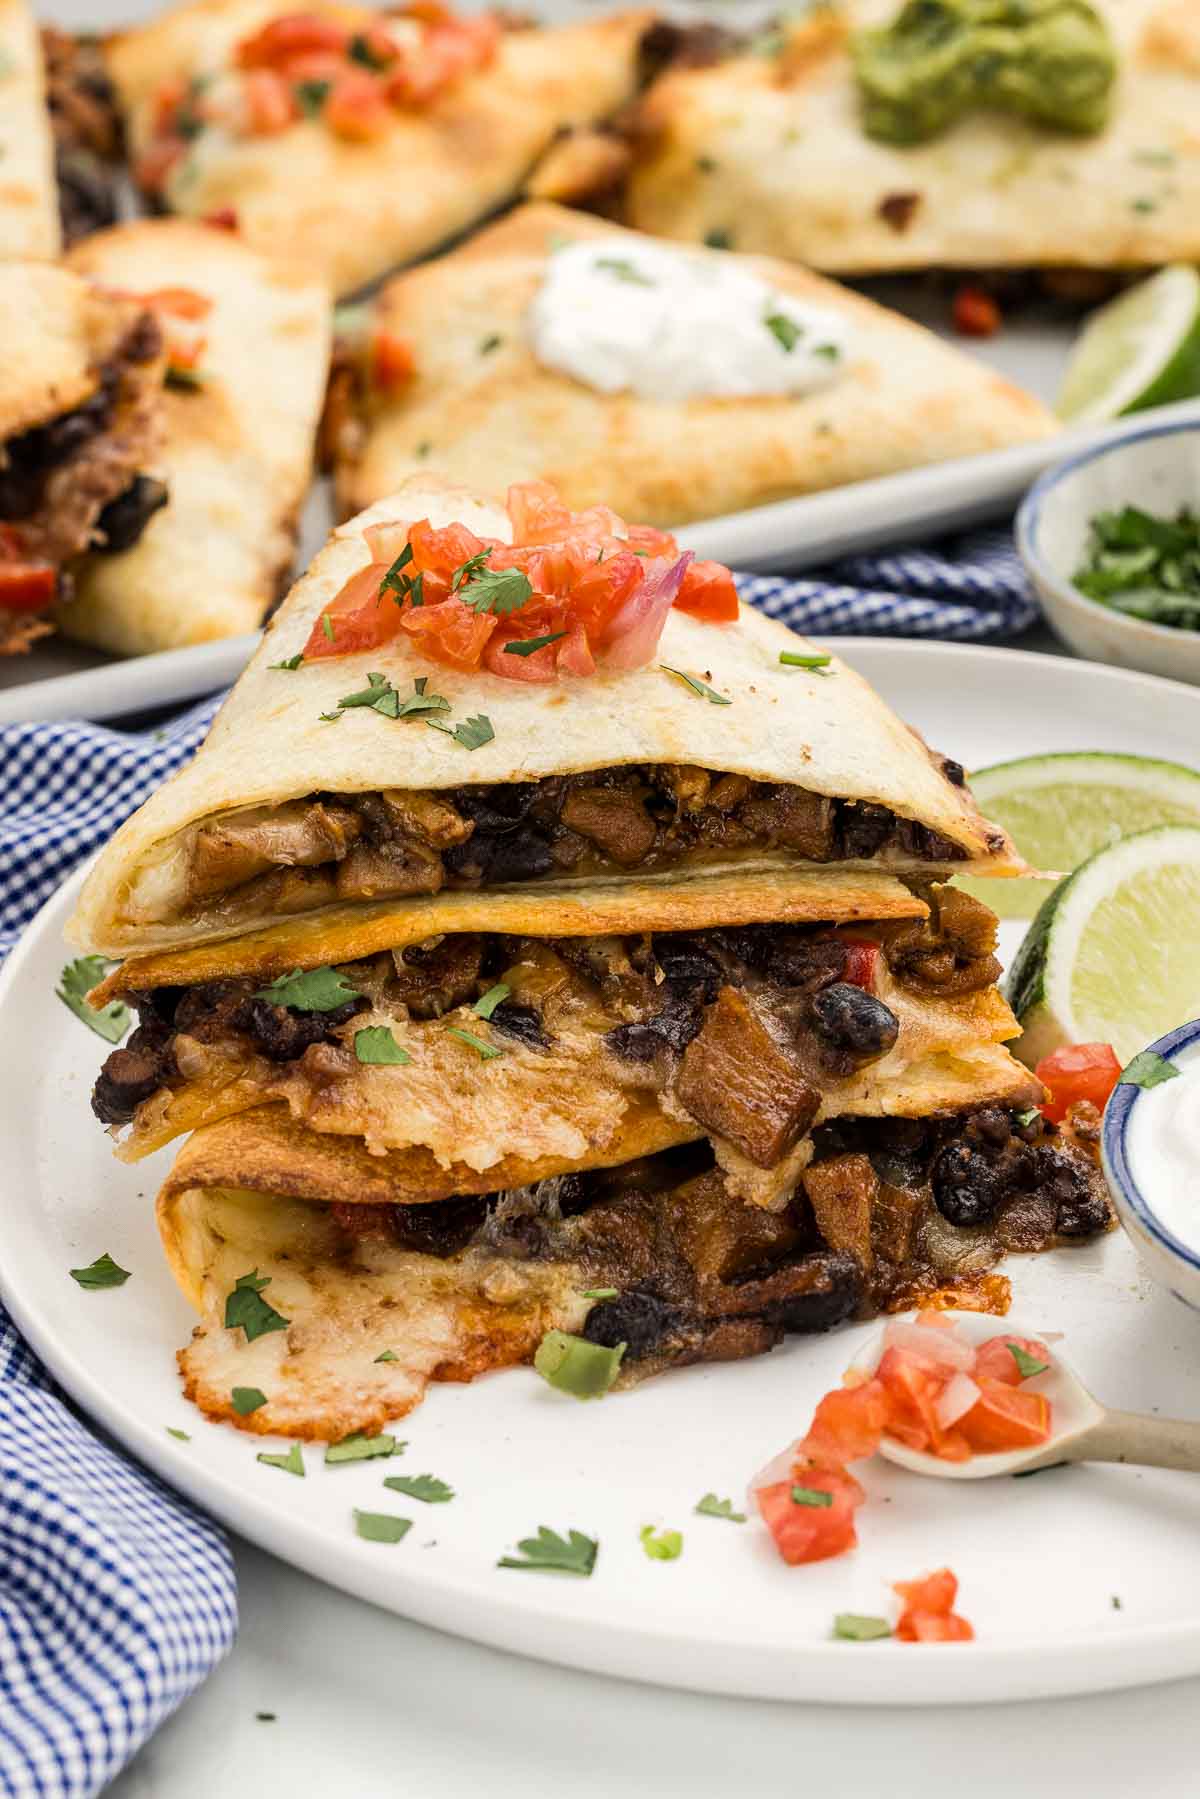
- Shredded cheese: I typically use Monterey Jack, Pepper Jack or even Colby Jack for a great melty cheese and that has a neutral flavor that pairs with everything else. Cheddar is ok, but it does have a stronger flavor and doesn't get as gooey when melted. My BEST gooey cheese tip? It is absolutely worth it to buy the block and grate your own. It doesn't have a powdery coating on it like pre-shredded cheese, which helps it melt easier and stay melty longer.
- Butter: We have made these with oil and butter, and let's just say that oil doesn't compare. Salted butter gives these a richer flavor and results in a more golden brown, more crispy tortilla.
- Chicken: My top filling choice is this Honey Chipotle Chicken, originally inspired by one of Chipotle's seasonal menus. You can make it fresh or prep it ahead and store it in the fridge until you're ready to make these. Scroll a little bit further in this post to find a list of several options you might like.
- Black beans: Like the veggies, these are optional. But it's a great way to add flavor, fiber, and make these extra filling for hungry eaters. You can also use pinto beans.
Helpful kitchen tools


Technique
Is flipping necessary to make these crispy?
We've tried flipping these quesadillas halfway through the cooking time versus simply rotating the pans on the oven racks to see which method makes these crispy with the least amount of effort. Flipping did make them more evenly browned on both sides, but it adds extra time and the filling tends to fall out. We prefer the easier method: skip the flipping! The bottoms get super brown and crispy, and they are just as delicious without the hassle.
How to make sheet pan quesadillas
Start by preheating your oven to 425°F and positioning two racks in the oven, one in the upper-middle position and one in the lower-middle.
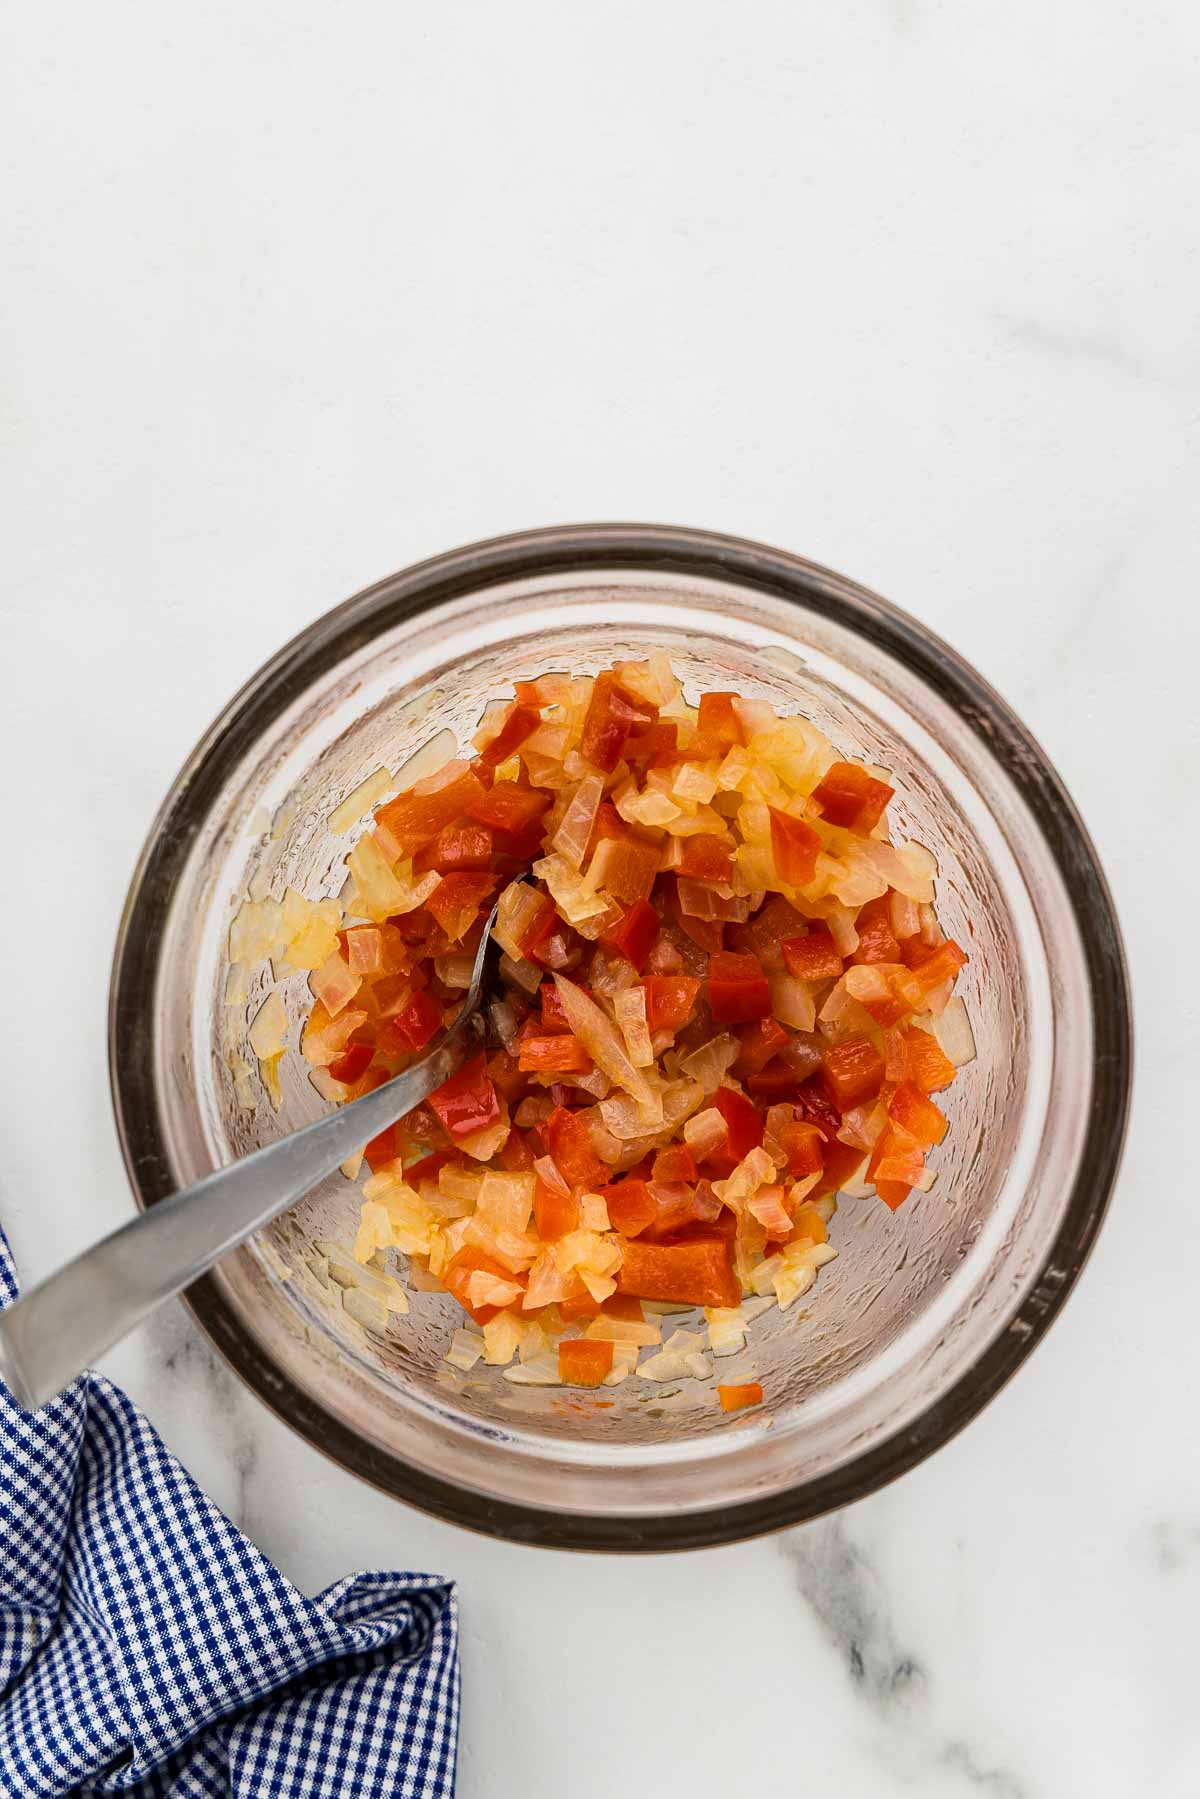
Step 1: Add the onions, red bell pepper, and oil to a microwave-safe bowl. Cook on the highest power for 2-3 minutes, stirring every 30 seconds, until the onions are softened and the mixture is fragrant. Set aside to cool slightly.
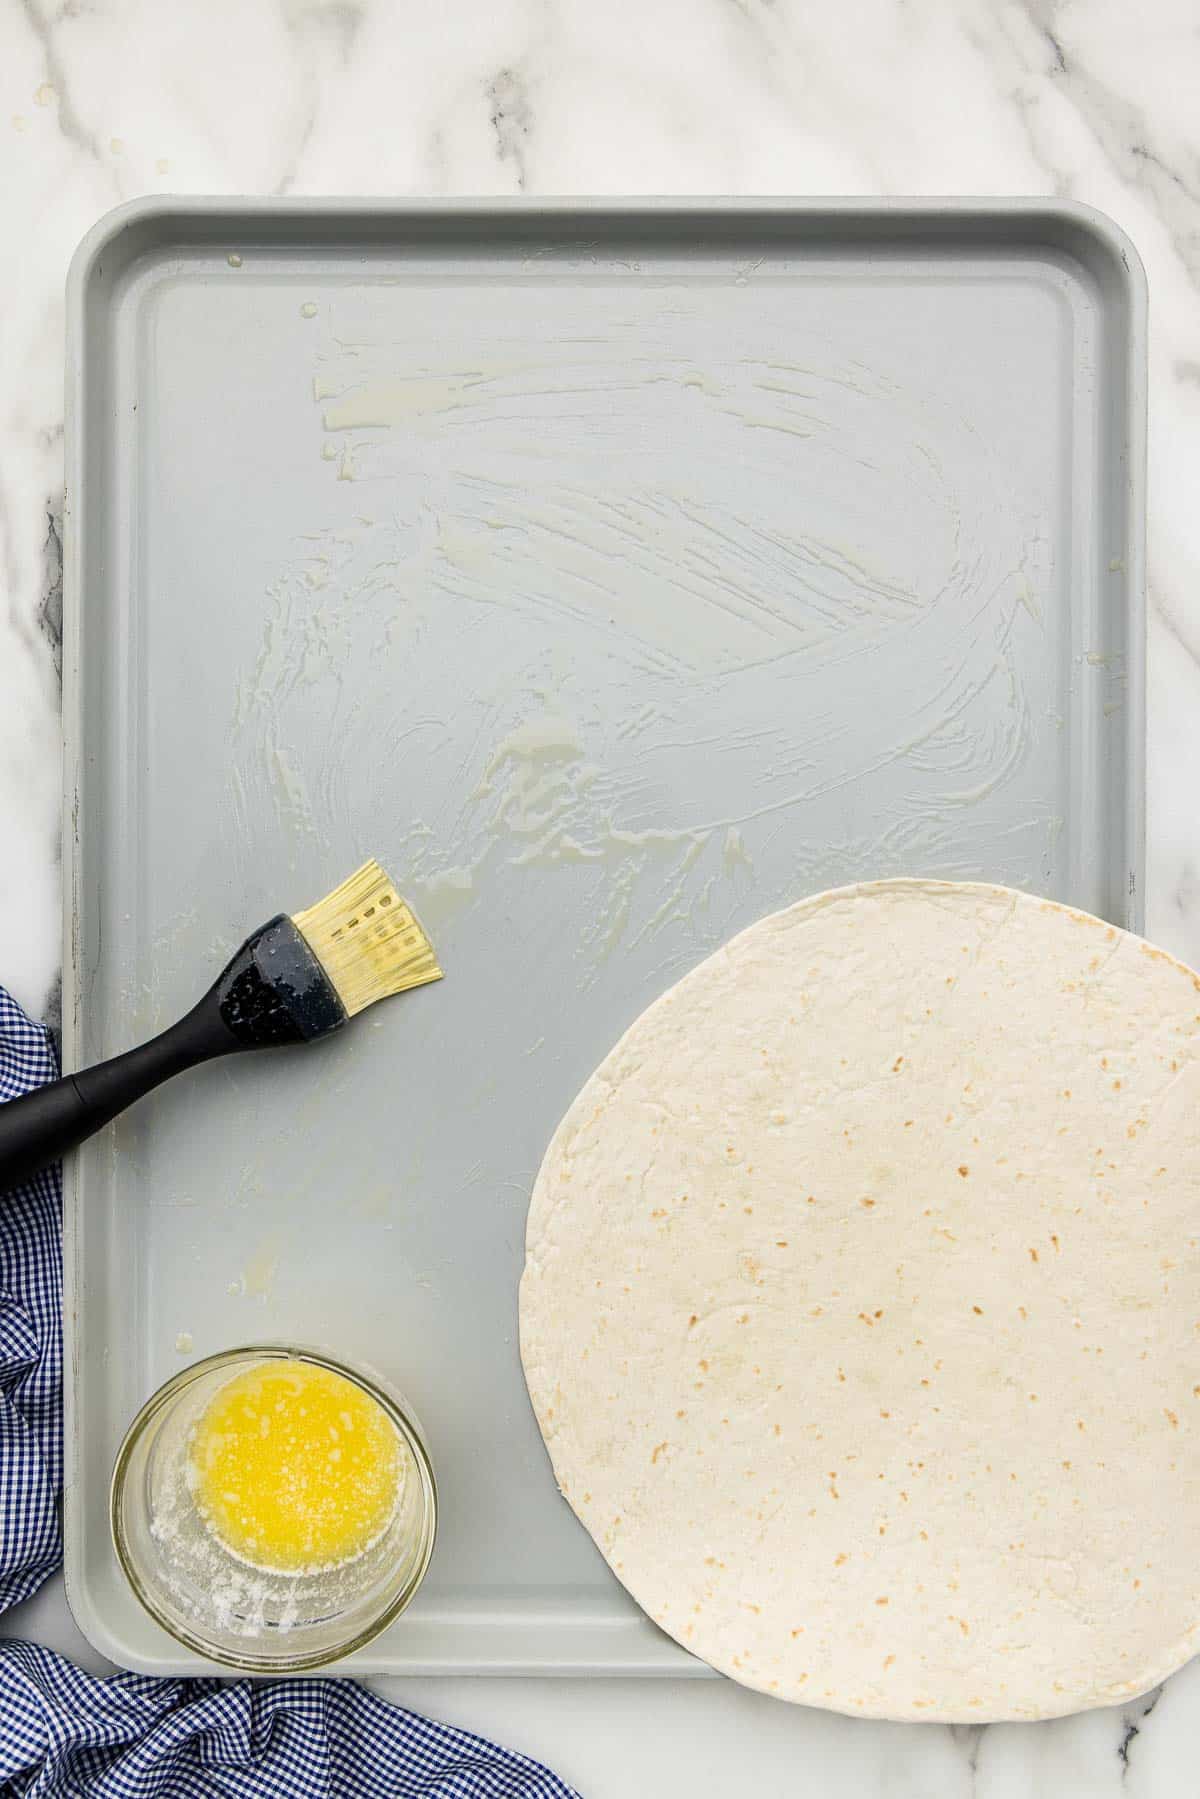
Step 2: Grab two standard cookie sheets (also called a half sheet pan). Using a silicone brush, spread about 1 tablespoon of melted butter onto each of those sheets. Then place three tortillas on each sheet pan, allowing about half of each one to fall over the edge.
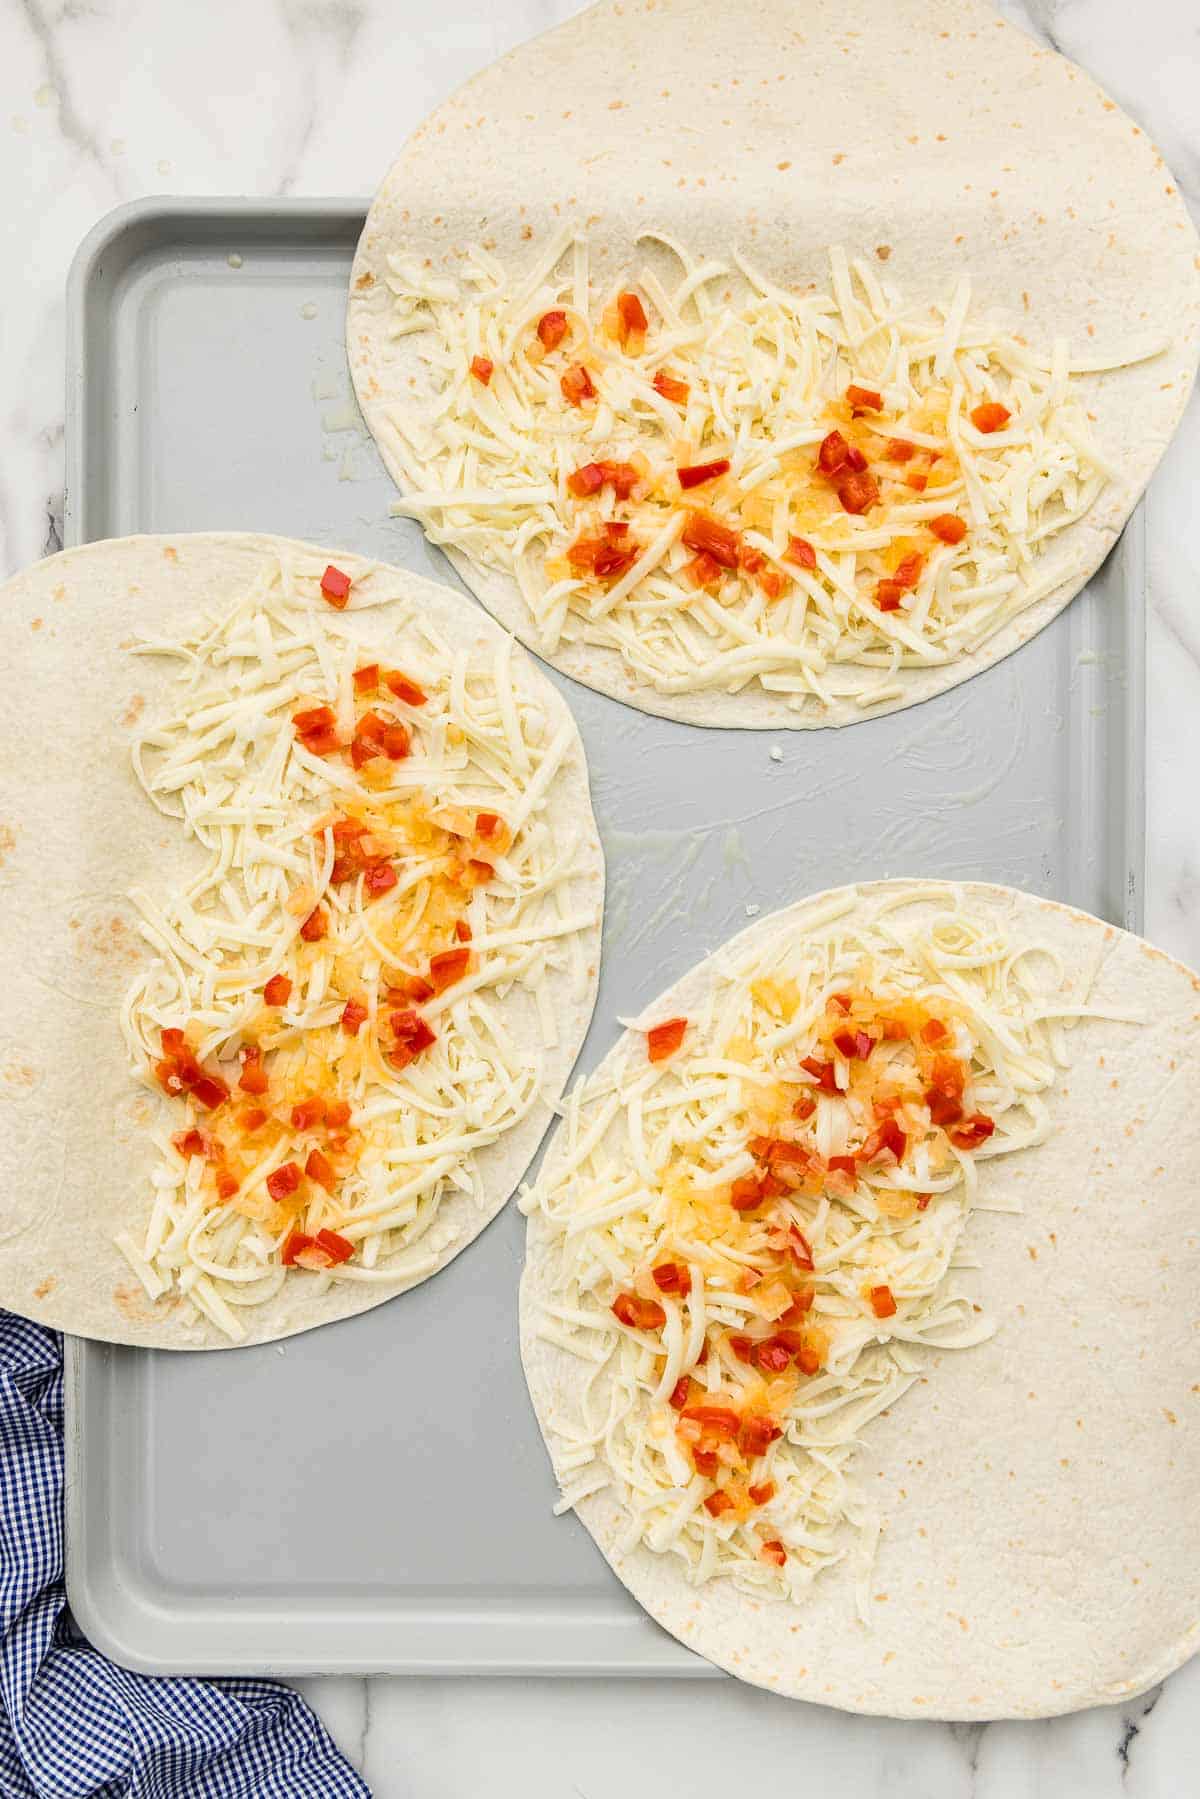
Step 3: Sprinkle the shredded cheese evenly across half of each tortilla. Then sprinkle the bell pepper and onion mixture evenly on top of the cheese.
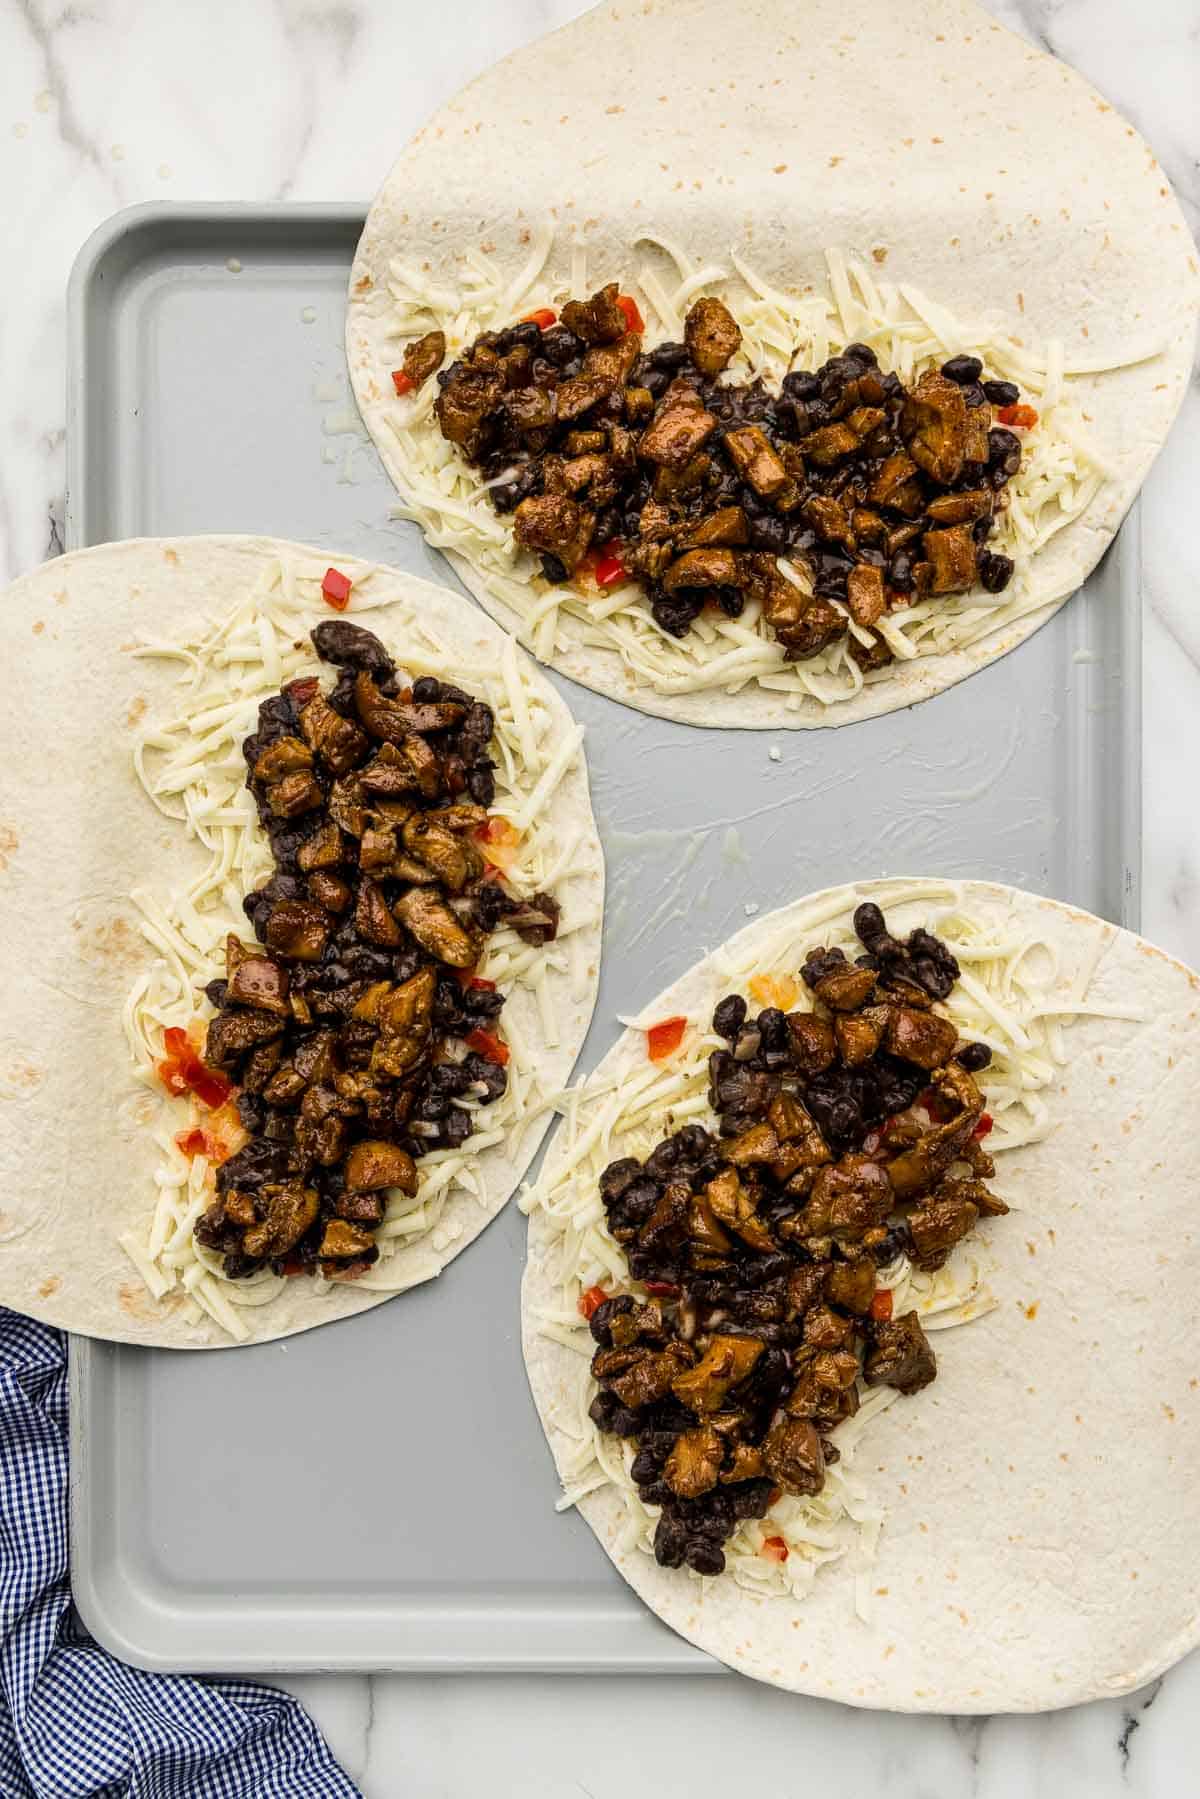
Step 4: Add the black beans on top of the veggies, then add about ½ a cup of chicken on top of each one.
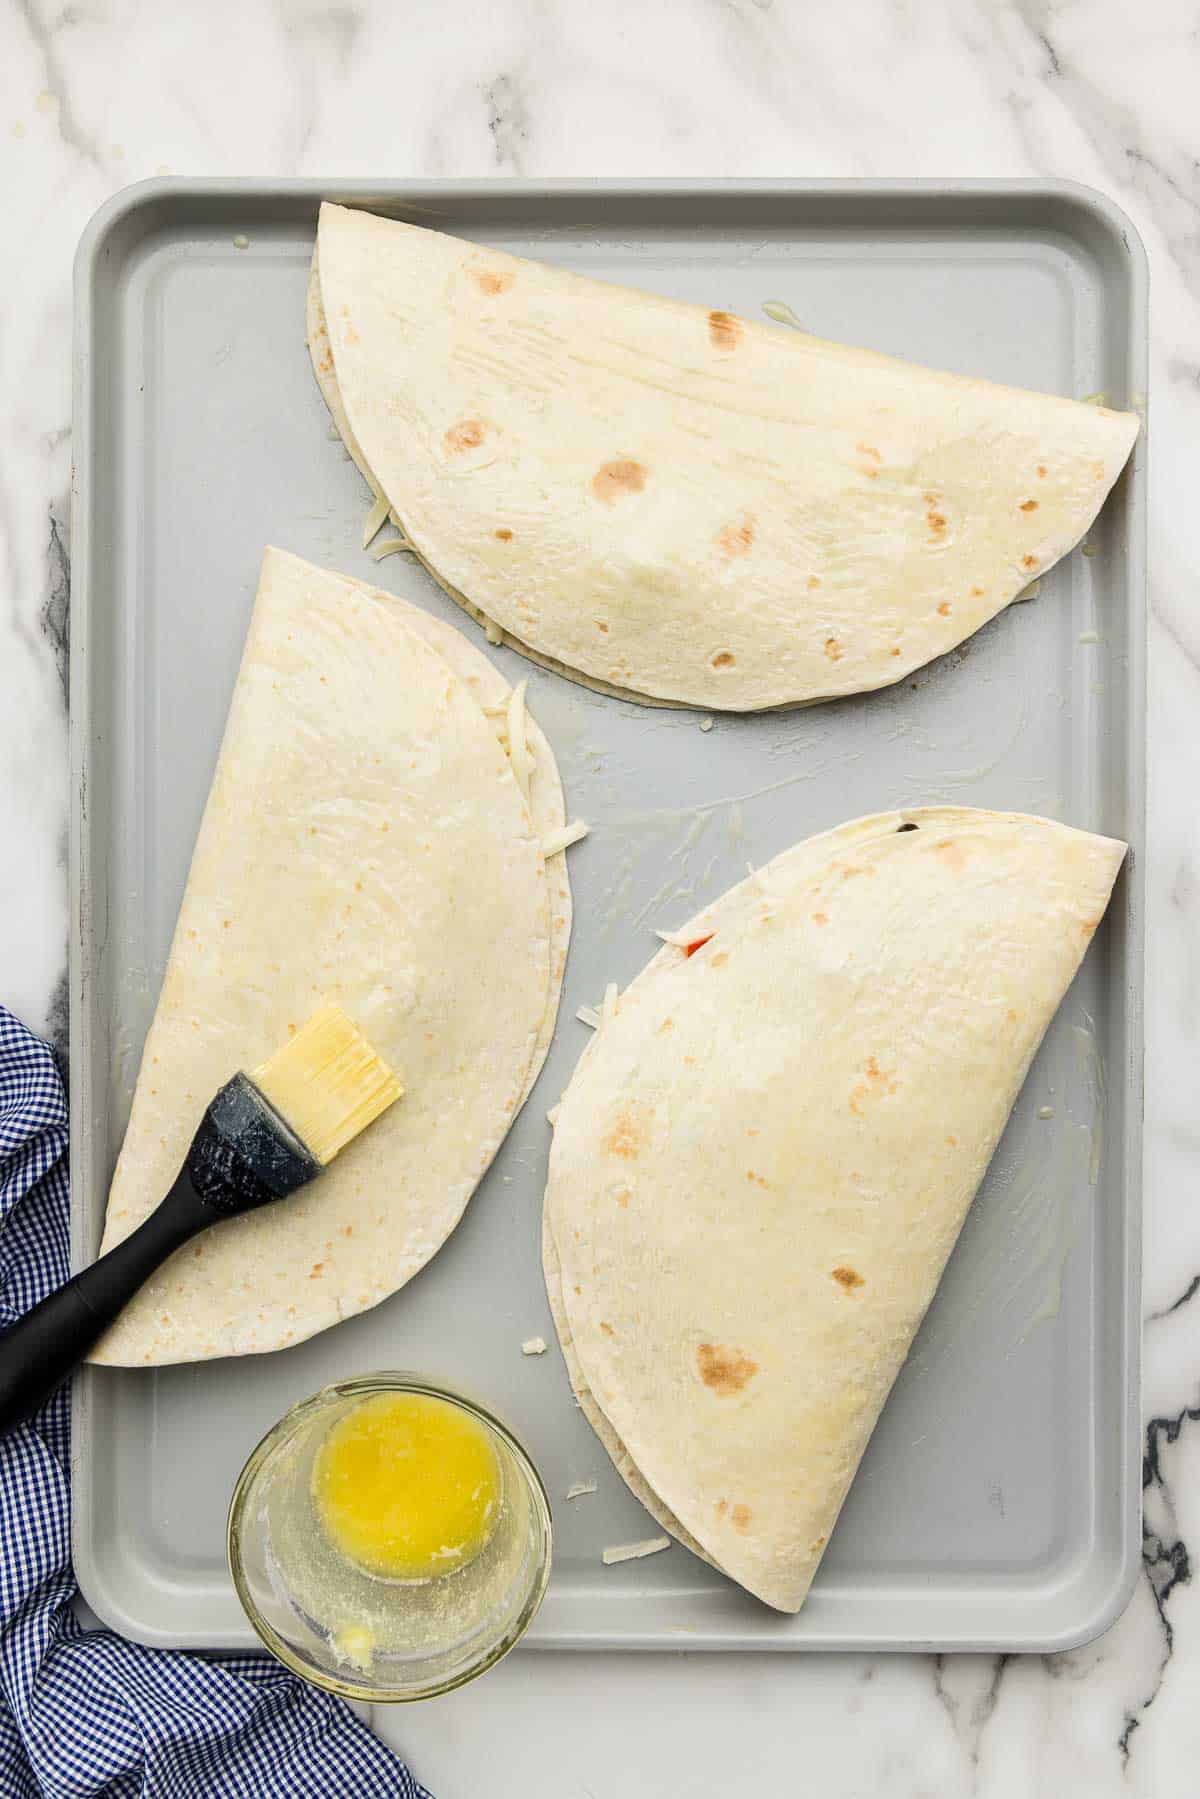
Step 5: Fold the empty half of each tortilla on top, then brush evenly with the remaining two tablespoons of melted butter.
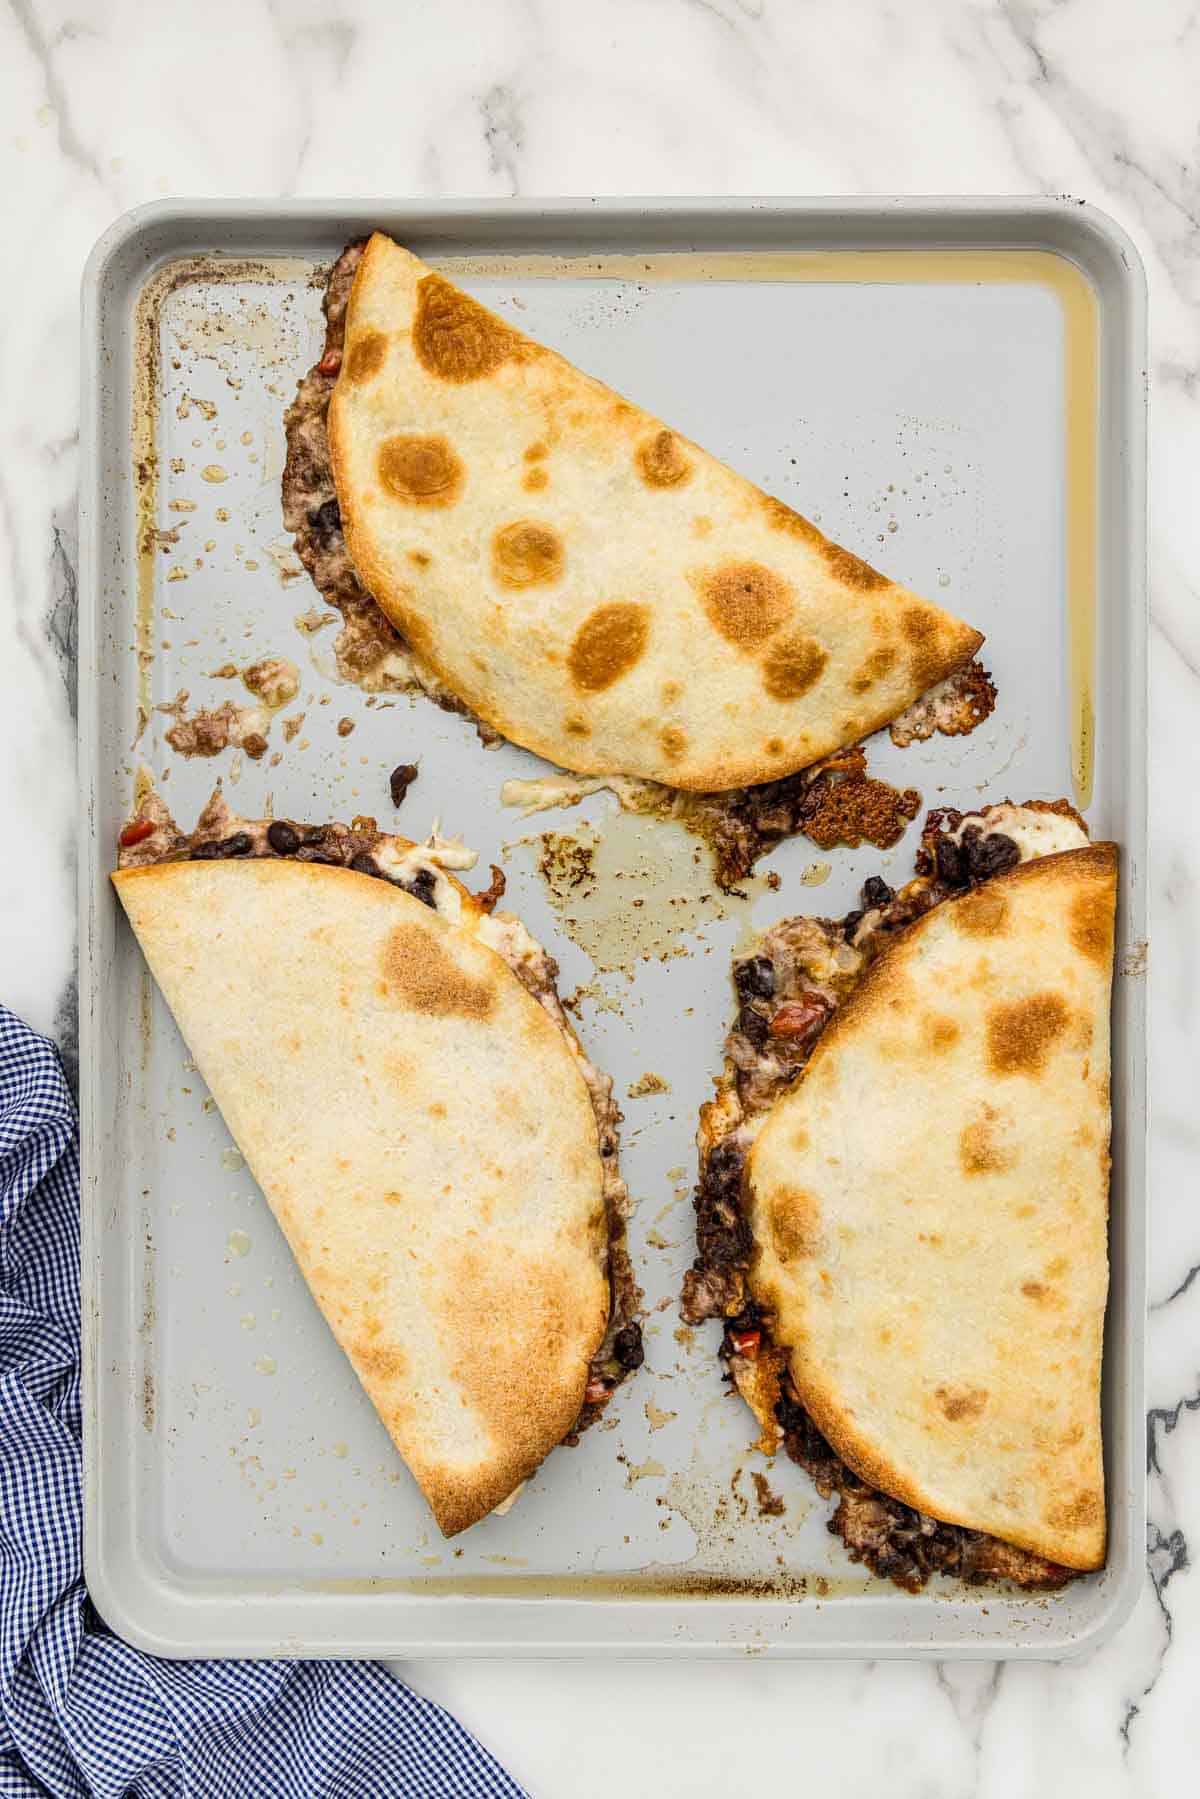
Step 6: Place one pan on the upper-middle rack and the other on the lower-middle rack of the preheated oven. Bake for 5 minutes, then switch the pans between racks and bake for another 4-6 minutes, until the bottom of each (the part directly touching the pan) is golden brown and crispy.
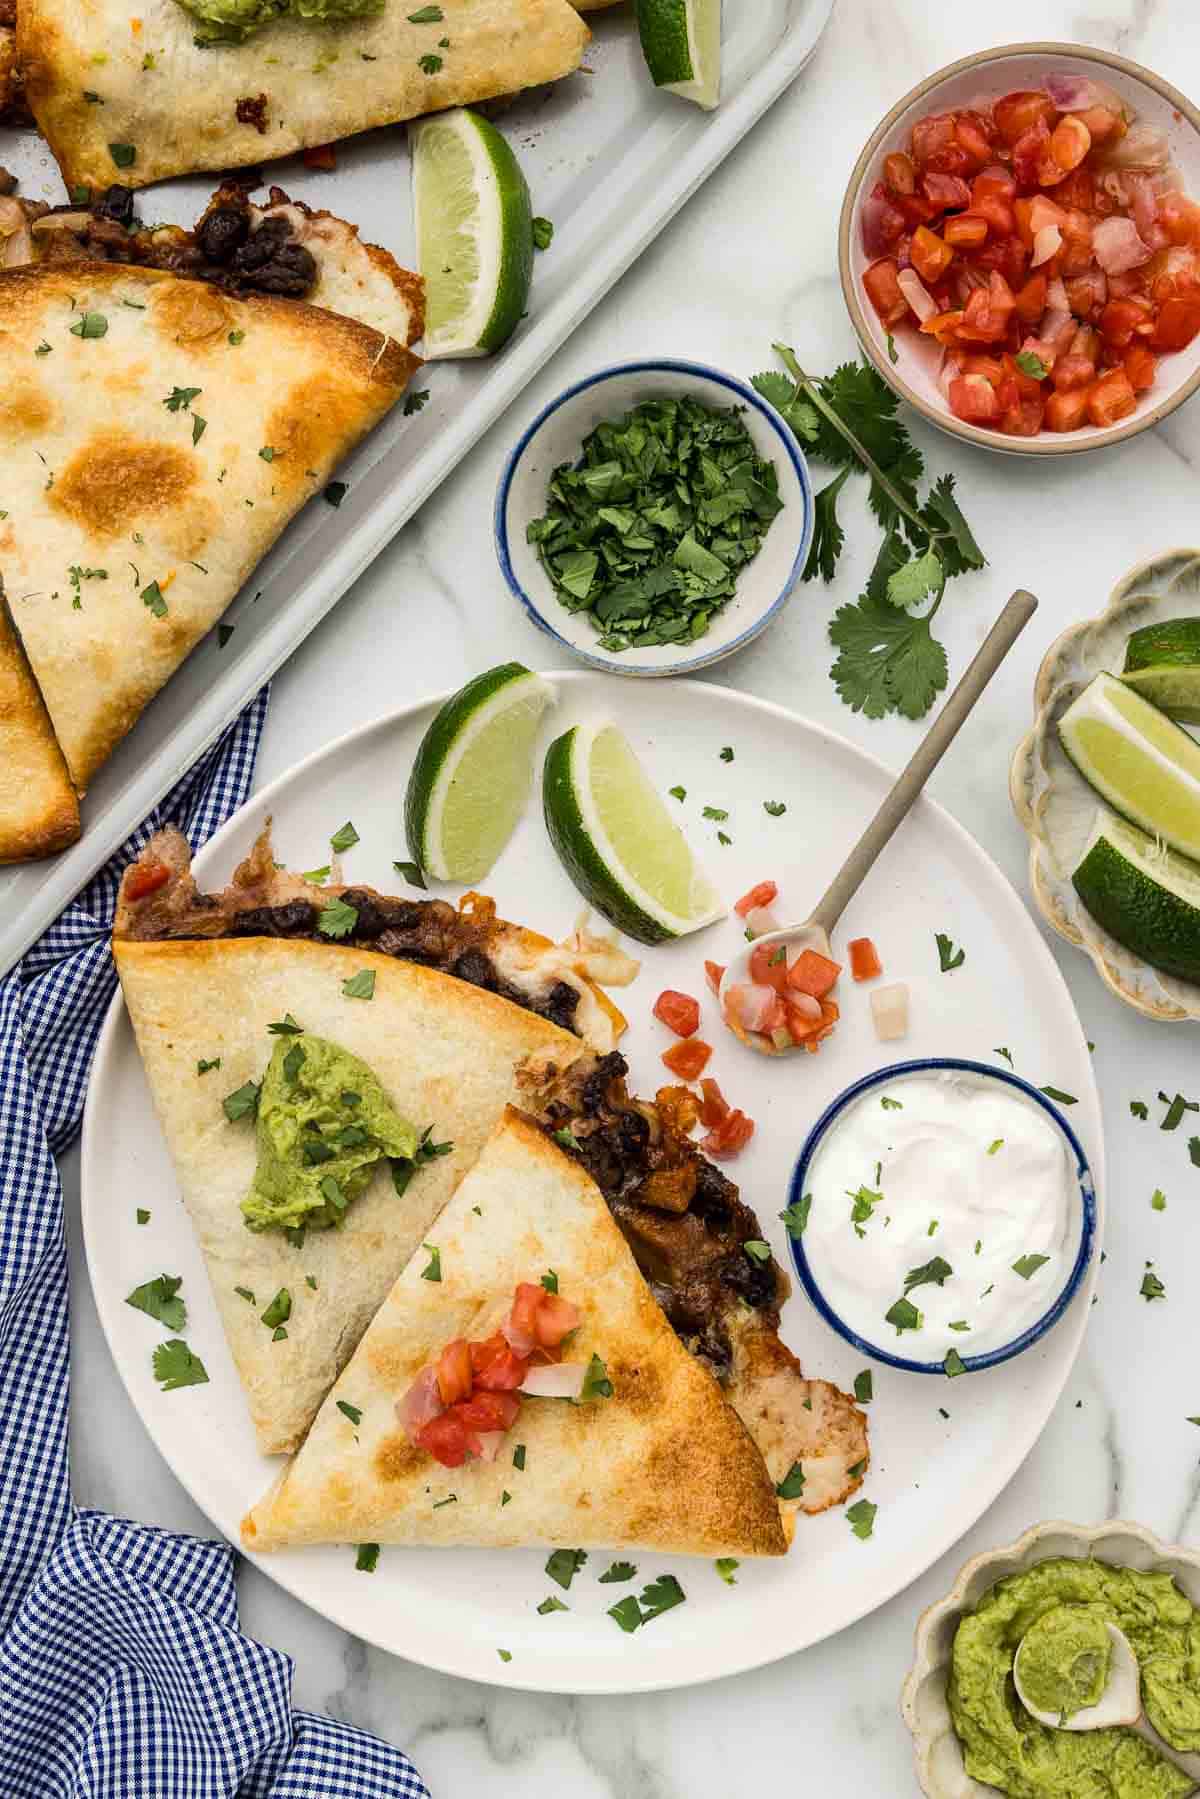
Use a spatula to carefully flip them over so the really golden brown section is on top. Slice with a sharp knife or pizza cutter, then serve hot!
Fillings, salsas, and toppings
You really can customize these however you want! Here are some of our go-to ideas, but tell us in the comments if you have other ideas you love.
Fillings:
The key here is truly to use as much or as little filling as you want! The amount we call for makes a hearty quesadilla without being overly stuffed.
- Shredded Honey Lime Chicken
- Slow Cooker Mexican Shredded Chicken
- Slow Cooker Chipotle Beef
- The tender beef from these Chuck Roast Tacos
- Easy Chicken Tinga from these tacos
- Shredded rotisserie chicken
Salsas and toppings:
- Roasted Tomatillo Salsa
- Avocado Green Salsa
- Mango Pineapple Salsa
- Roasted Pineapple Habanero Salsa
- Guacamole
- Sour cream
- Pico de gallo
- Fresh lime wedges (I love lime juice on all things Mexican)
Sides to serve with oven baked quesadillas
These are hearty enough to serve all on their own, but if you love having side dishes these would be some good ones.
FAQs
These will always be crispier when served fresh, but you can store leftovers in the fridge for 2-3 days. Allow them to cool completely, then store them in an airtight container. To reheat them, brush them with a little bit of freshly melted butter and cook in a skillet over medium-high heat until some of the crispiness is restored.
Corn tortillas will be too small and will break too easily for this recipe. I would suggest making these Corn Tortilla Quesadillas instead!
Tips & Tricks
- Add the filling to the tortillas right before you bake them. If they sit too long, they will get soggy.
- Don't line the pan with parchment paper. It will trap moisture and cause them to steam, making them lose their crispiness.
- Prep your salsa or toppings before you bake them so that everything is ready at the same time.
More recipes
Looking for other recipes? Try these:
This post was photographed by Rhadonda Sedgwick.
Recipe
Oven Baked Quesadillas Recipe
Equipment
Ingredients
- ½ yellow onion diced
- ½ red bell pepper diced
- 1 tablespoon neutral oil (avocado or light olive oil)
- 4 tablespoons butter melted
- 6 burrito size flour tortillas
- 16 ounces monterey jack cheese shredded
- 1 ½ cups black beans drained
- 3 cups cooked chicken chopped or shredded (*SEE NOTES)
Instructions
- Preheat your oven to 425°F and position two racks in the oven, one in the upper-middle position and one in the lower-middle.
- Add the onions, bell pepper, and oil to a microwave-safe bowl. Cook on the highest power for 2-3 minutes, stirring every 30 seconds, until the onions are softened and the mixture is fragrant. Set aside to cool slightly.½ yellow onion, ½ red bell pepper, 1 tablespoon neutral oil
- Grab two standard cookie sheets. Using a silicone brush, spread about 1 tablespoon of melted butter onto each of those sheets. Then place three tortillas on each sheet pan, allowing about half of each one to fall over the edge.6 burrito size flour tortillas, 2 tablespoons butter
- Sprinkle the shredded cheese evenly across half of each tortilla. Then add the bell pepper/onion mixture, the beans, and about ½ cup of chicken on each one.16 ounces monterey jack cheese, 3 cups cooked chicken, 1 ½ cups black beans
- Fold the empty half of each tortilla on top, then brush evenly with the remaining two tablespoons of melted butter.2 tablespoons butter
- Place one pan on the upper-middle rack and the other on the lower-middle rack of the oven. Bake for 5 minutes, then switch the pans between racks and bake for another 4-6 minutes, until the bottom of each (the part directly touching the pan) is golden brown and crispy.
- Use a spatula to carefully flip them over so the really golden brown section is on top. Slice with a sharp knife or pizza cutter, then serve hot!
Notes
- Add the filling to the tortillas right before you bake them. If they sit too long, they will get soggy.
- Don't line the pan with parchment paper. It will trap moisture and cause them to steam, making them lose their crispiness.
- Prep your salsa or toppings before you bake them so that everything is ready at the same time.
Add Your Own Notes
Nutrition
All nutrition information is provided by a third party and is an estimate only. Use your own nutritional calculator for more specific measurements.



Misty says
A super simple dinner for a busy night!