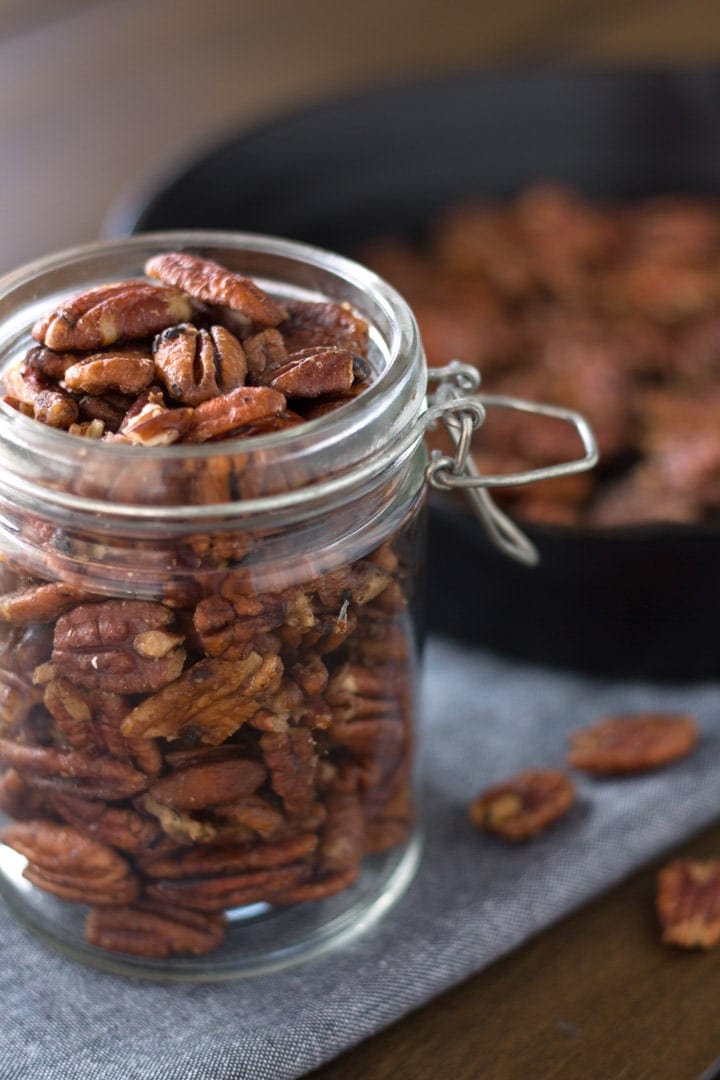
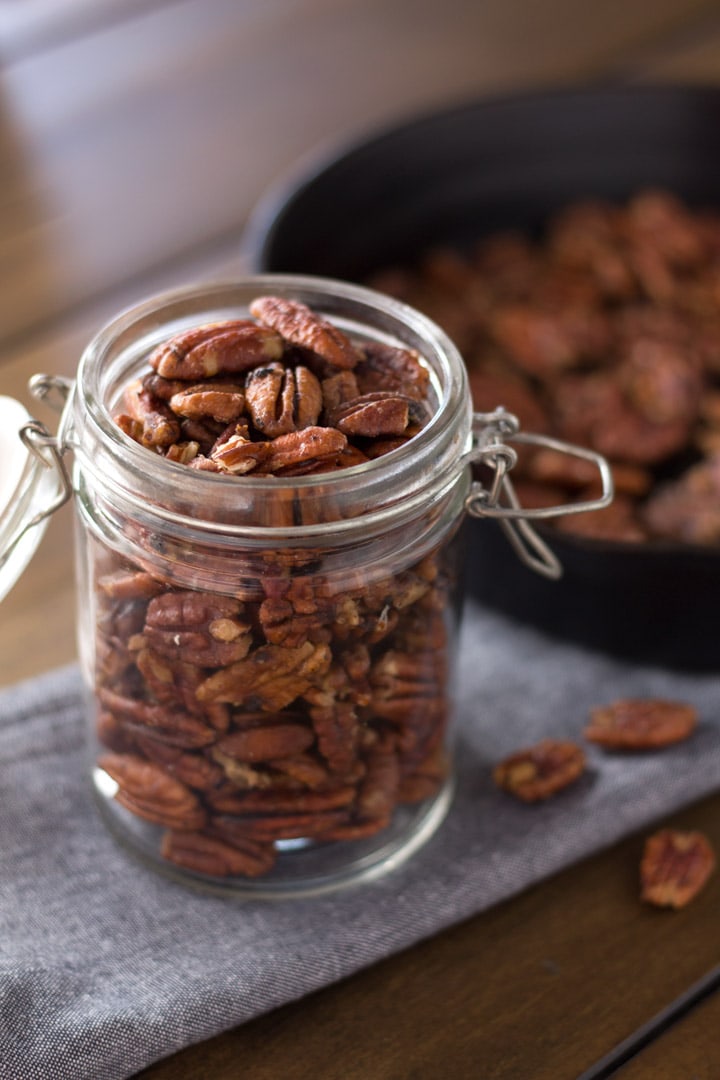
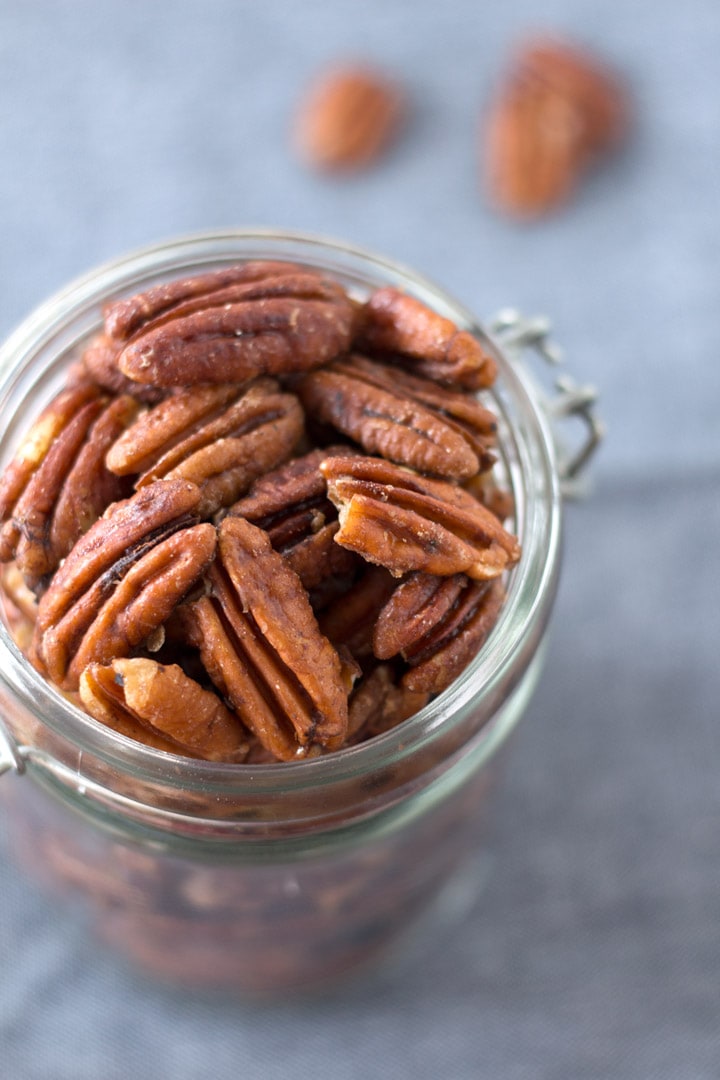
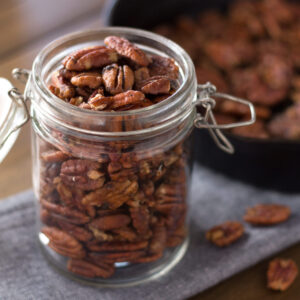
These Maple Pecans are sweet and crunchy. The perfect addition to salads, oatmeal, desserts, or great for snacking on their own. Got 10 minutes? That's all you need for these addictive nuts.
I love making these little guys. They elevate whatever I put them in. They do not take long to make, but it is important not to multi-task while making them. Inevitably something distracts me, so I like to set my timer to remind me when it's time to stir.
If you love recipes with pecans, you'll enjoy some of our family-favorite desserts. Try our Cast Iron Skillet Cake (with pecan praline topping), Maple Pecan Pie (without corn syrup), or this Microwave Caramel Pecan Sauce for serving on top of ice cream, cake, brownies, or more!
Very easy and delicious!
⭐⭐⭐⭐⭐ - Gretchen
Skip to:
Ingredients for maple pecans
- Pecans: halves or pieces can be used. I have also used almonds or walnuts with this same method.
- Butter: Just a small amount of butter. I always use salted.
- Maple syrup: I love using this over more processed sweeteners. It is important to use the real deal here, not pancake syrup. Just a small amount has a big flavor payoff.
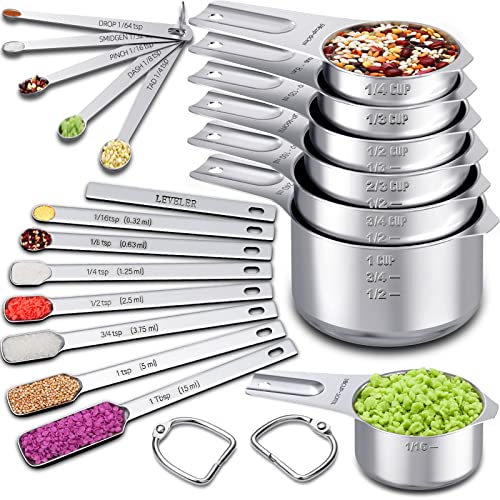
Helpful kitchen tools


How to make maple pecans
The best skillet for this recipe is cast iron. It retains the perfect amount of heat after the pan has been removed from the stove. However, I have used a nonstick skillet many times with good results.
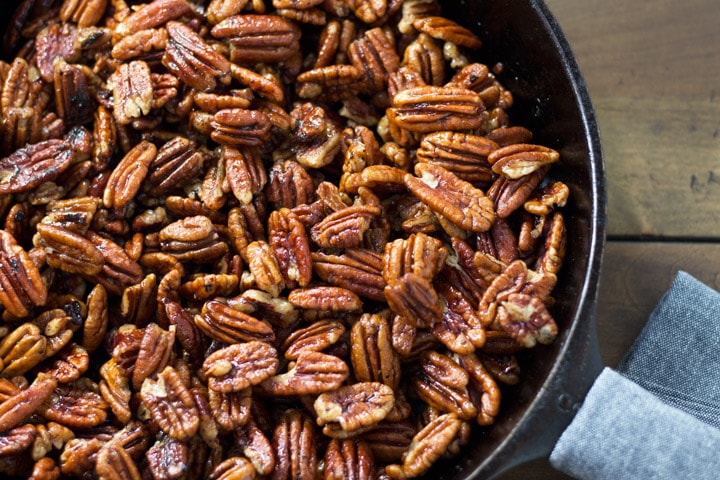
Start by preheating your skillet over medium heat. Add in the pecans and stir while they toast. The easiest way to tell that the nuts are toasted is with your nose. Once they begin to smell fragrant, it's time to add in the butter. As soon as the butter has melted and coated each pecan it's time for the magic to begin.
Pour on the maple syrup. It should bubble and sputter. Immediately reduce the heat to low. Stir until the maple syrup and butter have formed a light candied crust on the pecans. Remove the pan from the heat and, for the next five minutes, stir the pan thoroughly once each minute. This will allow the residual heat in the pan to set the maple butter mixture onto the pecans. If they are not stirred often enough they will burn. Once the pecans have cooled, they are ready to eat!
For a crowd
If you plan on making these for a large group, my best piece of advice is to not overcrowd the pan. Overcrowding will make it hard to get the right candied texture and will increase the cooking time (which increases the chance of burning!). If a double recipe won't fit in your pan, just cook them in two rounds.
FAQs
Candied nuts go well with lots of things! Try some of these:
- Add them to your morning bowl of oatmeal.
- Toss them on your salad - SO good on this Autumn Chopped Salad!
- Fold them into your favorite chocolate chip cookie dough. Sublime!
- Serve over vanilla ice cream drizzled with a good caramel sauce.
- Mix them into yogurt with granola and fresh fruit.
- Top pancakes or waffles.
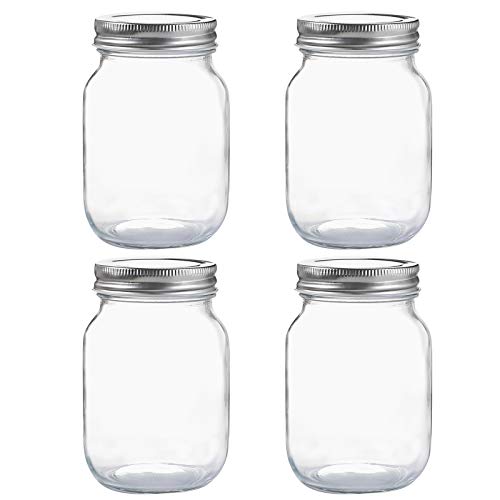
These are simple to store in a jar or airtight plastic container at room temperature.
Candied nuts hold well for 3-4 weeks, if you don't eat them before then.
Tips and tricks
- Use a skillet that will allow for the pecans to be in one layer. Crowding the pan will keep them from forming their coating correctly.
- Don't add the maple syrup until the butter has covered each pecan. It helps the syrup form an even coating on every nut.
- After adding the syrup you want to remove the nuts from the heat and stir them each minute for five minutes.
More easy snacks
- For another simple sweet treat, try this White Chocolate Churro Popcorn. Only 4 ingredients and 15 minutes for a perfect movie night snack!
- For a more savory snack, chips and salsa is always a winner. Try this Cooked Street Taco Salsa for subtle smoky flavors or this Roasted Pineapple Habanero Salsa for some heat.
Recipe
Maple Pecans - 3 Ingredients
Ingredients
- 1 cup pecans halves or pieces
- 1 tablespoon butter
- 2 tablespoon maple syrup
Instructions
- Preheat skillet over medium heat. Add pecans and stir until they begin to smell fragrant about 5 minutes.1 cup pecans
- Add butter stirring constantly to ensure that each nut is covered.1 tbsp butter
- Pour in maple syrup. It will sputter and bubble. Immediately turn heat to low and cook for 1 minute stirring regularly. Remove pan from heat. Set a timer for 1 minute. Stir pecans again. Do this a total of 5 times. The pan might still be warm but it shouldn't be hot. Allow pecans to cool in the pan until room temperature.2 tbsp maple syrup
Notes
- Use a skillet that will allow for the pecans to be in one layer. Crowding the pan will keep them from forming their coating correctly.
- Don't add the maple syrup until the butter has coated each pecan. It helps the syrup form an even coating on every nut.
- After adding the syrup you want to remove the nuts from the heat and stir them each minute for five minutes.
- Walnuts or almonds can be used in place of pecans.
Add Your Own Notes
Nutrition
All nutrition information is provided by a third party and is an estimate only. Use your own nutritional calculator for more specific measurements.


Darla says
These turned out delicious! So easy to make. I used pecan pieces and doubled the recipe. I just made them in two different batches. Since they are so quick to make, doubling the batch still took so little time. I had a meal I would make with creamy buffalo chicken on top of sweet potatoes, drizzled with maple syrup. When I saw this recipe I thought, "What could top that meal? Only candied pecans sprinkled on top!" I made it last night for dinner and my family loved the extra crunch these brought. And since I made a double batch, there's plenty for munching :o)
Misty says
Glad you liked them! Double batches are a good idea in case you eat the first one 😉
Gretchen says
Very easy and delicious! My only suggestion is to not let them cool
Completely in the pan. Let them rest after 5 mins of stirring for a few minutes, and then transfer to wax paper. That way they don’t stick to the pan when the sugar hardens.
Misty says
Glad you enjoyed them!
tK says
I am making these to bring as a host gift for Thanksgiving dinner. They are versatile, delicious, and easy to make. Thank you for the recipe from AZ
Misty says
Sounds wonderful! Thanks for sharing 🙂
Tanya says
These turned out great. I used a cast iron pan and didn’t have any problems with sticking or burning. I will make these again!
Misty says
Glad you liked them! Cast iron is a great choice for this recipe.
Aspen says
Wow, these are like candy. I can only imagine how good they must be mixing them into chocolate chip cookies. Is it possible for it to be this easy?
Misty says
Yes!! So easy and really good in cookie dough, if I do say so myself.