


This No Bake Chocolate Cheesecake is just one of the 20+ flavors in our collection of Cheesecake Recipes we love! It's rich, fluffy, and full of deep flavor, with a touch of sour cream to keep it light. The secret to a silky smooth, stable filling is using real chocolate (not cocoa powder). Pile it into an Oreo cookie crust for a stellar dessert - no oven time needed!
Keep reading for our best tips, topping ideas, storage instructions, FAQs and more to help this treat turn out perfectly every time!
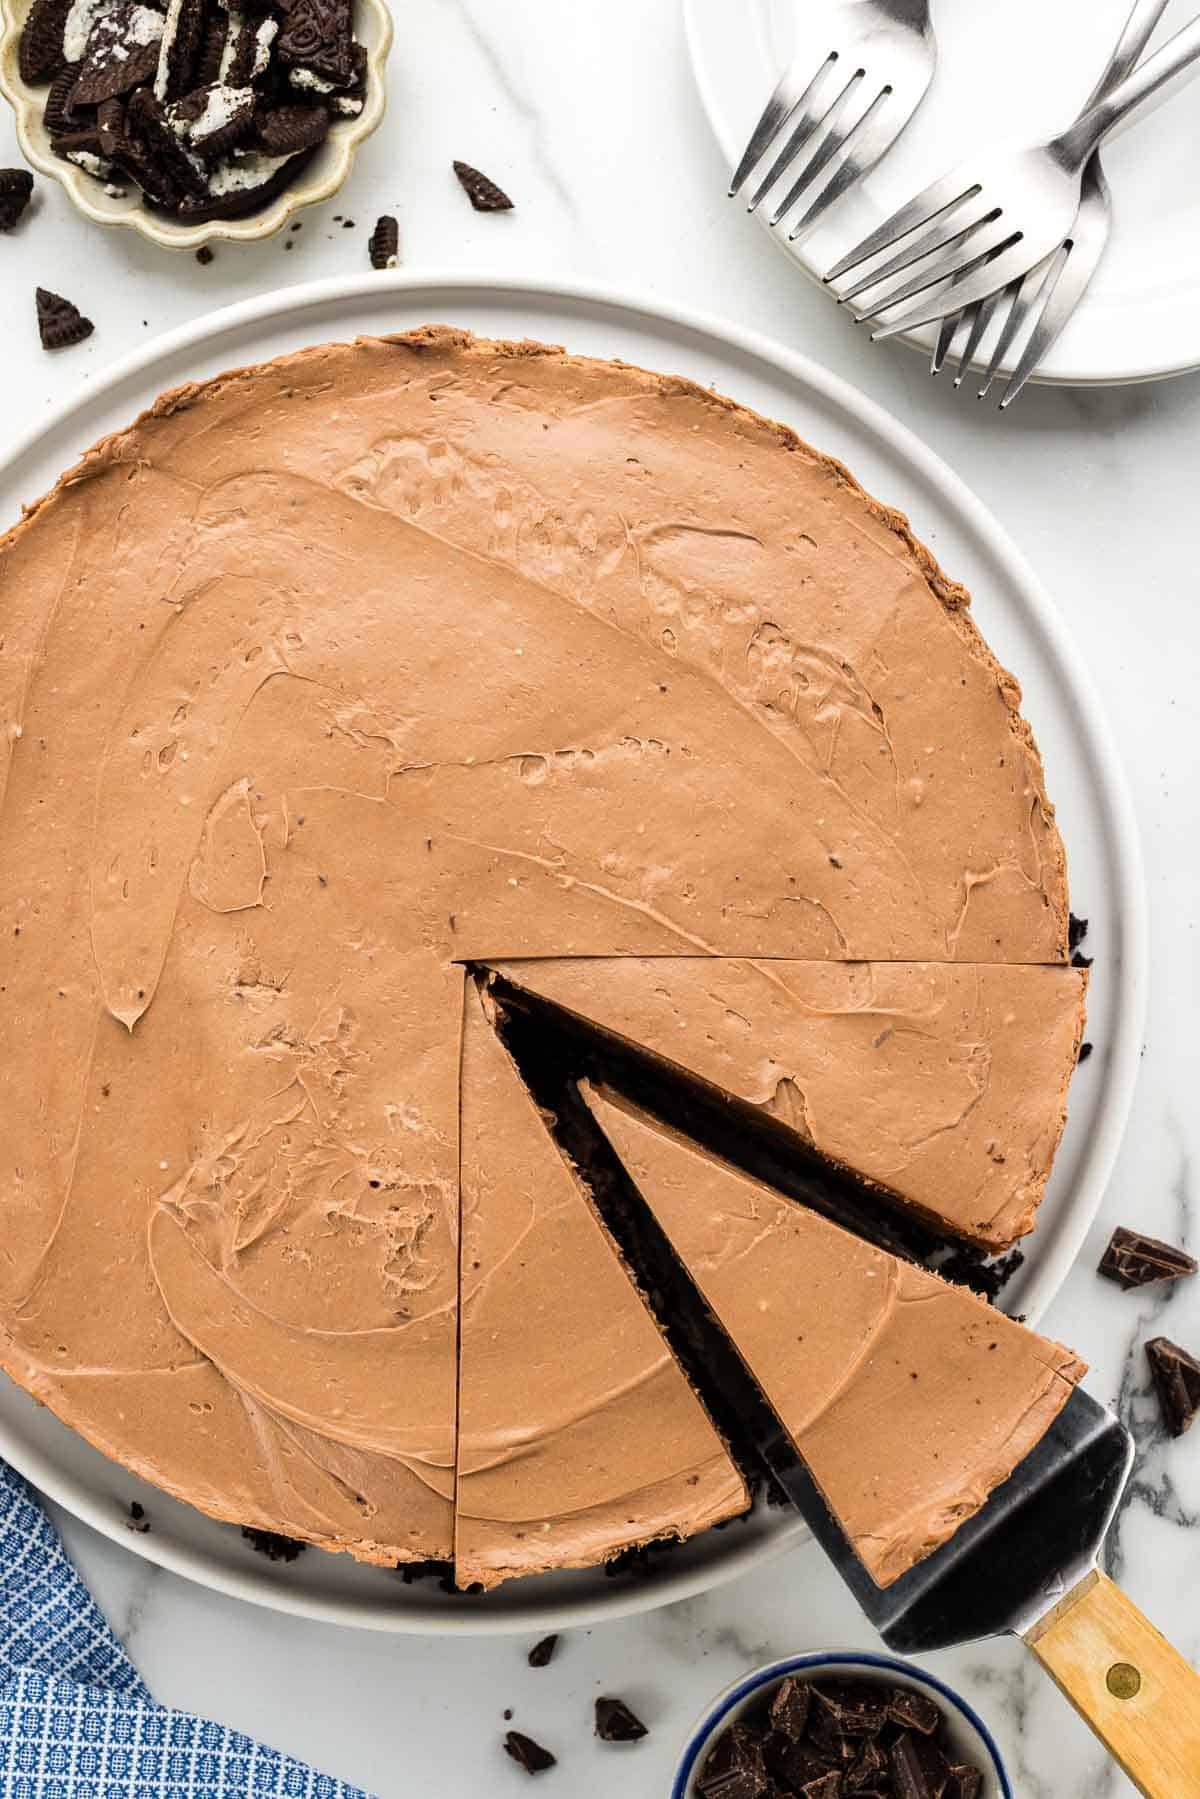
I was still in high school the first time I made Chocolate Cheesecake and I was instantly hooked. It was one of those desserts I could eat for days without getting tired of it.
Years later, I discovered No Bake Cheesecake. I loved the lighter mousse-like texture and how simple it was to make without ever turning on the oven (especially during our terribly hot summers).
This recipe combines the best of both worlds, with a deep chocolatey flavor and creamy, fluffy filling. It might be one of my all-time favorites!
Skip to:
Why this recipe made the cut
Whether you are a new baker or experienced home cook, we specifically built this recipe to be a success. We pulled from literally years of cheesecake-making experience and made several different versions to get it just right. There are two things that make this recipe stand out from the crowd:
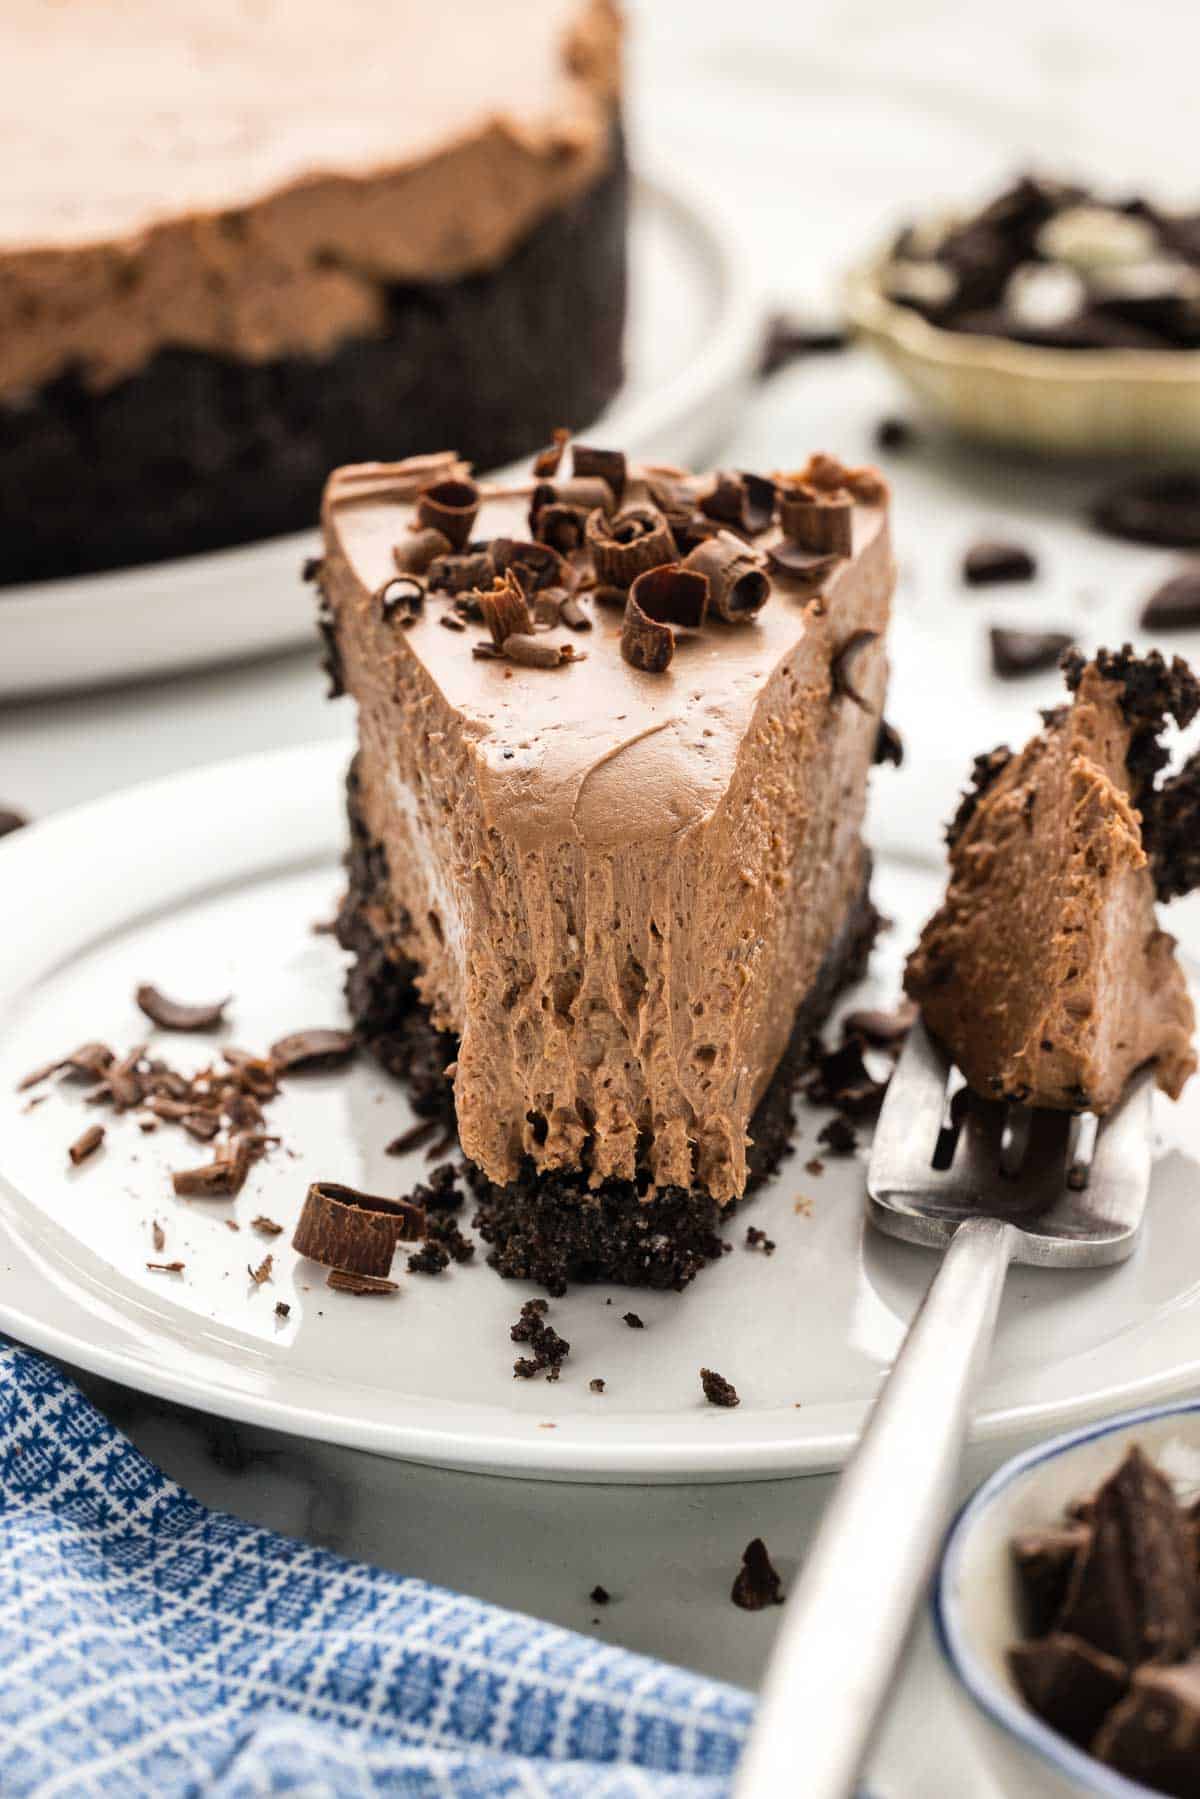
- Dreamy texture! No gelatin, sweetened condensed milk, or pudding mixes needed. We use real melted chocolate instead, which naturally firms up as it cools to create a stable, cloud-like texture.
- Incredible flavor! Deep, rich, and just a hint of tang to balance it out. Real chocolate makes all the difference! Some recipes use cocoa powder, but it really falls flat in comparison.
Ingredients for chocolate no bake cheesecake
This recipe only requires 9 ingredients, which for baking is not bad! Quantities are in the recipe card below, but I suggest reading through these brief tips for best results.
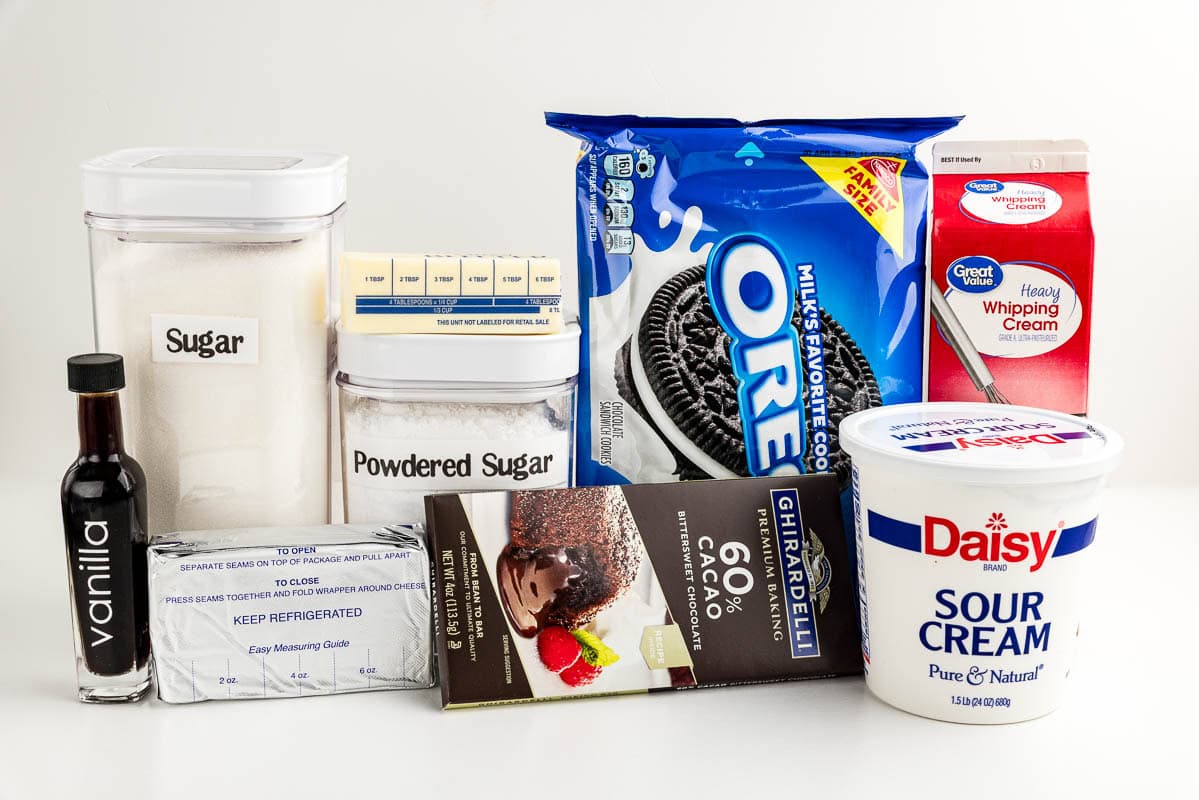
- Oreo cookies: This may sound silly, but make sure you use fresh Oreos. Once they get stale, they start to lose some of their flavor.
- Butter: I use salted butter. If you use unsalted, just add a pinch of kosher salt for flavor.
- Bittersweet chocolate: This is the most important ingredient! It is a must to use a high-quality product for both flavor and texture. My first choice is always Ghirardelli bars, and my second choice is Trader Joe's Pound Plus bars (not an ad, just what we genuinely use).
- Heavy cream: This may also be called heavy whipping cream at your grocery store. This really cannot be substituted by any other dairy product. Half n half does not have enough fat content, and Cool Whip is full of excess sugars, stabilizers, and flavors that I do not recommend.
- Powdered sugar: This has extra starch added, which makes it more stable. It helps the cream not deflate or "melt" easily.
- Vanilla: You can use vanilla extract or vanilla bean paste. Either way, it truly complements the flavor.
- Cream cheese: Use full-fat, brick cream cheese. You absolutely cannot use the whipped kind in tubs.
- Granulated sugar: You can use regular white sugar or organic cane sugar.
- Sour cream: This will both lighten the texture and balance the flavor, noticeably. You can substitute with plain Greek yogurt if needed, although it won't be exactly the same flavor.
Helpful kitchen tools


How to make no bake chocolate cheesecake
For starters, open a 9-inch springform pan and place a piece of parchment paper on the bottom, then reassemble and lock the walls in place. Trim off the overhanging parchment, then spray the pan with non-stick baking spray.
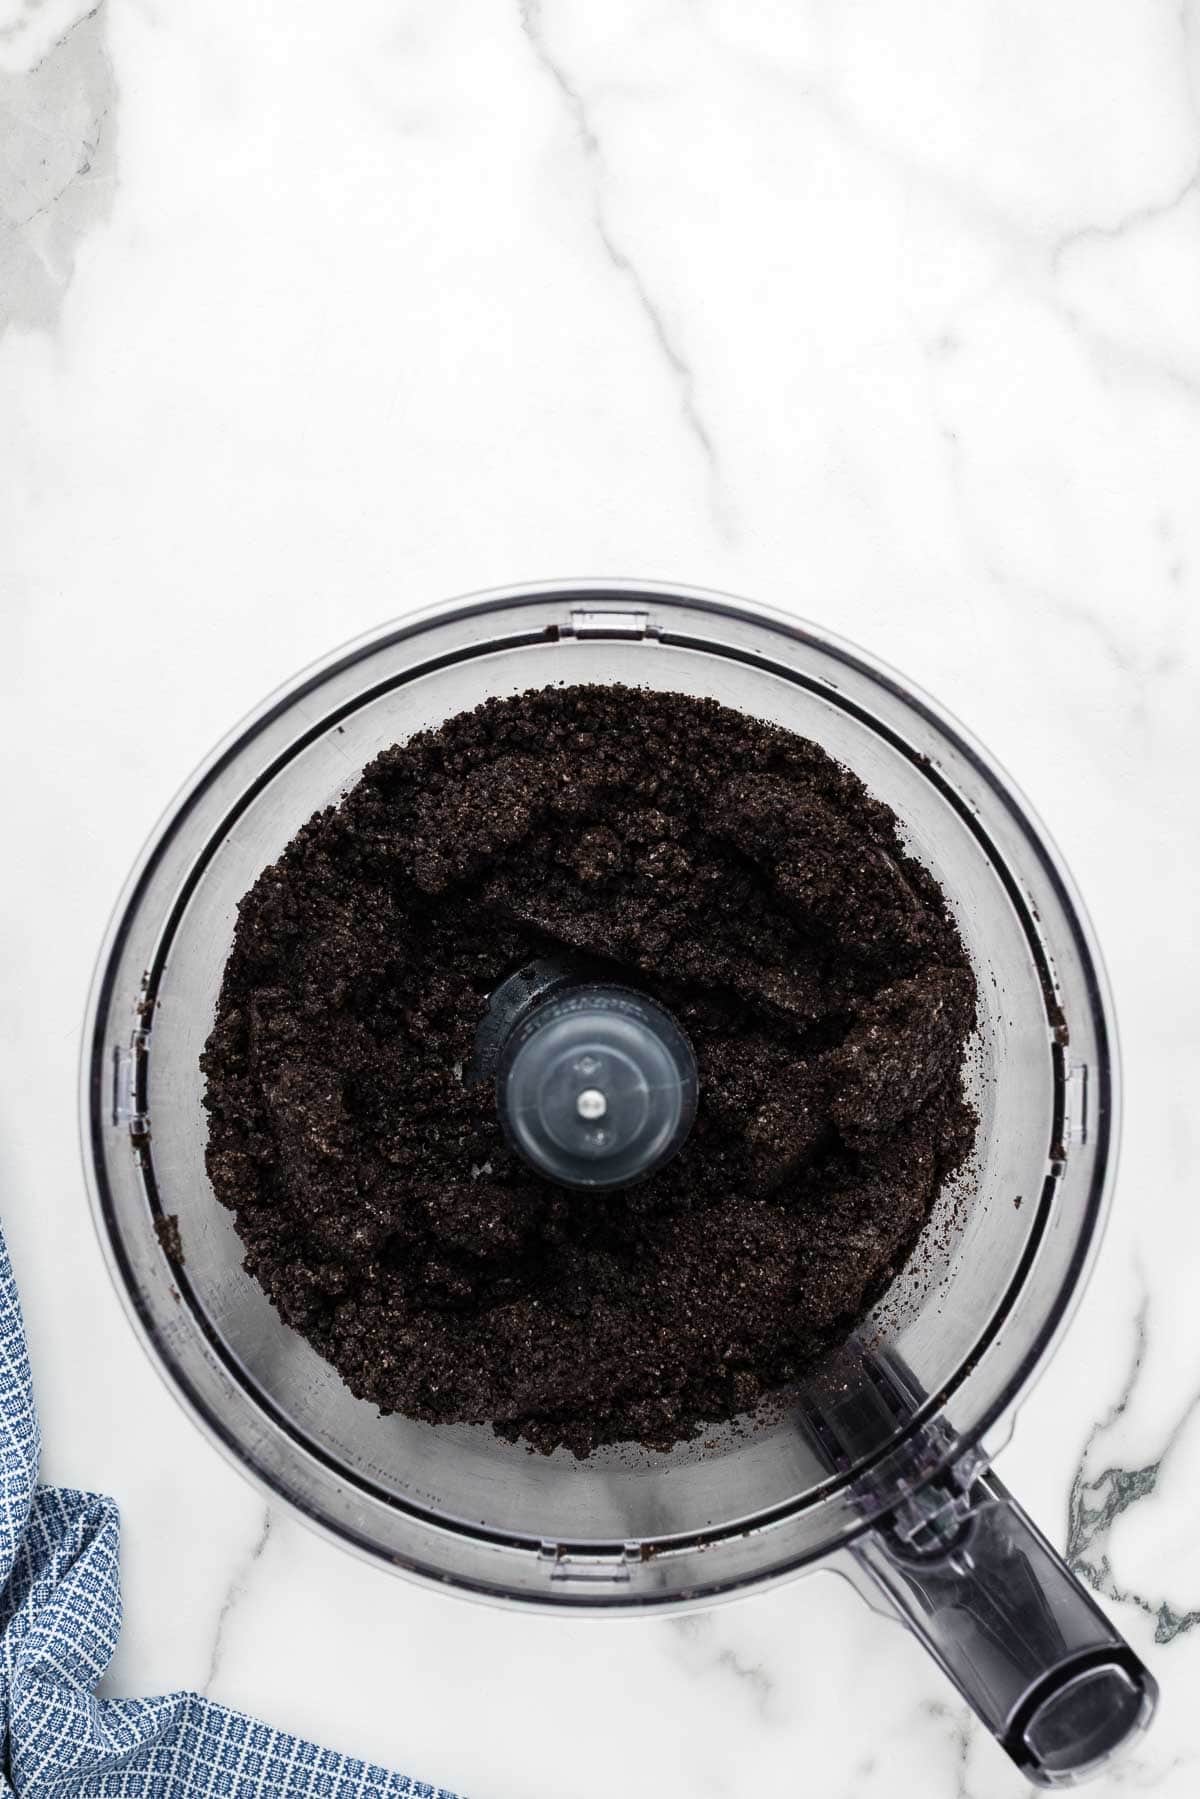
In a food processor, pulse the Oreos until they are fine crumbs and no large pieces remain. Add the melted butter and pulse until evenly combined.
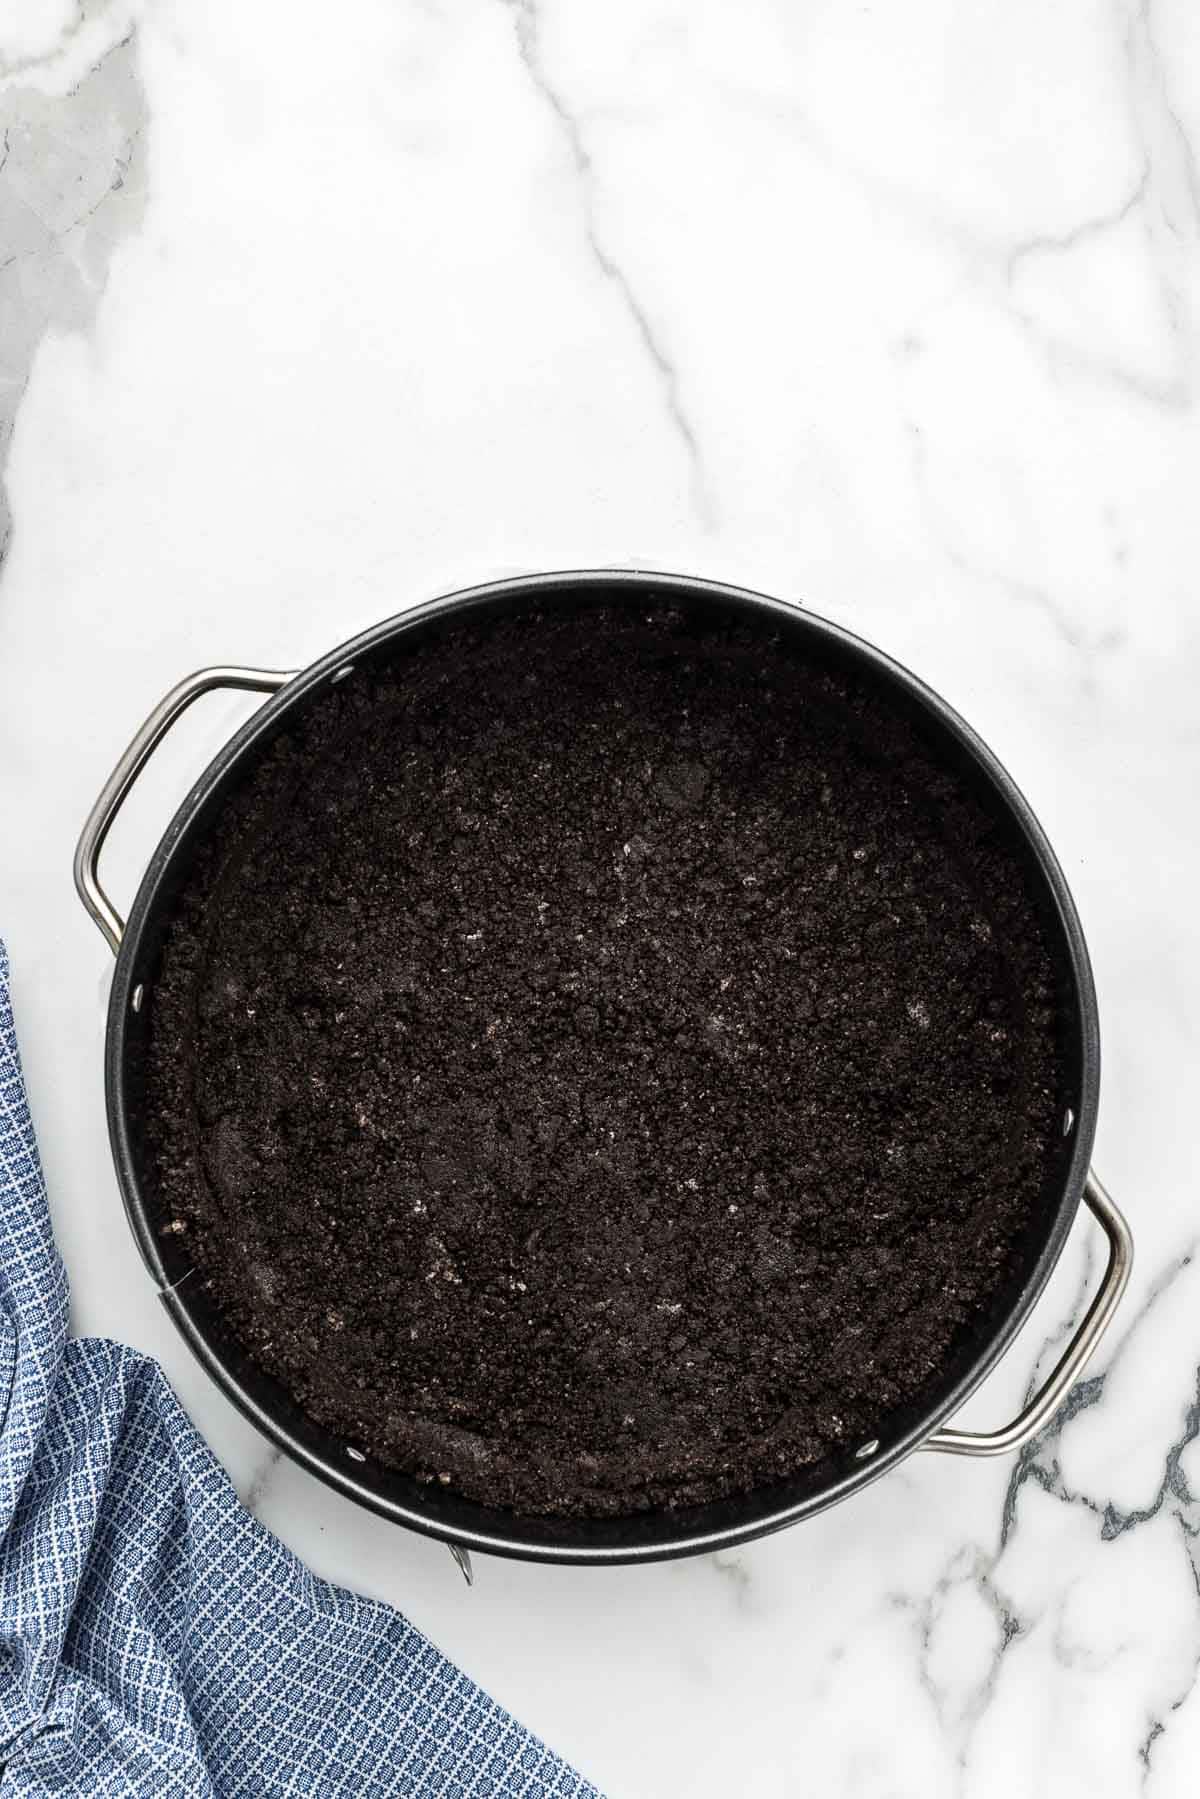
Pour about half the crumbs into the prepared pan, then use a tamper or measuring cup to press the crust firmly 1.5-2 inches up the sides.
Pour the remaining crumbs into the pan and press them firmly into an even layer on the bottom. Place the crust in the freezer while you move onto the next step.
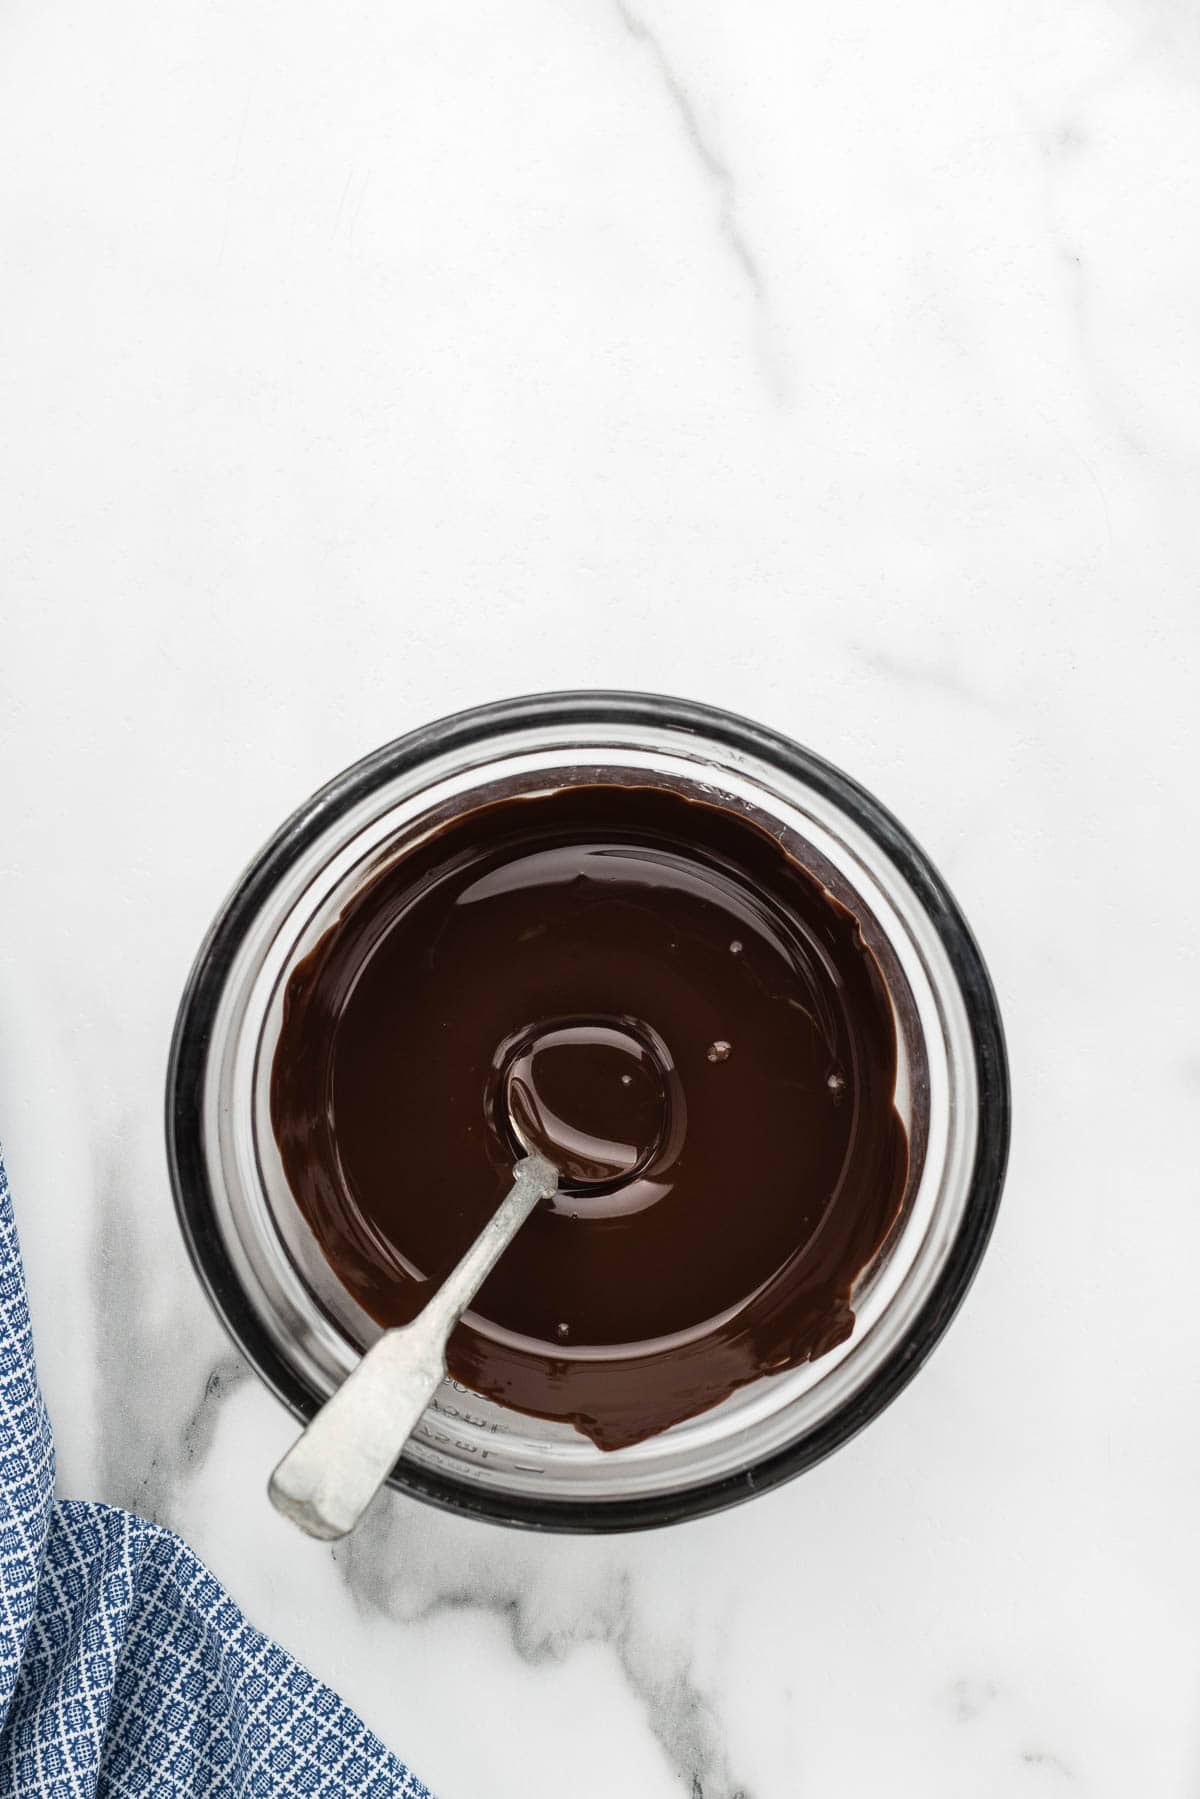
To start the filling, place the chopped chocolate in a microwave safe bowl and microwave on high heat for 1 minute. Stir well, then continue heating in 30 second increments, stirring between each, until it is completely melted. Set it aside to cool.
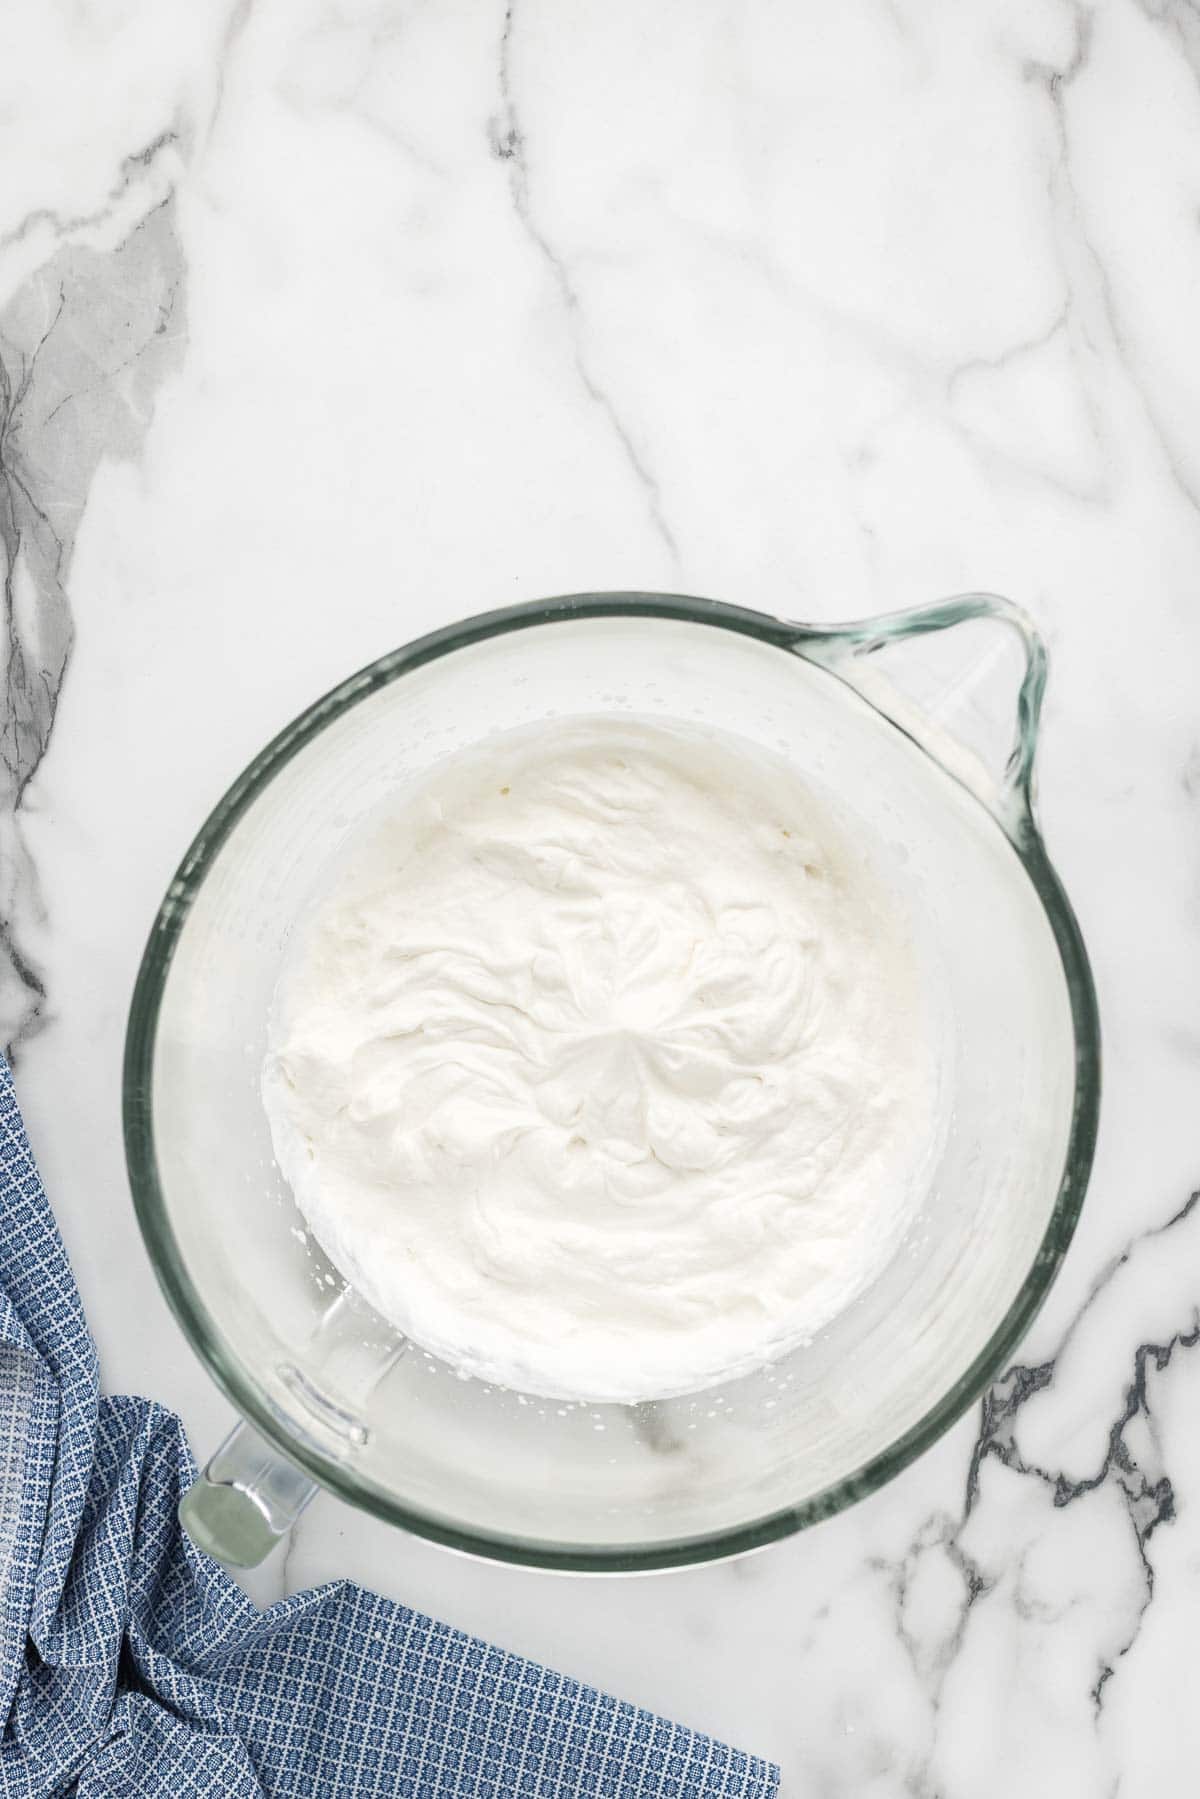
In the bowl of a stand mixer fitted with a whisk attachment, whip the heavy cream, powdered sugar, and vanilla on medium high speed until stiff peaks form (the peaks should hold their shape when you pull the whisk out).
Carefully scoop the mixture into a large bowl then set aside in the fridge.
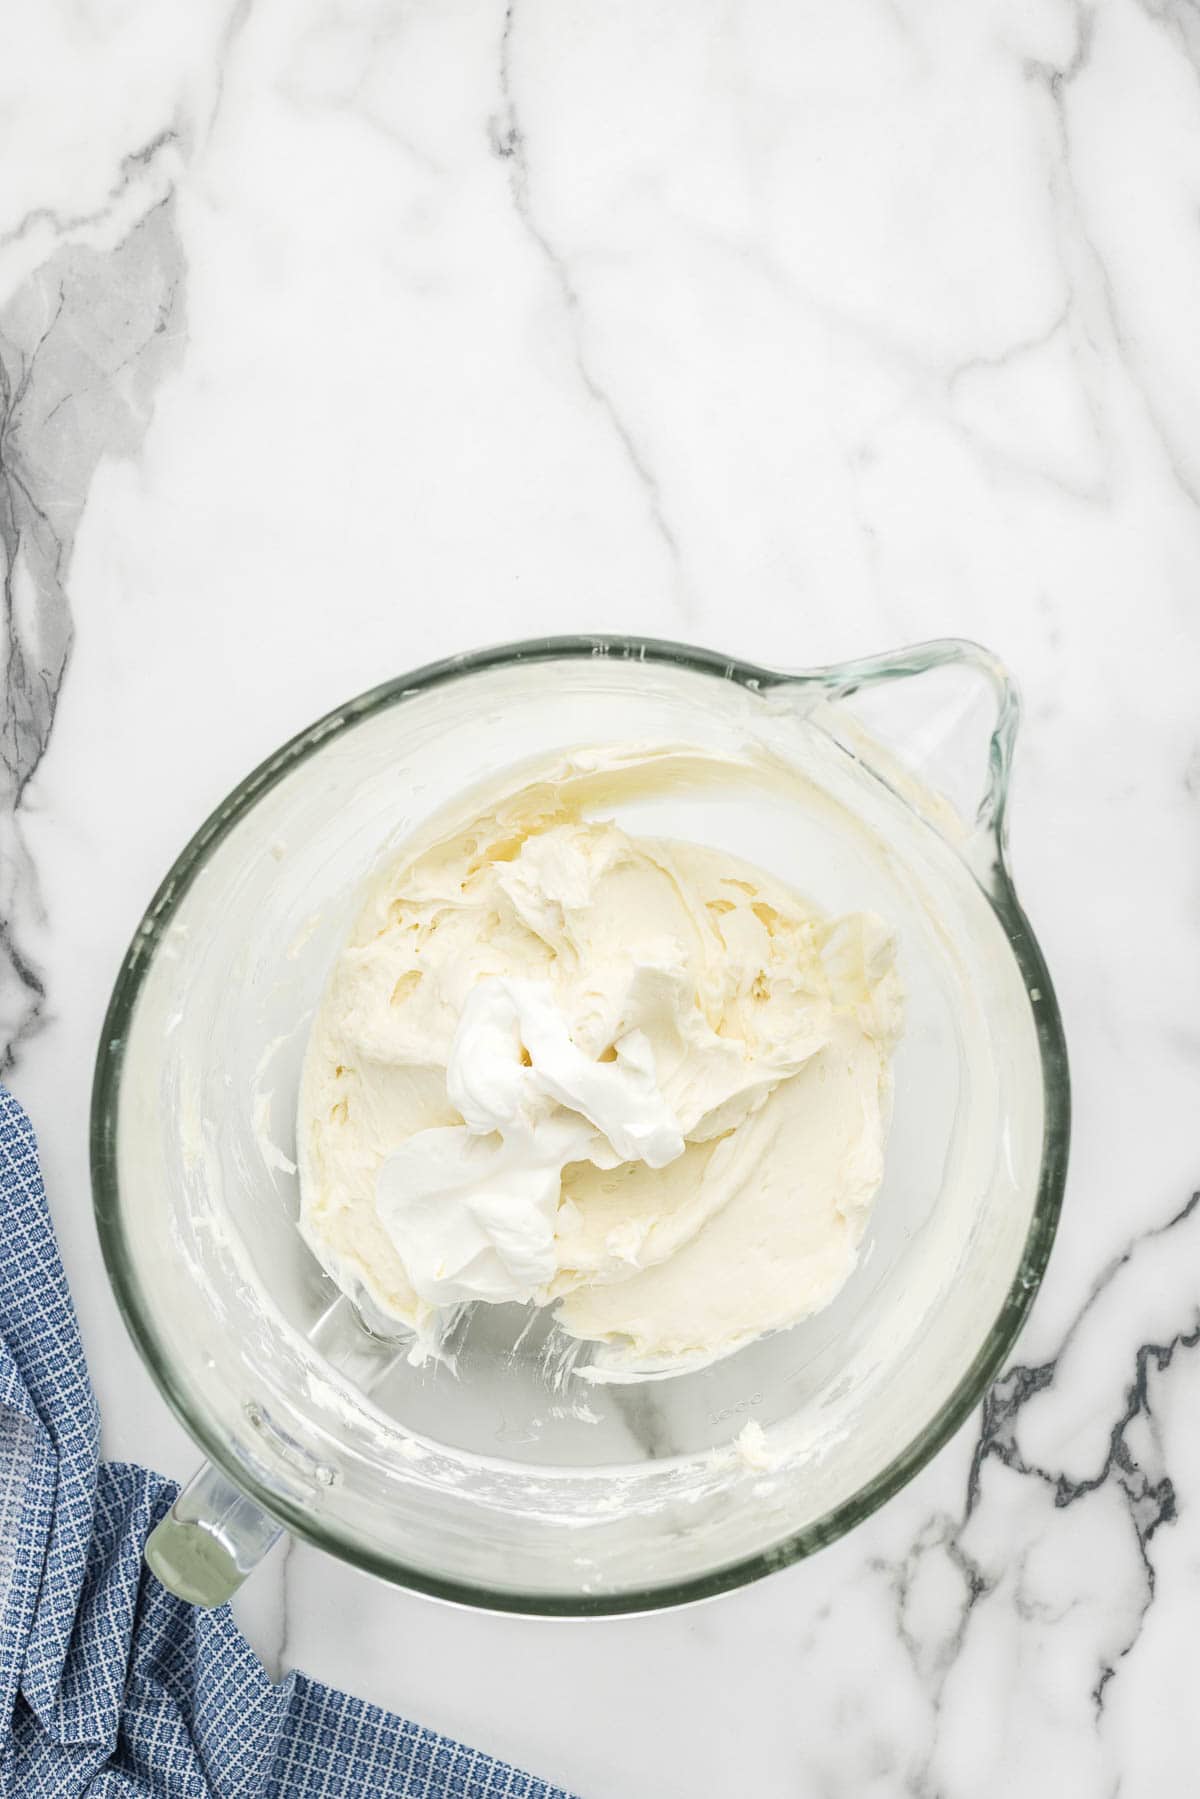
In the now empty bowl, use the paddle attachment to beat the cream cheese and granulated sugar on medium speed until really smooth, about 30-60 seconds. Use a rubber spatula to scrape the bowl well.
Add the sour cream and beat again on medium-high speed for 2-3 minutes. The mixture should be fluffy, but still relatively thick.
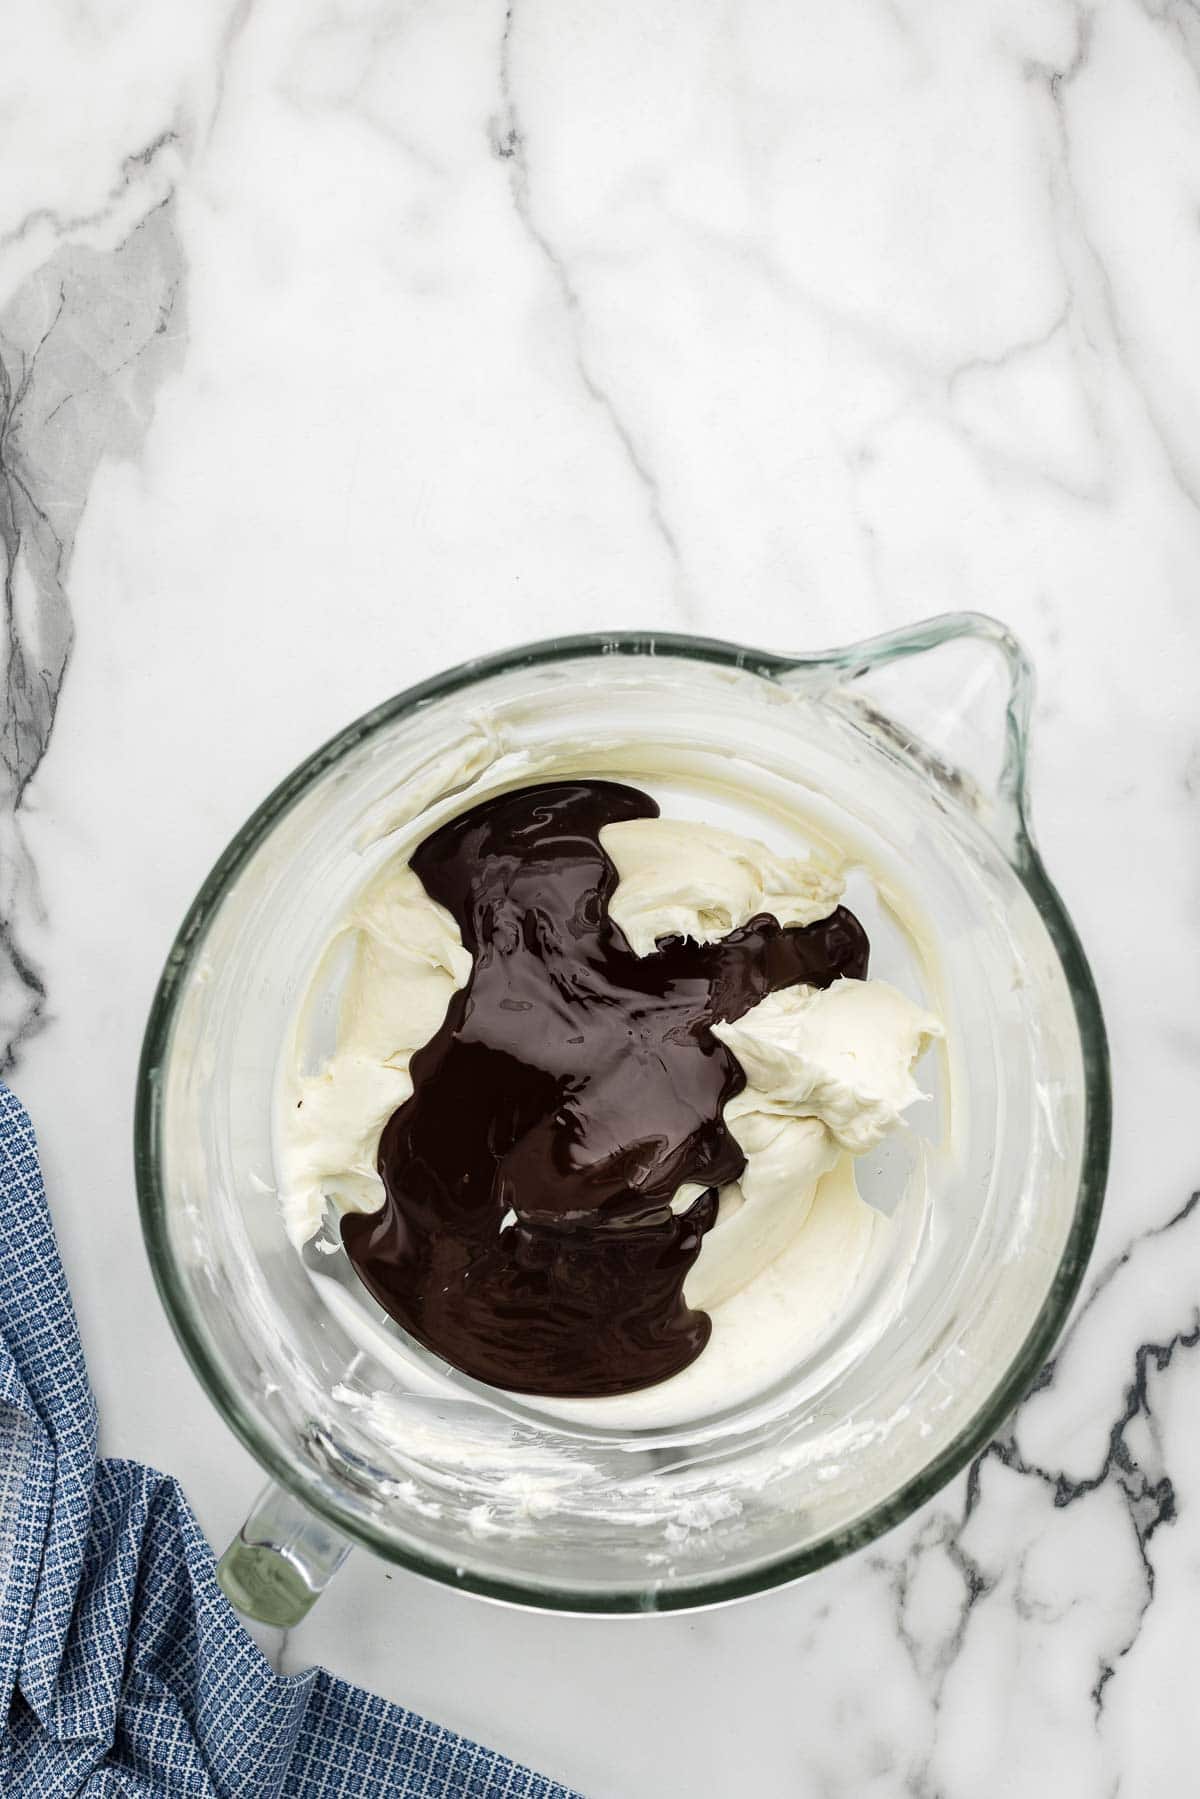
Pour the cooled chocolate into the cream cheese mixture. Mix on low speed until it is fully combined.
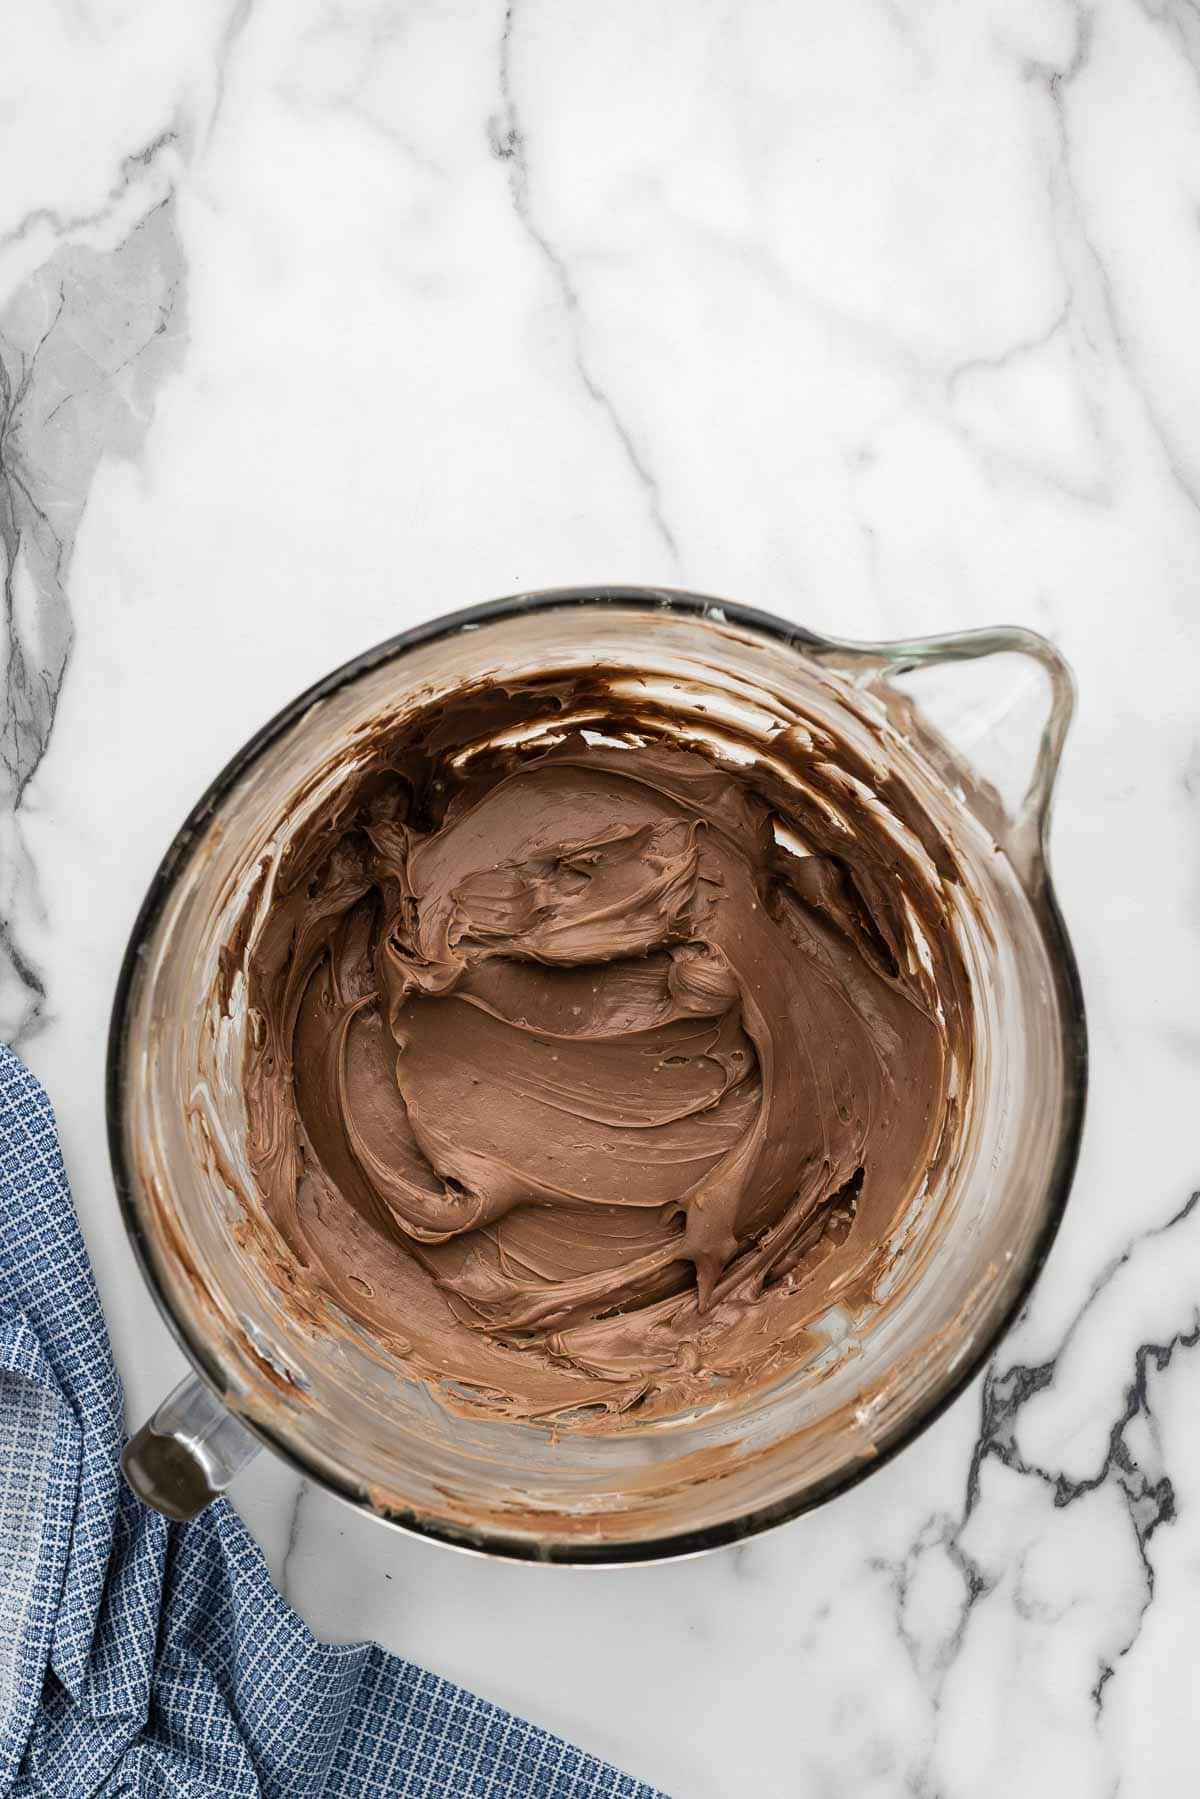
You'll want to pause and scrape the sides and bottom of the bowl several times to help it mix evenly. It should be smooth and even in color.
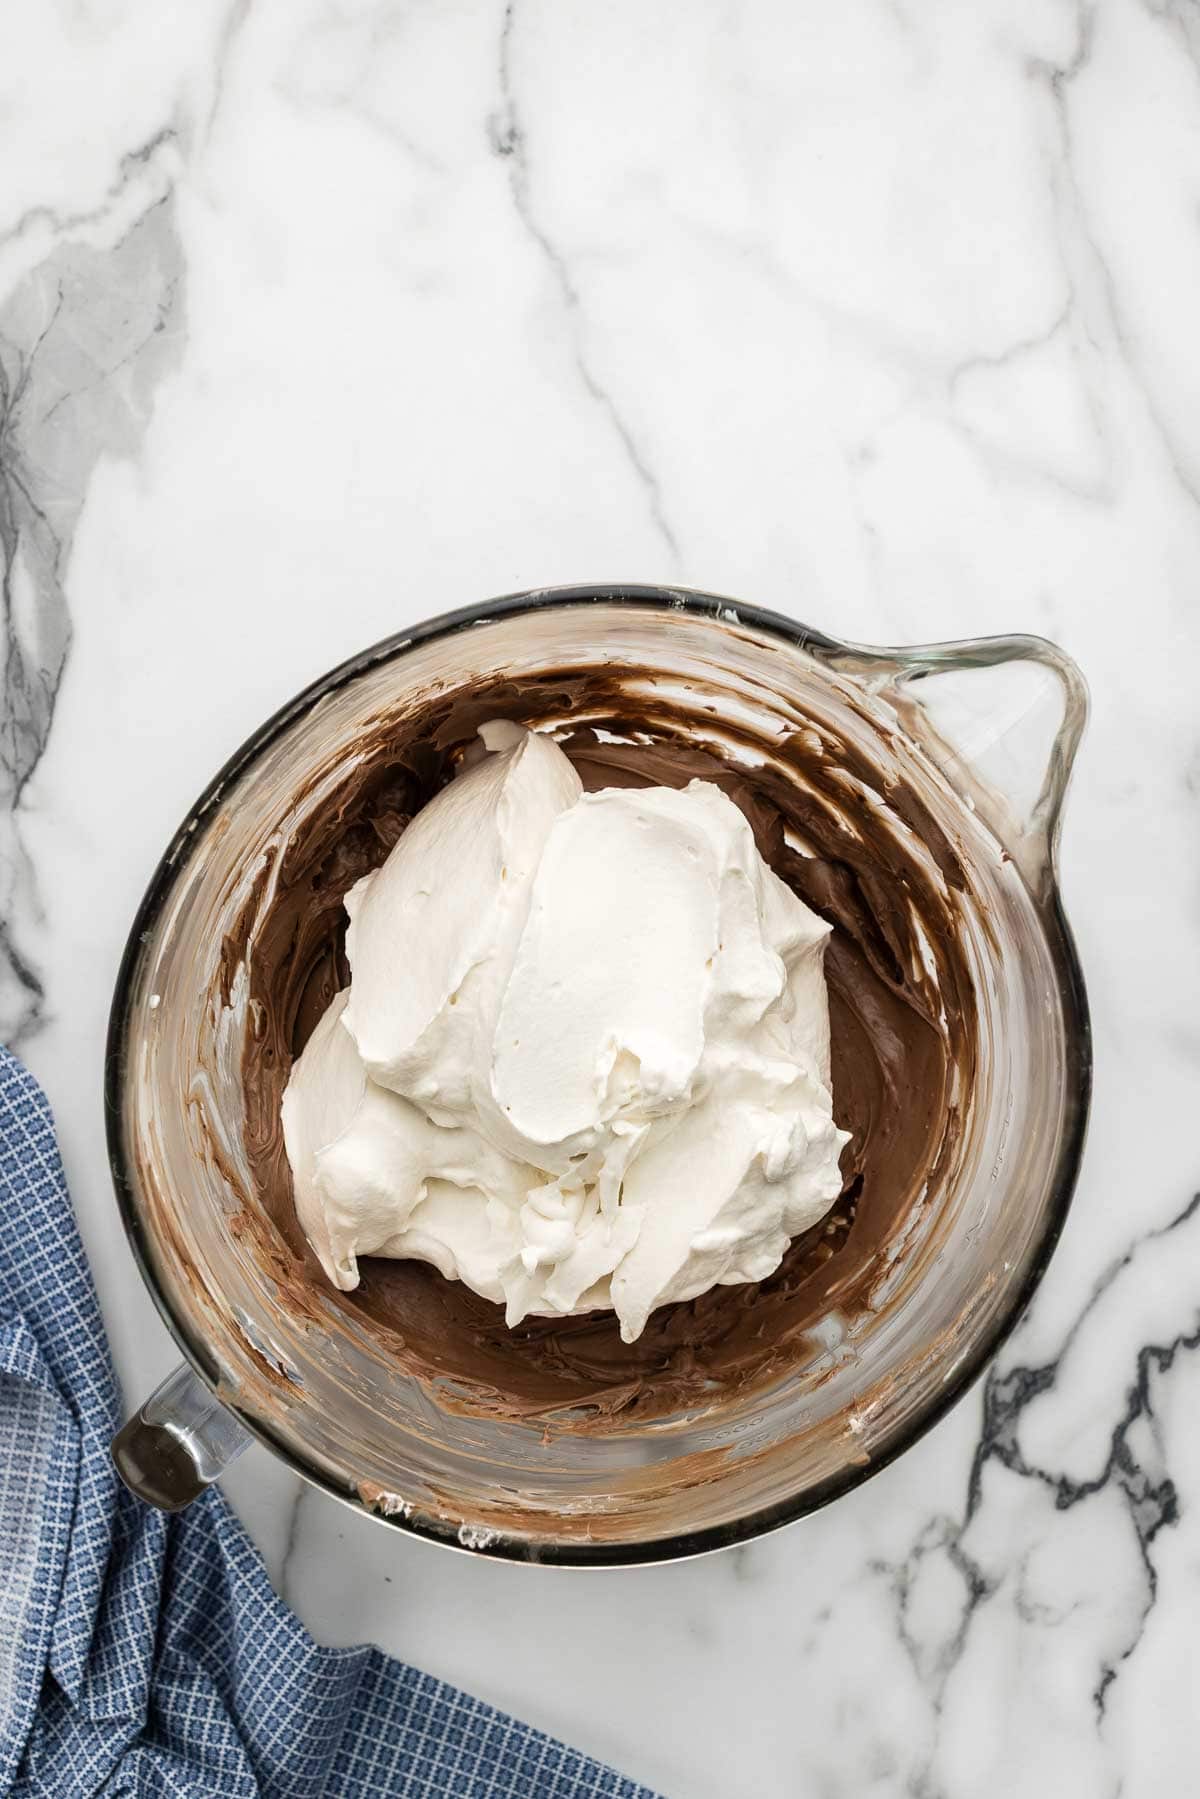
Using a rubber spatula, fold in the whipped cream you made earlier. Work gently, turning the bowl after each fold, to help it distribute evenly without deflating.
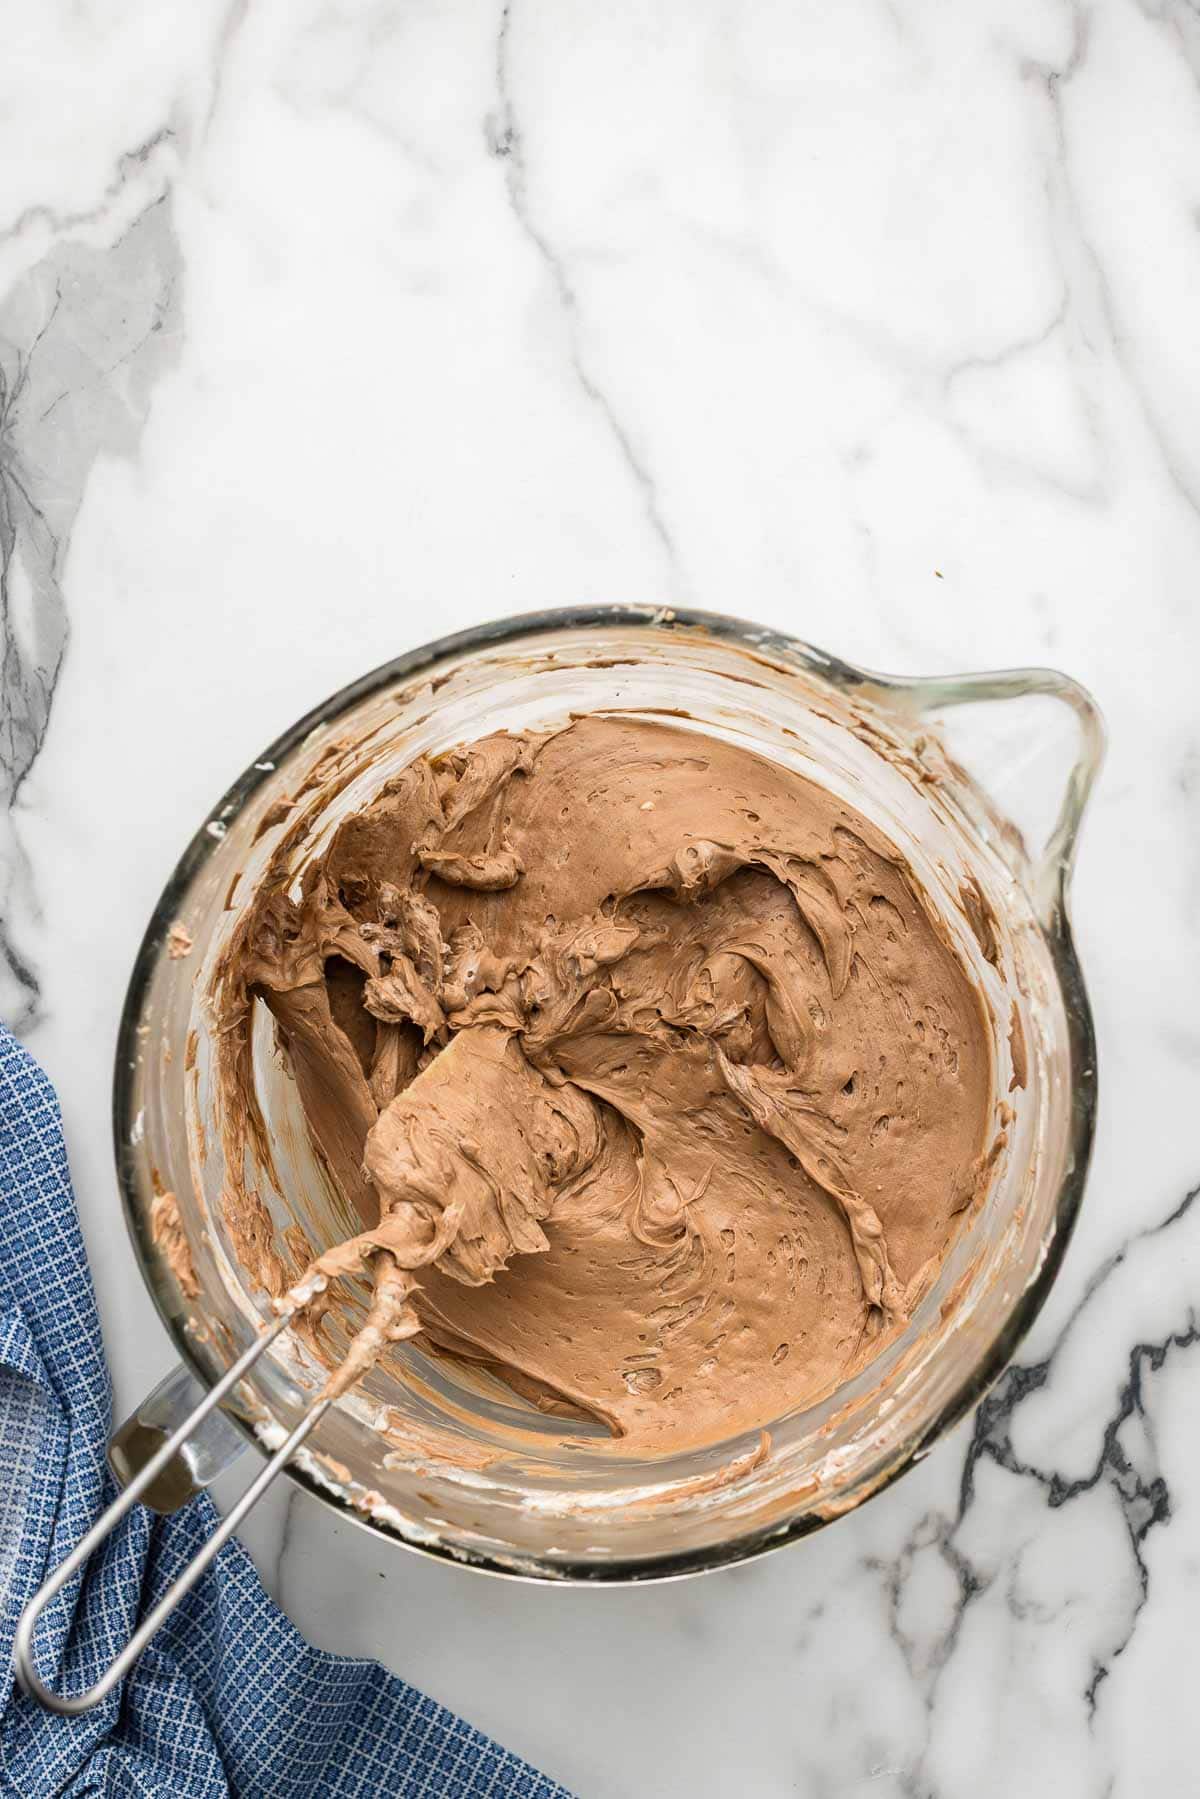
Keep going until the mixture is evenly combined, with no white streaks remaining. Stop as soon as it is combined, being careful not to overmix.
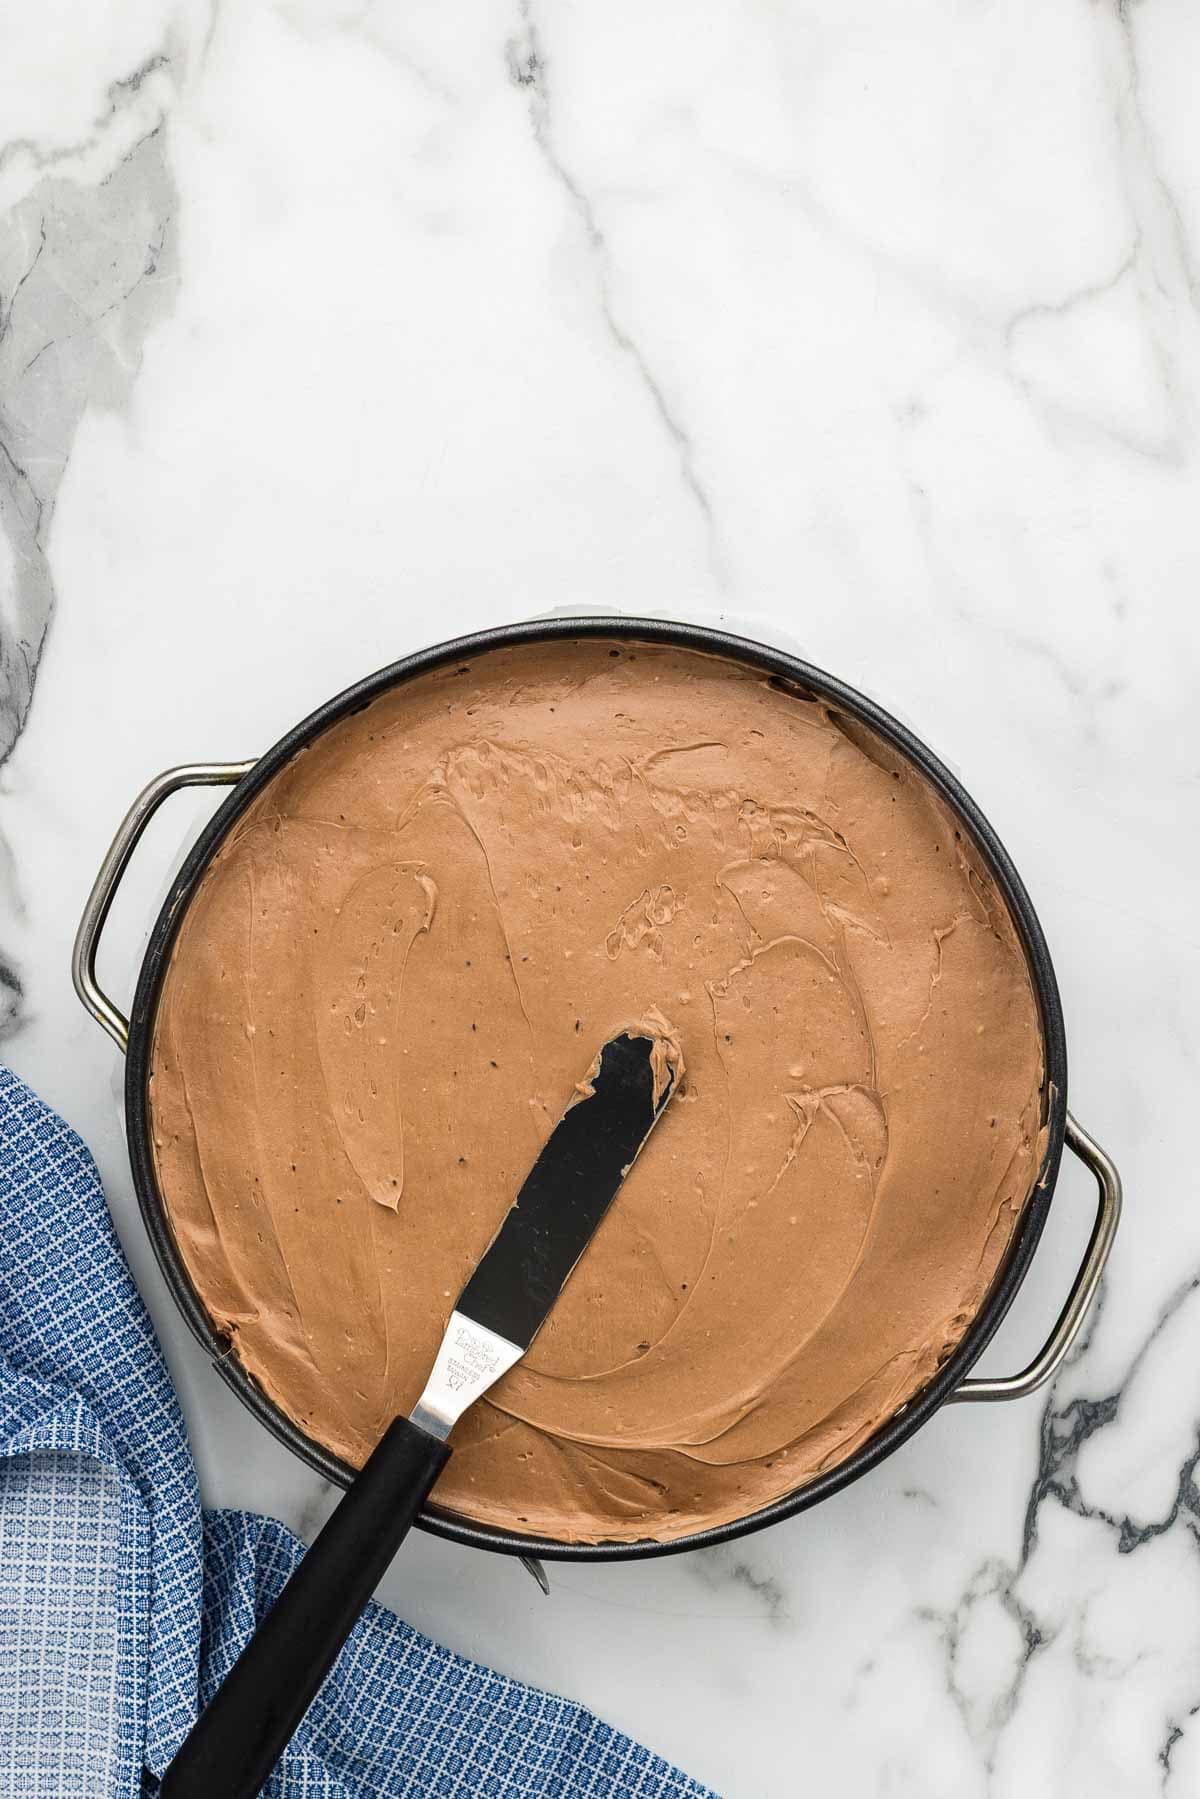
Pour the filling into the prepared crust, then use an offset spatula to smooth the top. Once totally smooth, cover it with plastic wrap and place in the refrigerator for at least 12 hours or overnight.
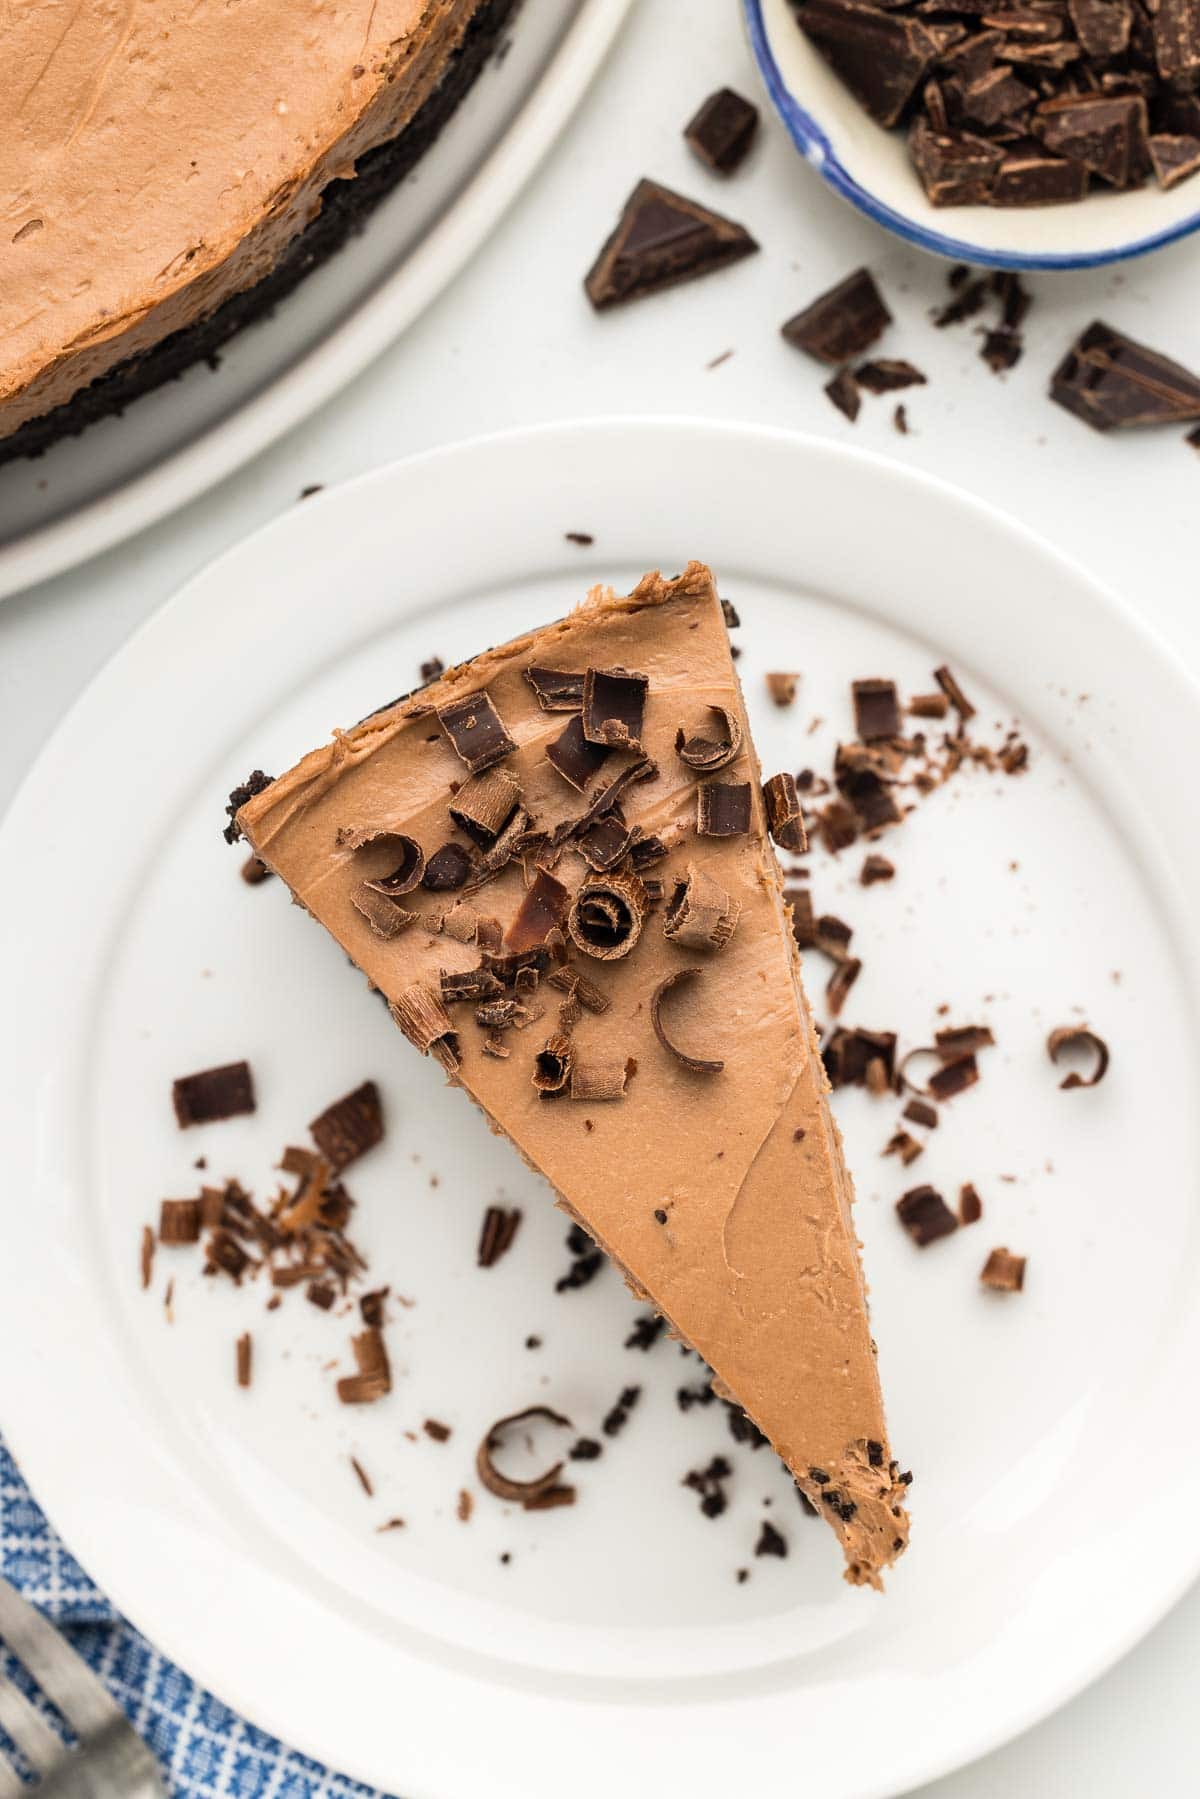
Once chilled, remove the cheesecake from the fridge and carefully release it from the pan. If it appears to be sticking, carefully run a sharp knife around the edge before releasing it. Serve with fresh whipped cream and chocolate shavings, if desired.
Storage instructions
This dessert is best served within 24 hours, however it will last in the fridge for 2-4 days. Ensure it is sealed tightly with plastic wrap or placed in an airtight container to keep it fresh.
Serving suggestions
It is absolutely delicious served straight out of the fridge, no extra toppings needed! But if you want to fancy it up a little, here are a few great topping ideas.
- Freshly made whipped cream
- Chocolate shavings (use a vegetable peeler and a bar of chocolate to make them yourself)
- Peanut Butter Whipped Cream
- Chocolate Ganache (this should be closer to room temperature to avoid melting the cheesecake)
- Fresh strawberries or raspberries
- Chopped peanuts or pecans
- Caramel Pecan Sauce (this should be closer to room temperature to avoid melting the cheesecake)
Should I bake the crust?
This recipe is written as a completely no-bake dessert, so it does not call for baking the crust. However, an unbaked crust by nature is always a bit more crumbly. If you prefer a less crumbly crust, you can absolutely opt to bake it at 350°F for 8-10 minutes. It's very important to allow it to cool all the way. Any warmth at all will either melt the filling or cause condensation to form, which will make the crust soggy.
FAQs
I strongly suggest allowing it to initially set for at least 12 hours so it reaches the ideal firmness. The texture it noticeably different when you shortcut this step.
Because this filling includes melted chocolate, it should set up great! But if it is too soft, there are two main reasons. First, if the cream cheese was overly softened, it won't set as well. It should be soft enough to easily indent when pressed with your finger, but should still have a little resistance. Second, if you over-whipped the cream past stiff peaks, it may separate and make the filling soupy.
You can freeze this cheesecake, but it's important to note that once it's thawed, the texture will become a bit softer and looser. Personally, we recommend keeping it refrigerated for the very best texture.
Tips & tricks
- Don't over-soften the cream cheese or it won't set up as well. It should be soft enough to easily indent with your finger, but still have a bit of resistance.
- Allow the chocolate to cool all the way before adding it to the batter to avoid melting the filling.
- Be sure to fold in the whipped cream, not stir it in. If you are new to this technique, check out this short video showing a simple folding technique.
- However the top looks when you place it in refrigerator is how it will look when it is served, so take the time to really smooth it out.
More recipes
Looking for other recipes? Try these:
This post was photographed by Rhadonda Sedgwick.
Recipe
No Bake Chocolate Cheesecake Recipe
Equipment
- stand mixer or hand mixer
Ingredients
Crust
- 30 oreos
- 6 tablespoons butter melted
Filling
- 1 ½ cups (6 oz) bittersweet chocolate chopped
- 1 ¼ cup heavy whipping cream cold
- ⅓ cup powdered sugar
- 1 tablespoon vanilla
- 24 oz (3 bricks) cream cheese softened
- ⅔ cup granulated sugar
- ¼ cup sour cream
For Topping (optional)
- Whipped cream
- Chocolate shavings
Instructions
Crust
- Open a 9-inch springform pan and place a piece of parchment paper on the bottom, then reassemble and lock the walls in place. Trim off the overhanging parchment, then spray the pan with non-stick baking spray.
- In a food processor, pulse the Oreos until they are fine crumbs and no large pieces remain. Add the melted butter and pulse until evenly combined.30 oreos, 6 tablespoons butter
- Pour about half the crumbs into the prepared pan, then use a tamper or measuring cup to press the crust firmly 1.5-2 inches up the sides. Pour the remaining crumbs into the pan and press them firmly into the bottom. Place the crust in the freezer while you make the filling.
Filling
- Place the chopped chocolate in a microwave safe bowl and microwave on high heat for 1 minute. Stir well, then continue heating in 30 second increments, stirring between each, until it is completely melted. Set it aside to cool.1 ½ cups (6 oz) bittersweet chocolate
- In the bowl of a stand mixer fitted with a whisk attachment, whip the heavy cream, powdered sugar, and vanilla on medium high speed until stiff peaks form (the peaks should hold their shape when you pull the whisk out). Carefully scoop the whipped cream into a large bowl then set aside in the fridge.1 ¼ cup heavy whipping cream, ⅓ cup powdered sugar, 1 tablespoon vanilla
- In the now empty bowl, use the paddle attachment to beat the cream cheese and granulated sugar on medium speed until really smooth, about 30-60 seconds. Use a rubber spatula to scrape the bowl well. Add the sour cream and beat again on medium-high speed for 2-3 minutes. The mixture should be fluffy, but still relatively thick.24 oz (3 bricks) cream cheese, ⅔ cup granulated sugar, ¼ cup sour cream
- Pour the cooled chocolate into the cream cheese mixture. Mix on low speed until it is fully combined. You'll want to pause and scrape the sides and bottom of the bowl several times to help it mix evenly. It should be smooth and even in color.
- Using a rubber spatula, fold in the whipped cream you made earlier. Work gently, turning the bowl after each fold, to help it distribute evenly without deflating. Keep going until the mixture is evenly combined, with no white streaks remaining. Stop as soon as it is combined, being careful not to overmix.
- Pour the filling into the prepared crust, then use an offset spatula to smooth the top. Once totally smooth, cover it with plastic wrap and place in the refrigerator for at least 12 hours or overnight.
- Once chilled, remove the cheesecake from the fridge and carefully release it from the pan. If it appears to be sticking, carefully run a sharp knife around the edge before releasing it. Serve with fresh whipped cream and chocolate shavings, if desired.Whipped cream, Chocolate shavings
Notes
- Don't over-soften the cream cheese or it won't set up as well. It should be soft enough to easily indent with your finger, but still have a bit of resistance.
- Allow the chocolate to cool all the way before adding it to the batter to avoid melting the filling.
- Be sure to fold in the whipped cream, not stir it in. If you are new to this technique, check out this short video showing a simple folding technique.
- However the top looks when you place it in refrigerator is how it will look when it is served, so take the time to really smooth it out.
Add Your Own Notes
Nutrition
All nutrition information is provided by a third party and is an estimate only. Use your own nutritional calculator for more specific measurements.
Misty says
This no bake cheesecake is so simple when there's no oven involved!