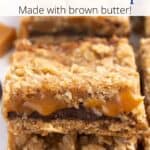
These Carmelita Bars are a true winner. I say that with confidence because when you serve dessert every single week at Sunday dinner, you quickly learn which recipes are the reliable, crowd-pleasing ones that everyone goes back for. These take your average bar and give them an upgrade with toasted butter and chocolate chunks to up the decadence. For a simple bar cookie, it really delivers!
We've developed and tested many brown butter recipes over the years, so you can trust that we know all the tips for using this deep, toasty flavor.
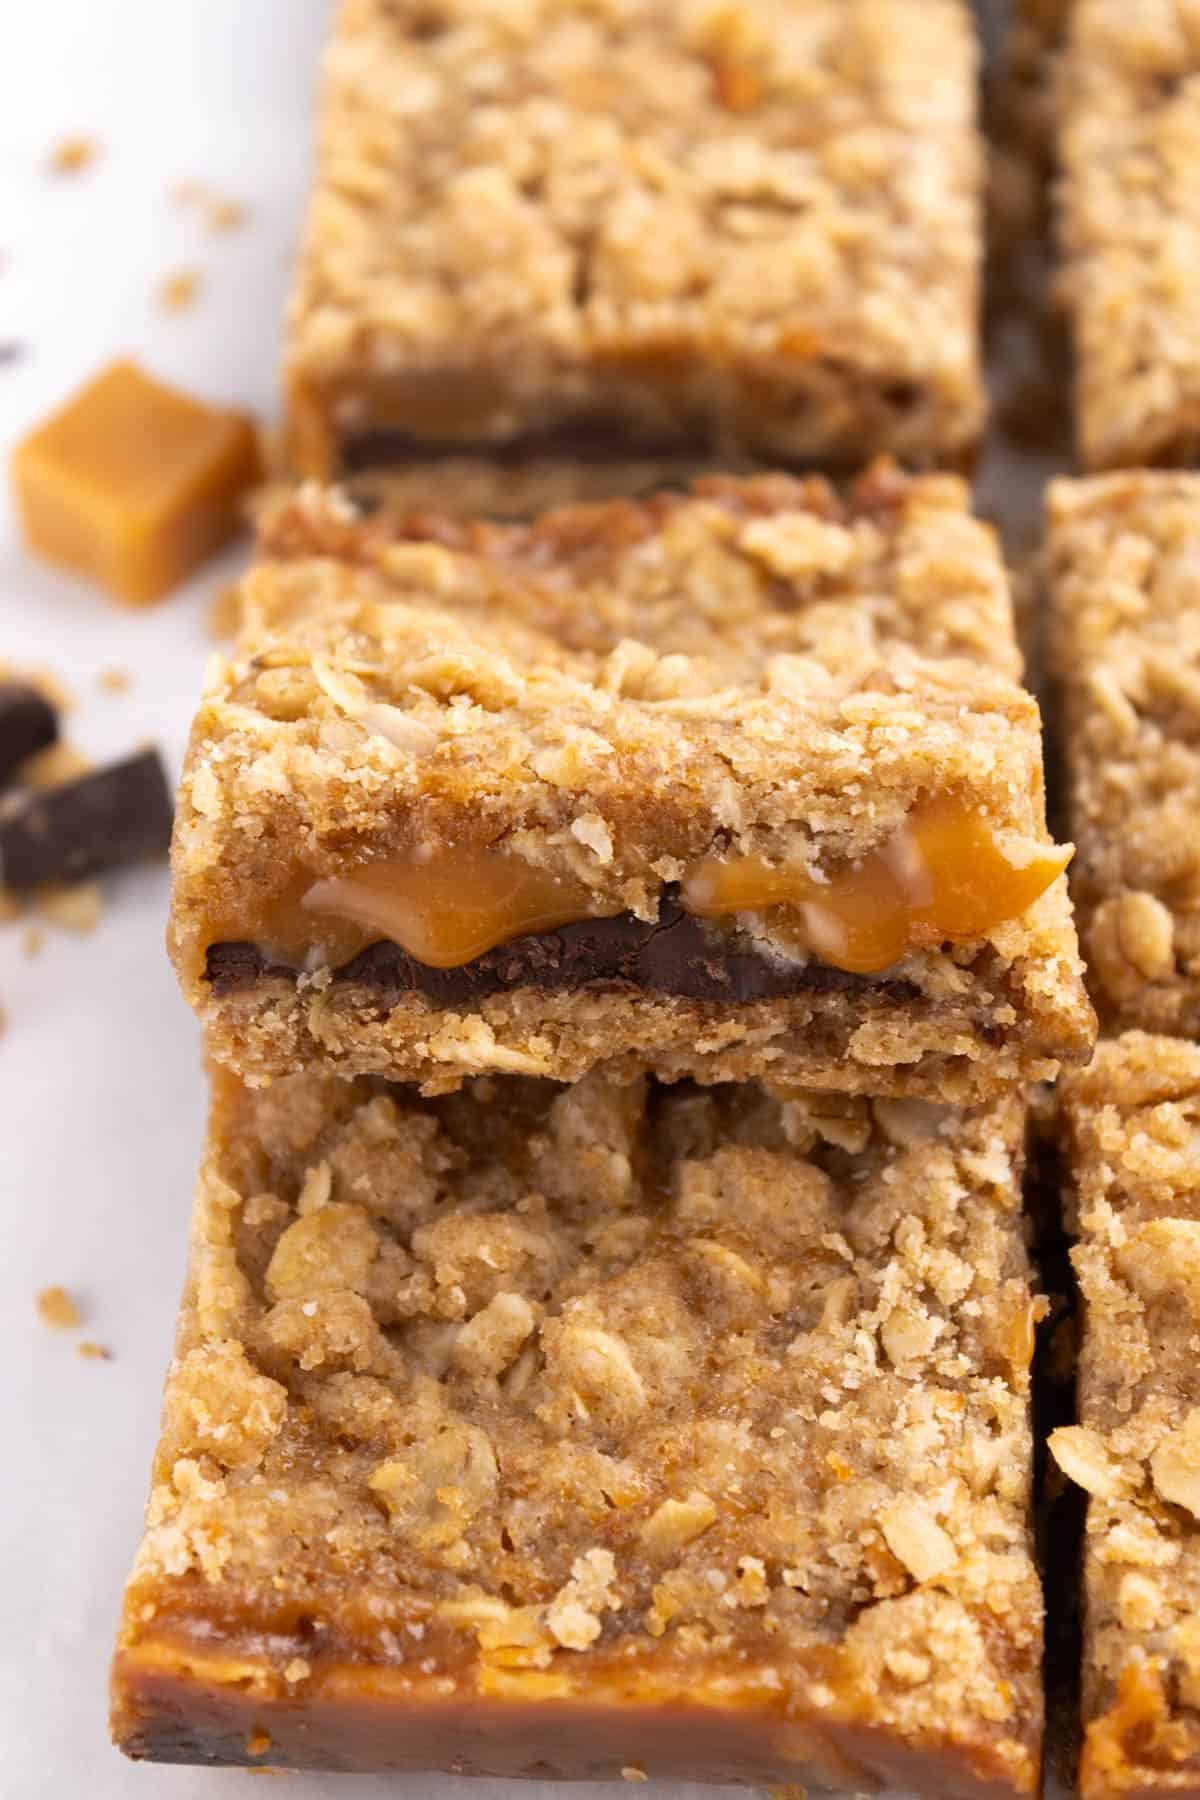
These Carmelitas are an upgraded version of the classic bar that makes them feel extra special. After testing different brands of caramels, types of chocolate, and base recipes, we landed on the combination that balances ease with the best flavor and texture.
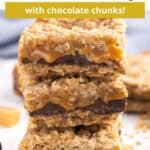
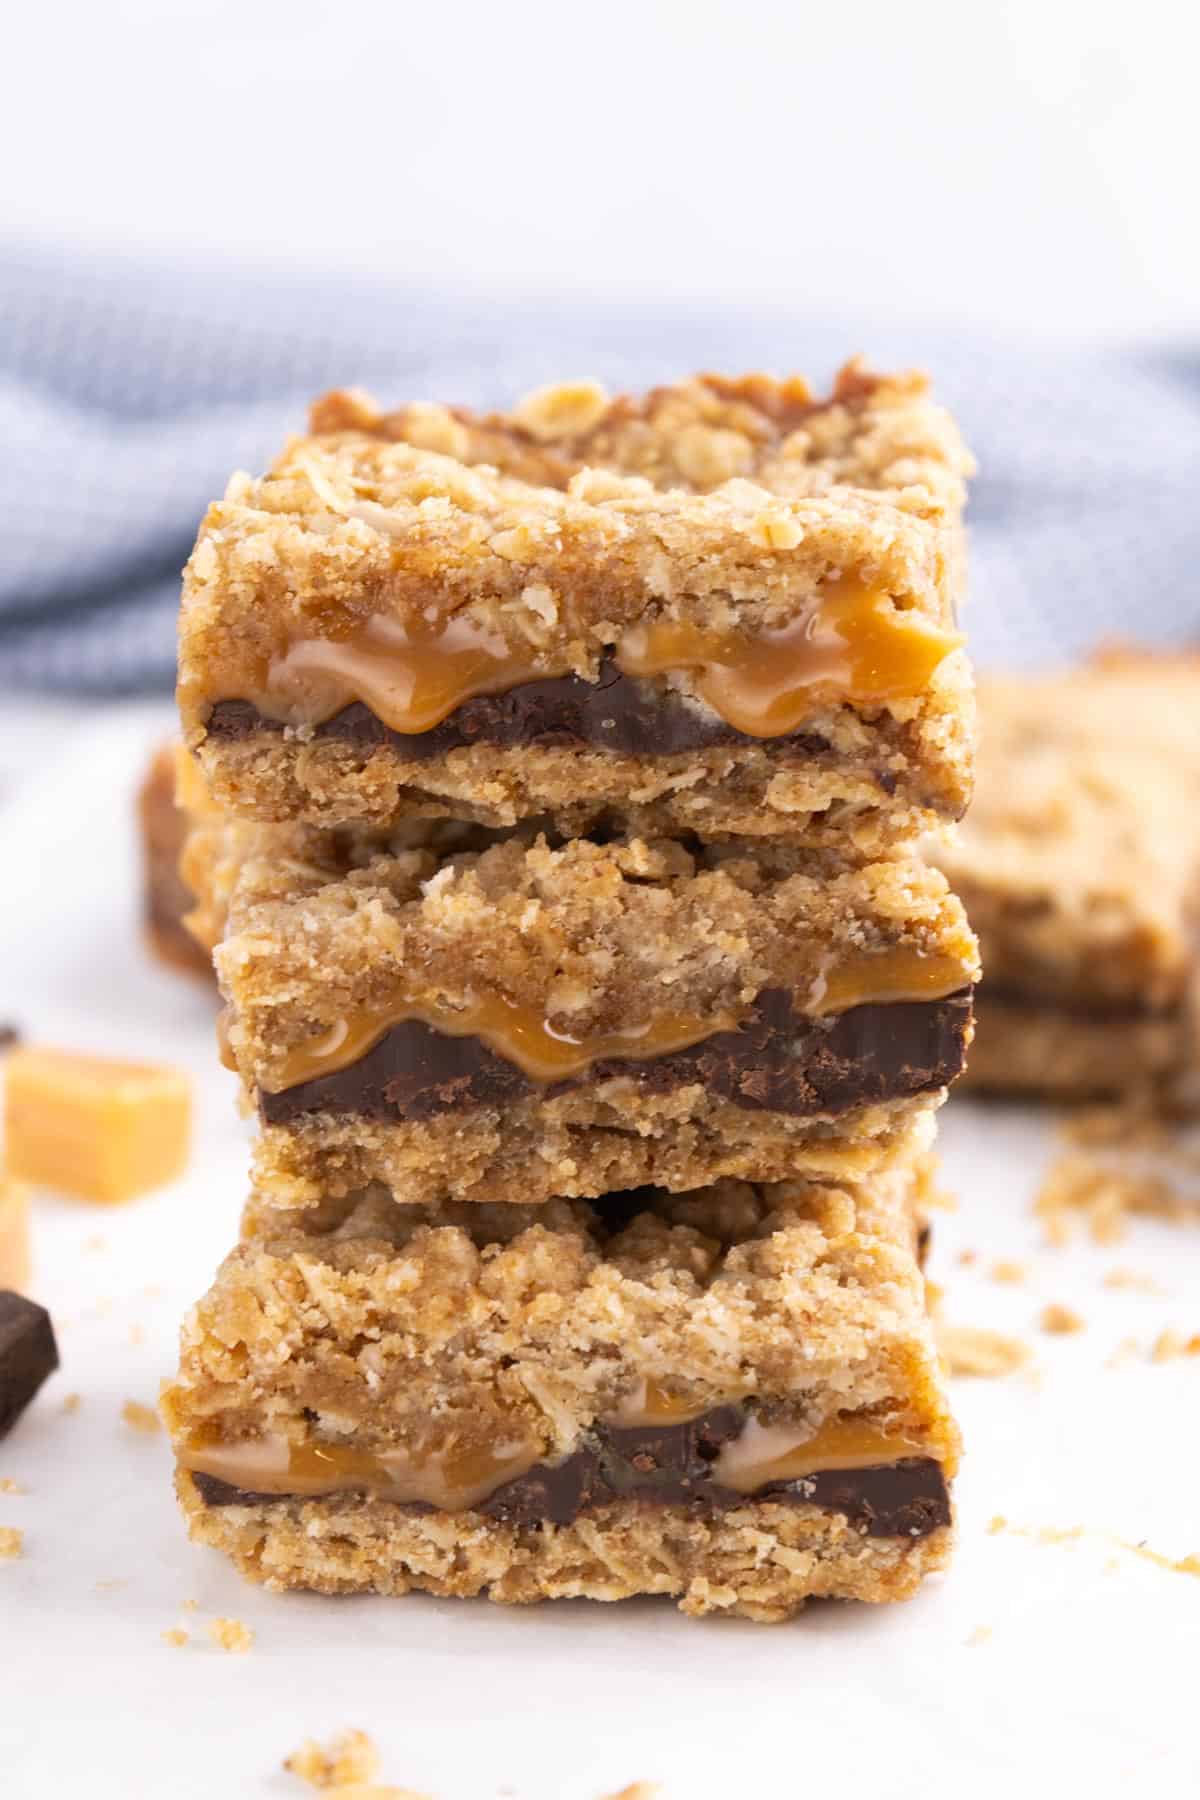
Browning the butter takes this treat over the top along with the gooey caramel, deep chocolate, and hearty oat layers. Bittersweet chocolate keeps them from being too sweet and gives them a richer, more indulgent finish.
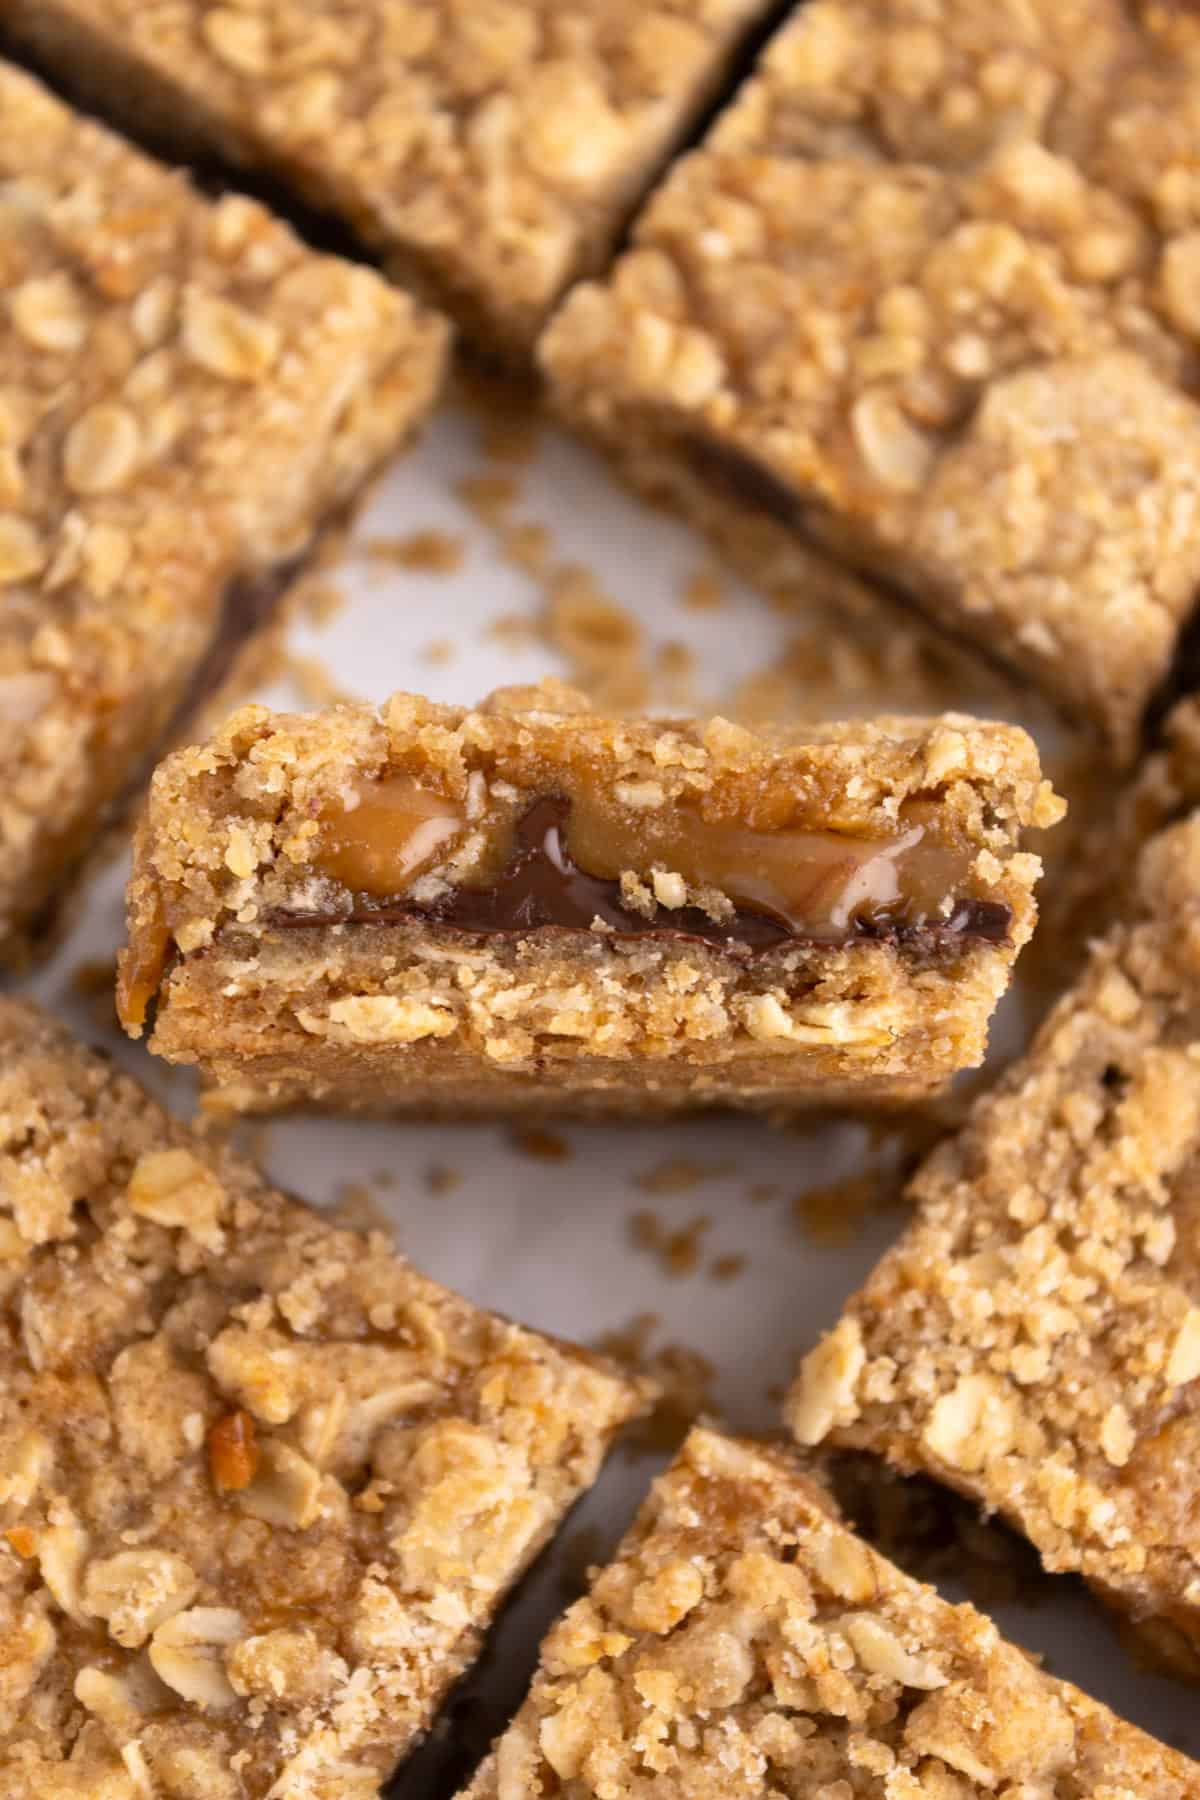
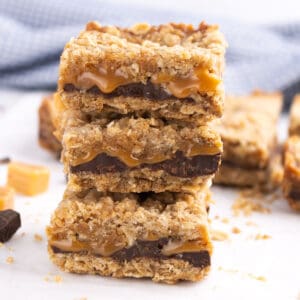
The caramel we chose creates a soft and chewy bar with a gooey center that cuts beautifully once cooled. They taste bakery quality but are easy enough to make at home.
That is a good thing since they are perfect for potlucks and summer get-togethers because they travel well. Around the holidays, I love cutting them into small diamond shapes and tucking them into cookie boxes for something different.
Skip to:
Why this recipe made the cut
Each recipe published on Borrowed Bites gets tested, re-tested, and sampled by several groups to make sure it is something you will enjoy serving. Here is why this one made the cut:
- Flavor: Brown butter, rich caramel, quality chocolate, and toasty oats come together for an unbelievably tasty bite.
- Easy to take: Other treats can be a hassle to transport, but these transport brilliantly.
- Easy: While these do require a step for each layer, they are simple and straightforward to make.
- Crowd-pleasing: At the end of the day, what really matters is that people can't wait to eat them.
Ingredients for carmelitas
You probably already have most of these ingredients in your pantry aside from the chocolate and caramel. Here are a few quick notes:
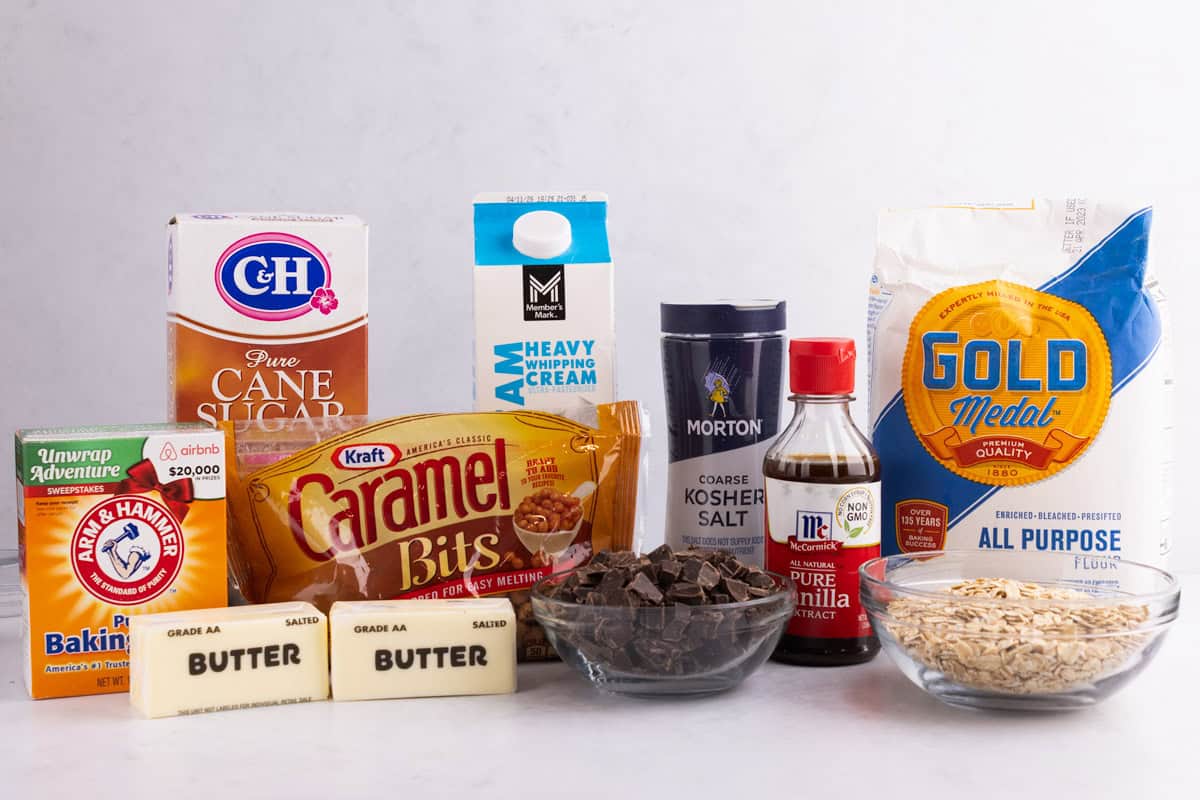
- Butter: You will use one full cup of butter, and we always use salted butter.
- Oats: Old-fashioned rolled oats are the best choice for these because they give the right chewy texture. Instant or quick cook will change the final results.
- Flour: All-purpose flour helps to hold the oat mixture together.
- Brown sugar: The deep flavor of brown sugar pairs perfectly with the caramel notes.
- Salt: A little bit of kosher salt helps balance all the flavors.
- Baking soda: Make sure your baking soda is fresh, no more than 6 months old, since fresh soda is a key to the right end result.
- Vanilla: Real extract enhances all the flavors, especially the chocolate.
- Caramels: We love the connivence of caramel bits. Check the substitutions section below for other types.
- Heavy cream: Helps to thin out the caramel without making it runny.
- Chocolate: Bittersweet chocolate gives these a deep flavor without making them over sweet, but of course you can use your favorite chocolate instead. We like the texture of chunks but chocolate chips are easier and taste just as good.
Helpful kitchen tools


![Katbite 200PCS 12x16 In Heavy Duty Flat Parchment Paper, Parchment Paper Sheets for Baking Cookies, Cooking, Frying, Air Fryer, Grilling Rack, Oven(12x16 Inch) [Extra Strong Series]](https://m.media-amazon.com/images/I/61E6r3VX5pL._AC_UL320_.jpg)
How to make carmelita bars
Start by preheating the oven to 350ºF. Line a 9x9 pan with a parchment paper sling, then spray with baking spray. This will help get them out of the pan after baking.
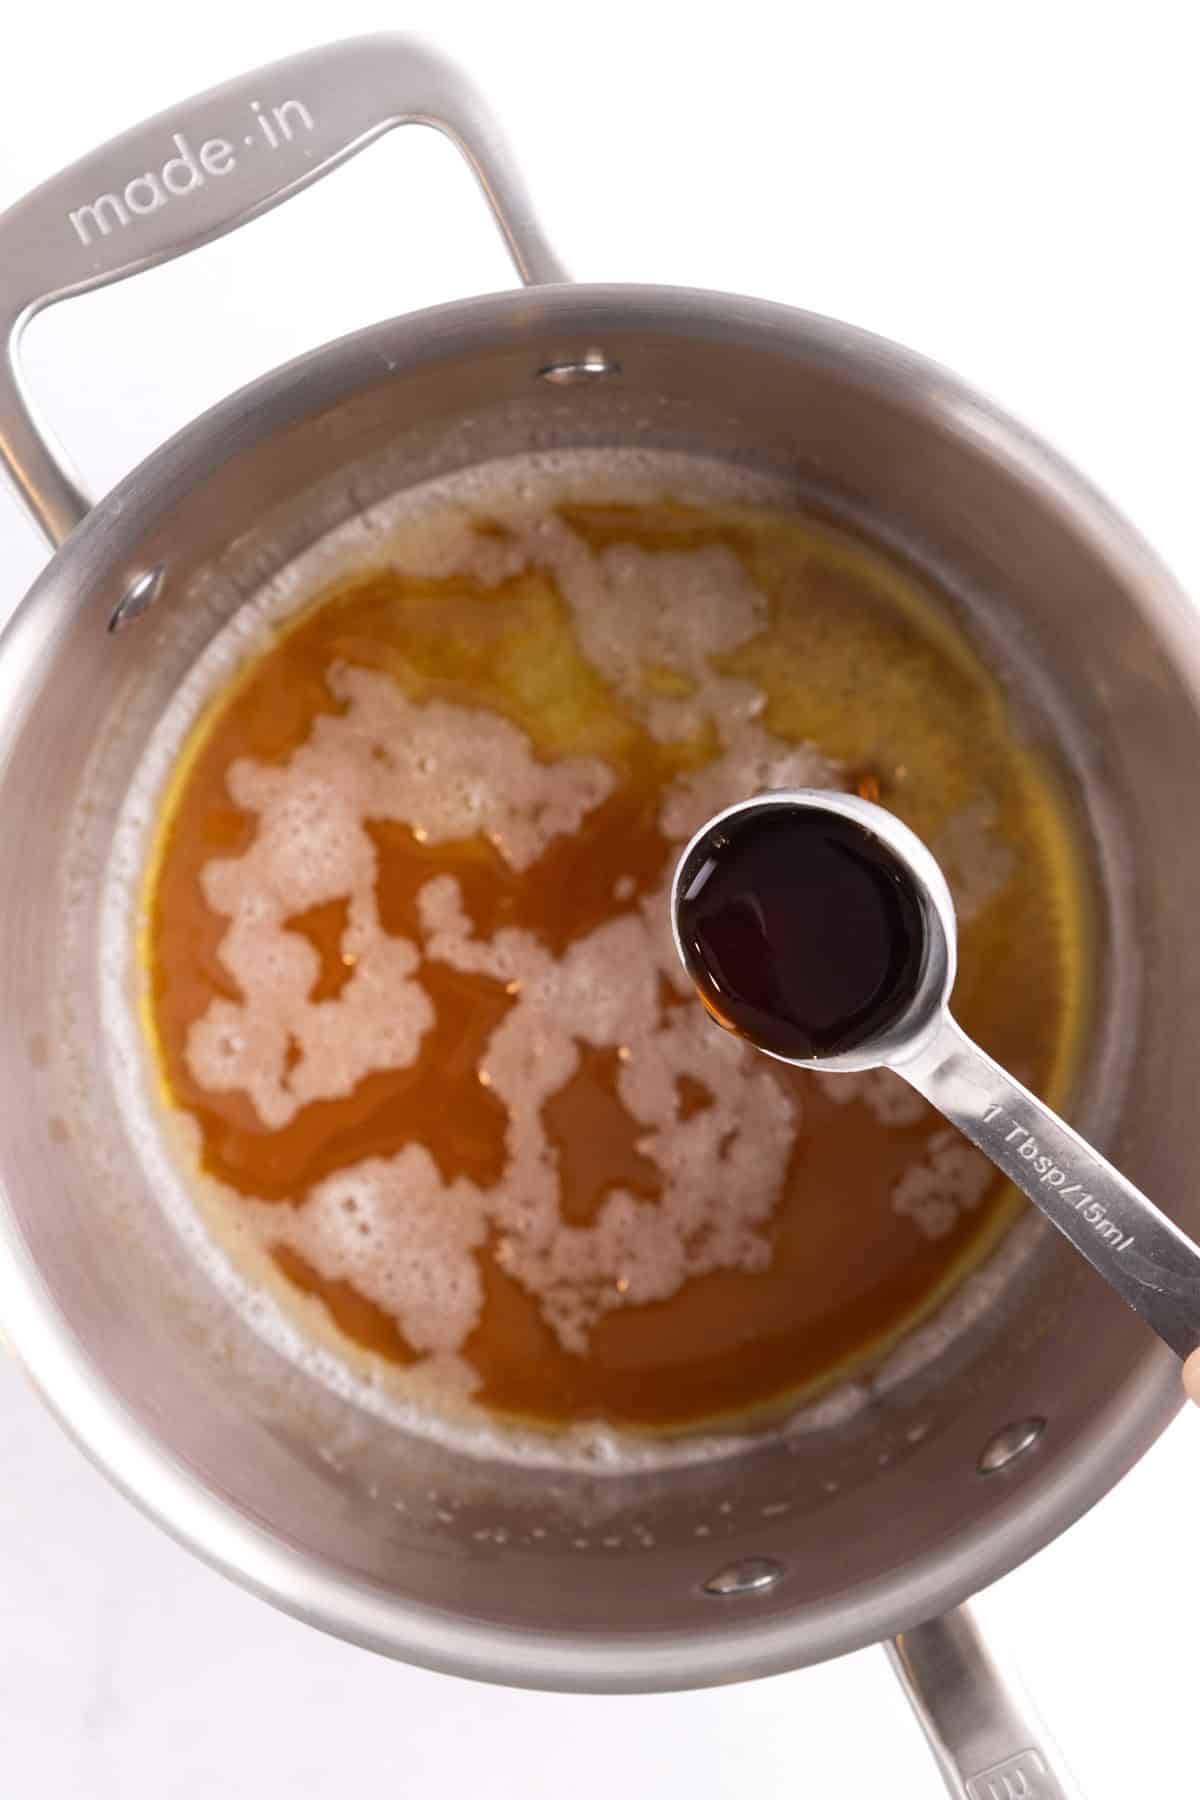
Add the butter to a medium pot over medium heat. Once the butter melts, continue stirring constantly until it is a medium brown butter. It will foam up and sizzle as it cooks. As the foam is subsiding, watch for the solids on the bottom of the pan, and pull it off the heat before it gets too dark. Remove from the heat and allow to cool for about 5 minutes before adding in the vanilla.
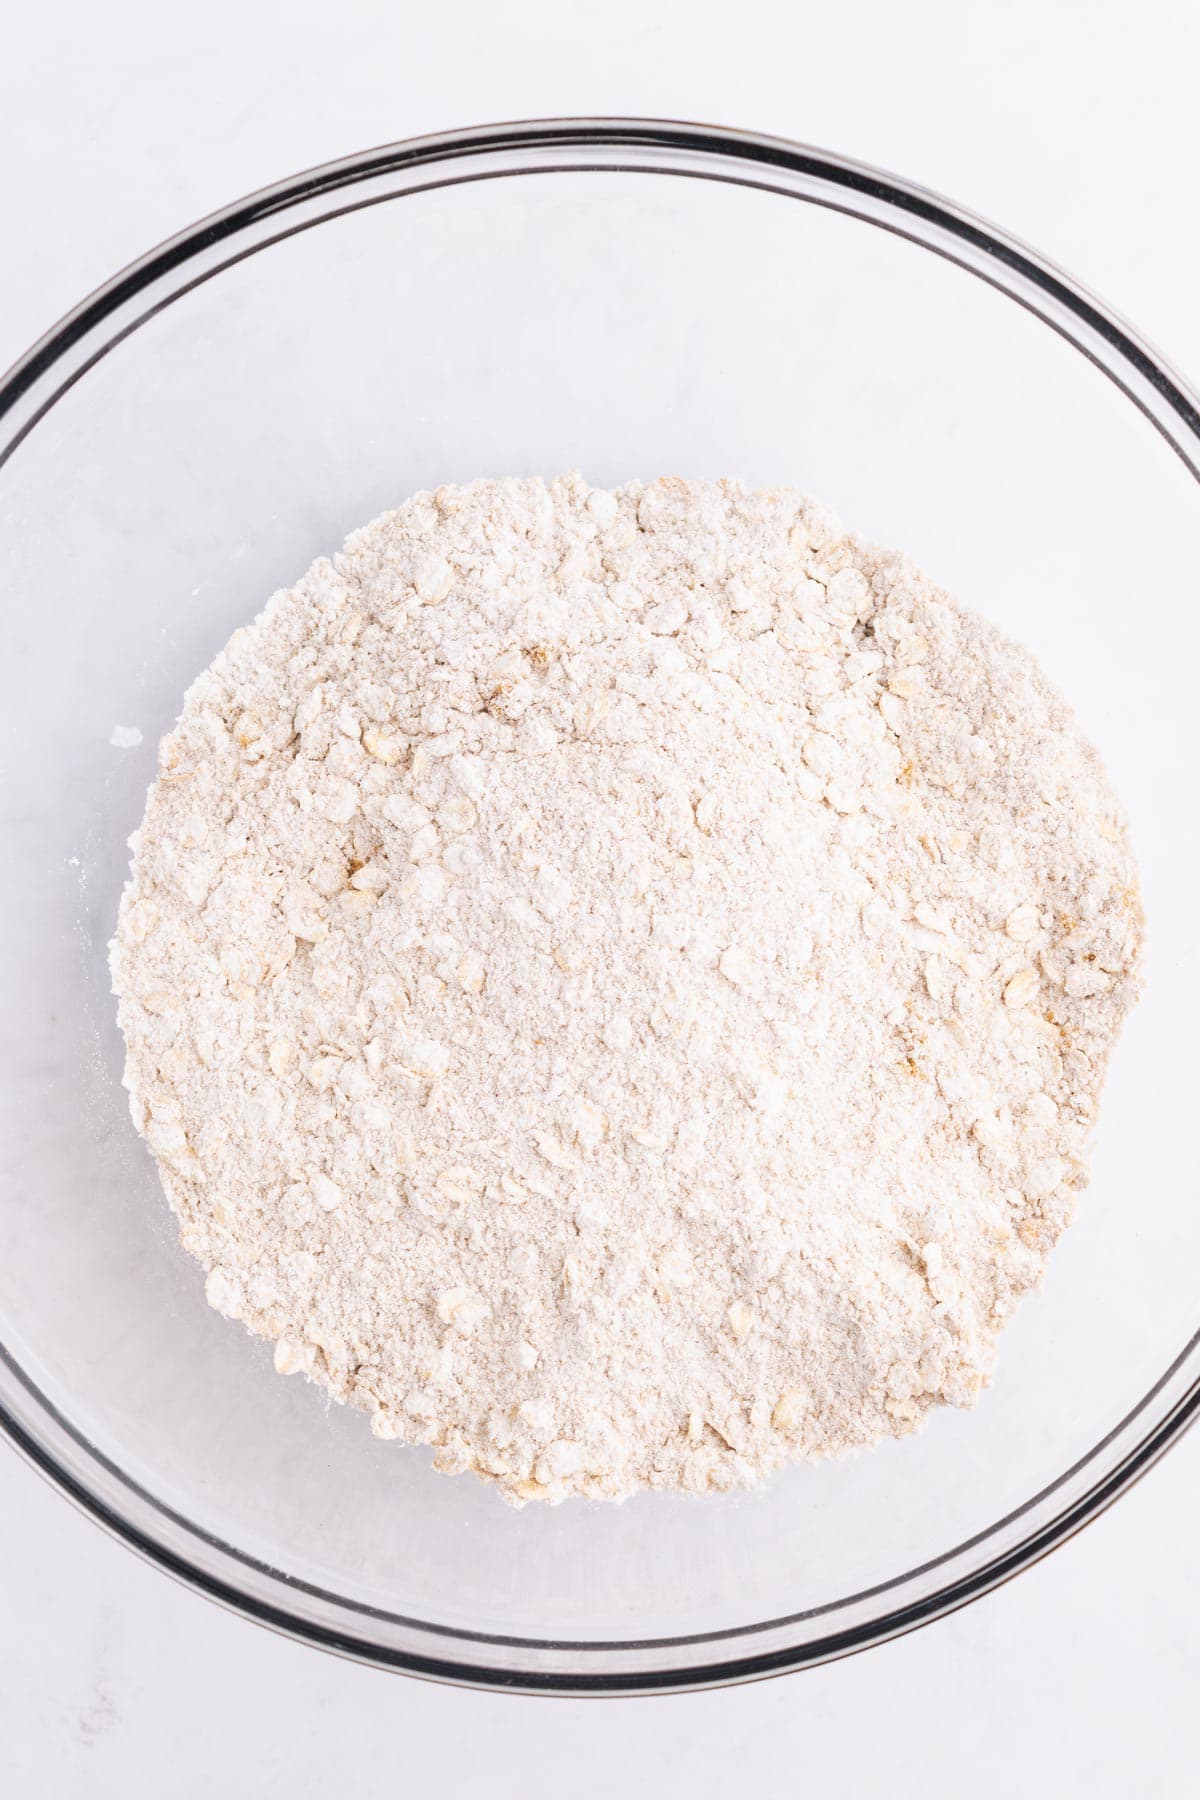
In the meantime, add the flour, oats, brown sugar, baking soda, and salt to a medium bowl.
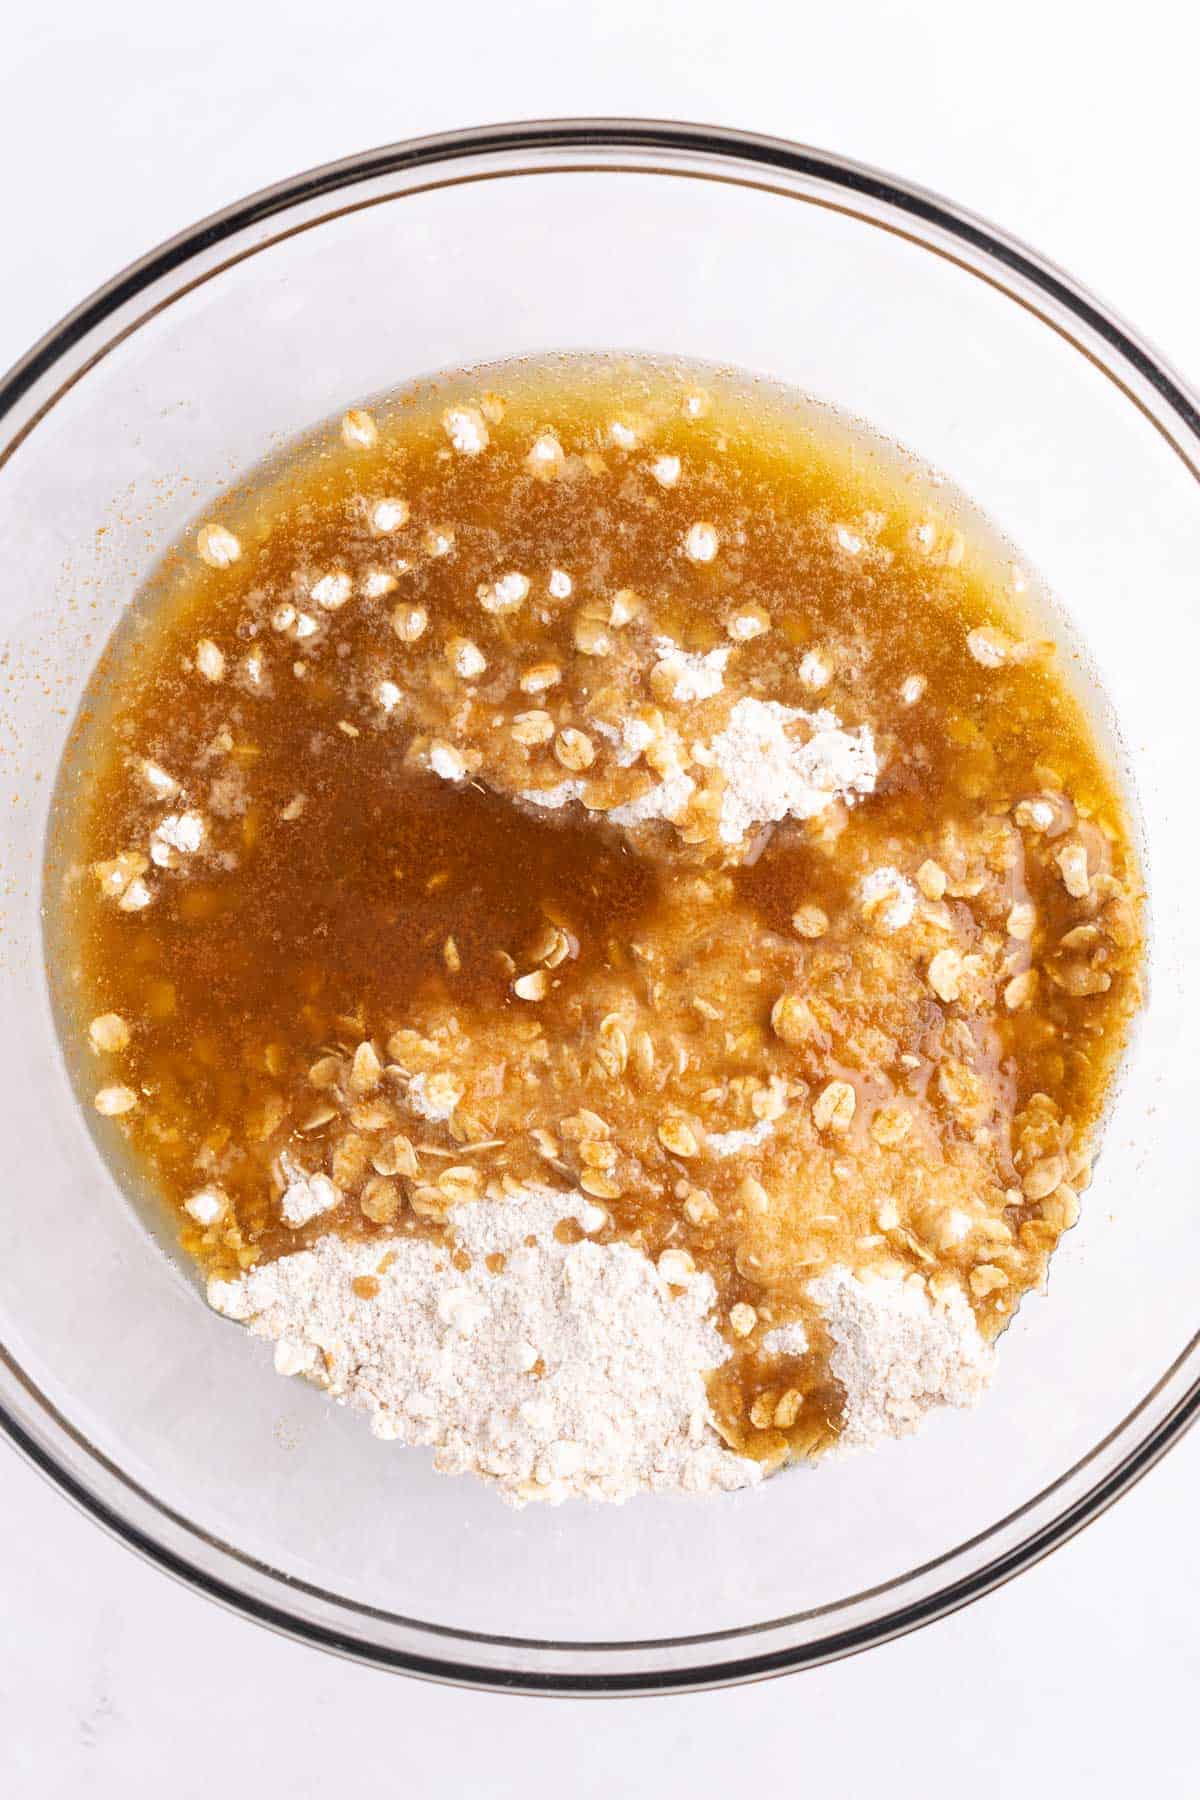
Pour the browned butter and vanilla mixture into the dry ingredients. Stir gently with a rubber spatula. Keeping your pressure light helps to keep the base tender.
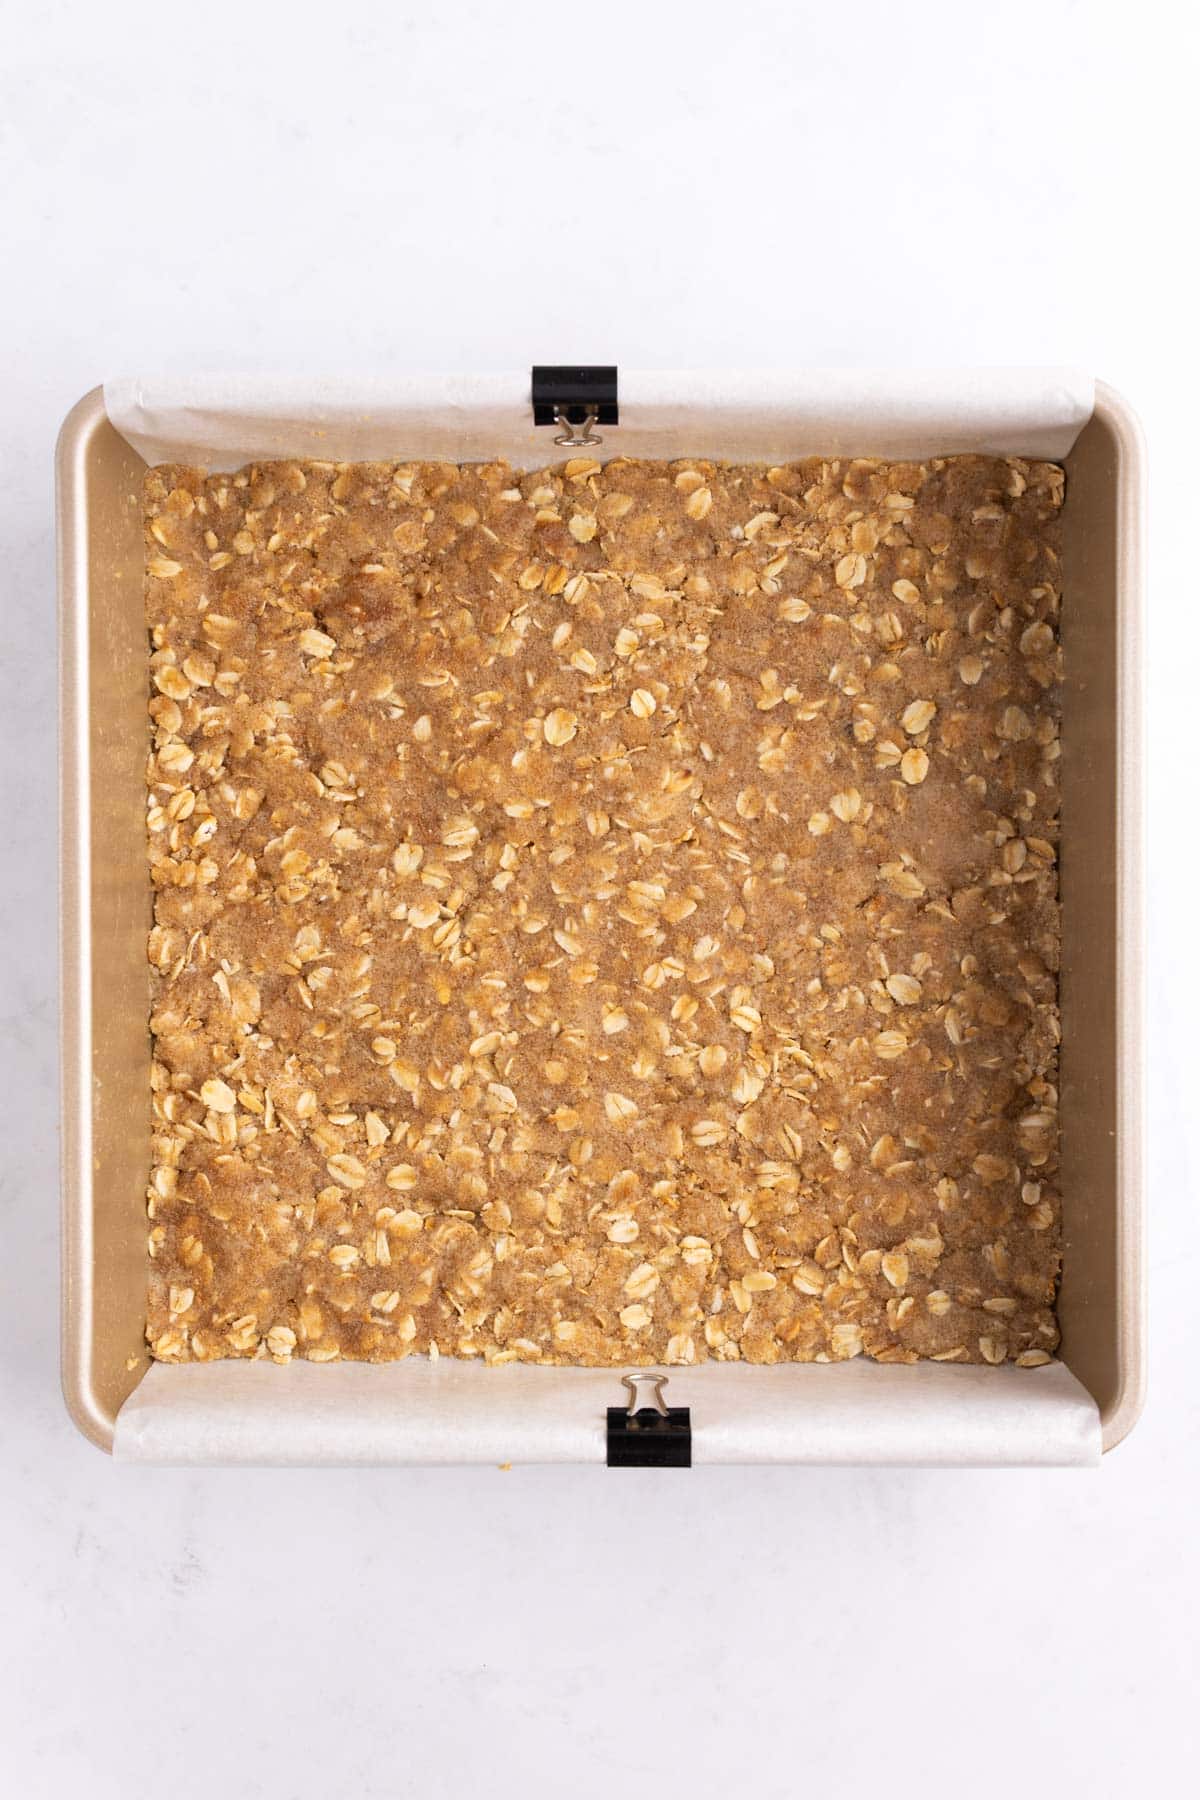
Remove half of the batter from the bowl and press it into the bottom of the 9x9 pan. Press all the way out to the edges. Bake for 8-10 minutes.
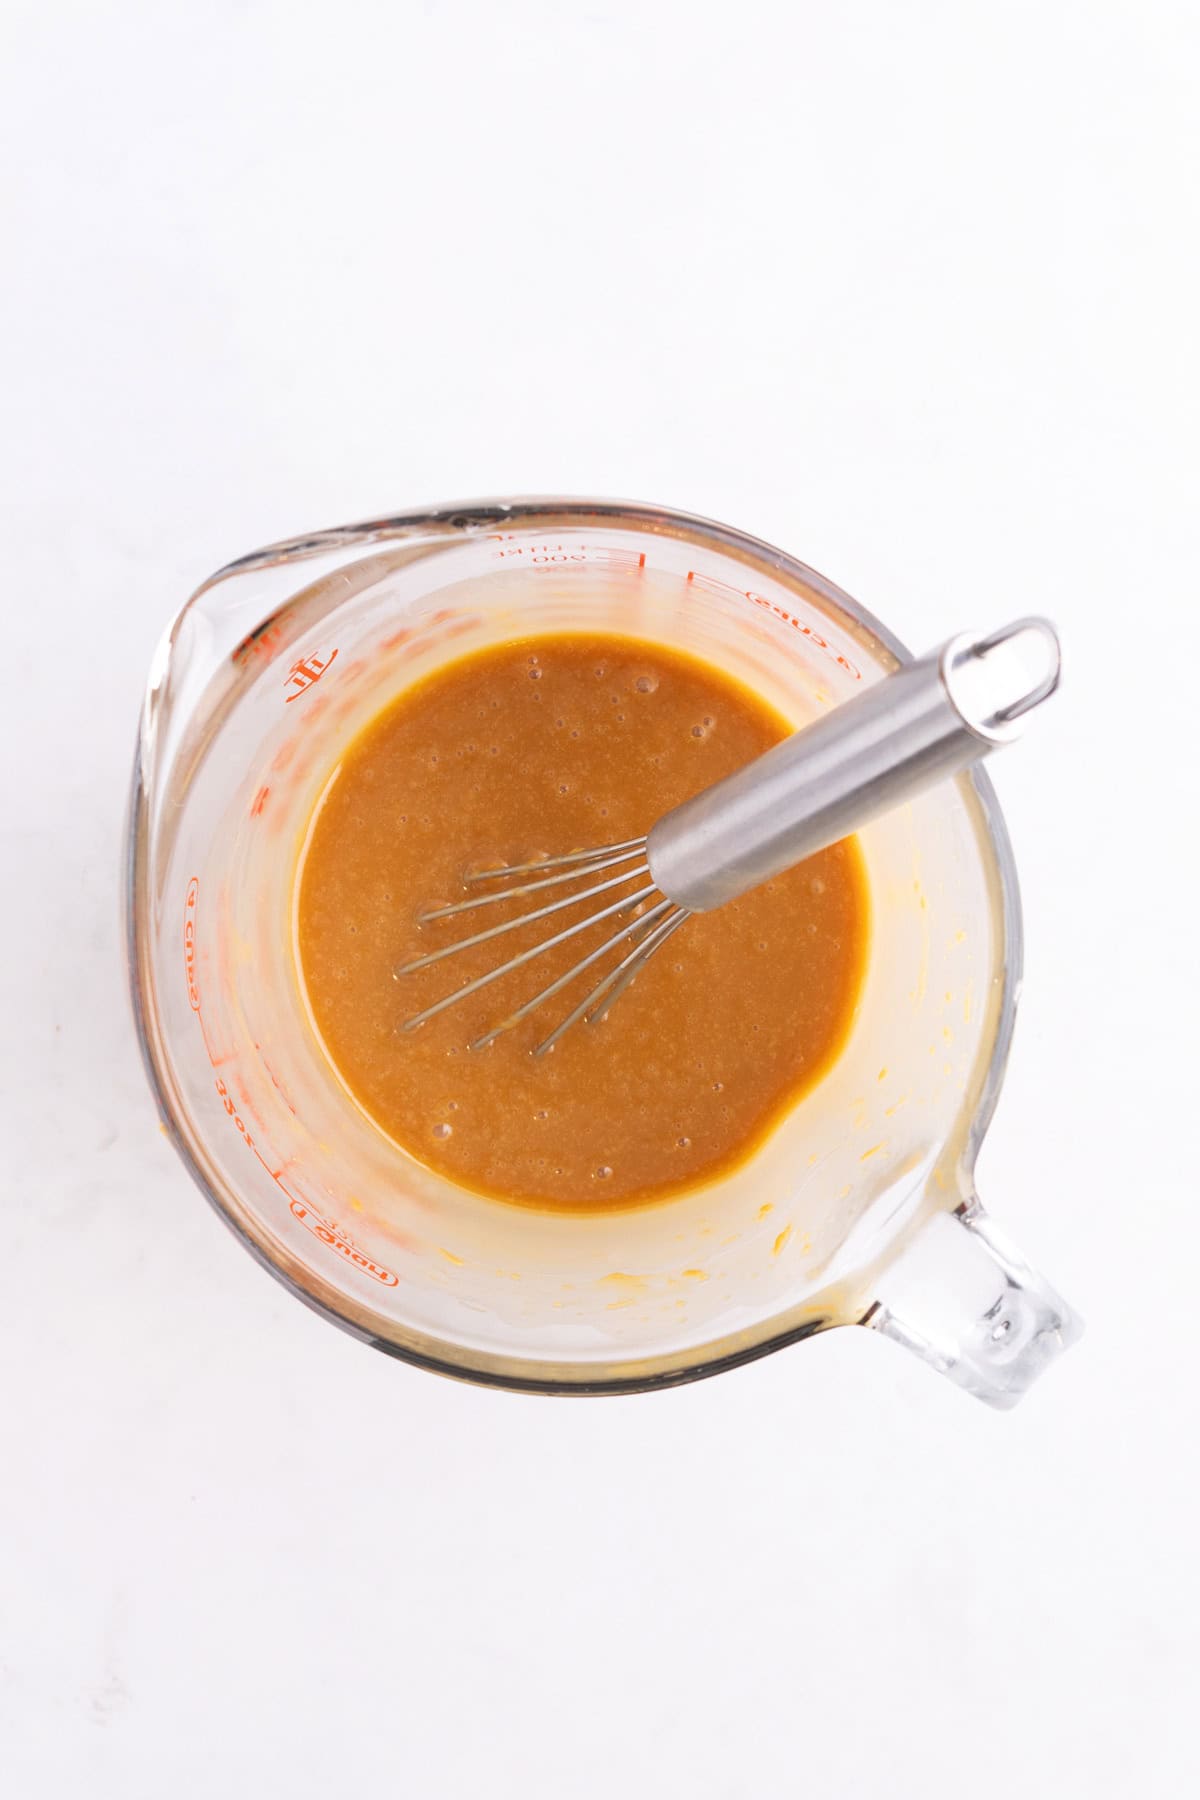
While the bottom is baking, combine the caramel pieces and the heavy cream in a glass measuring cup. Microwave for 1-2 minutes, stirring every 30 seconds.

Remove the base from the oven and sprinkle with chocolate from edge to edge. Then pour the melted caramel sauce over the top of the chocolate.
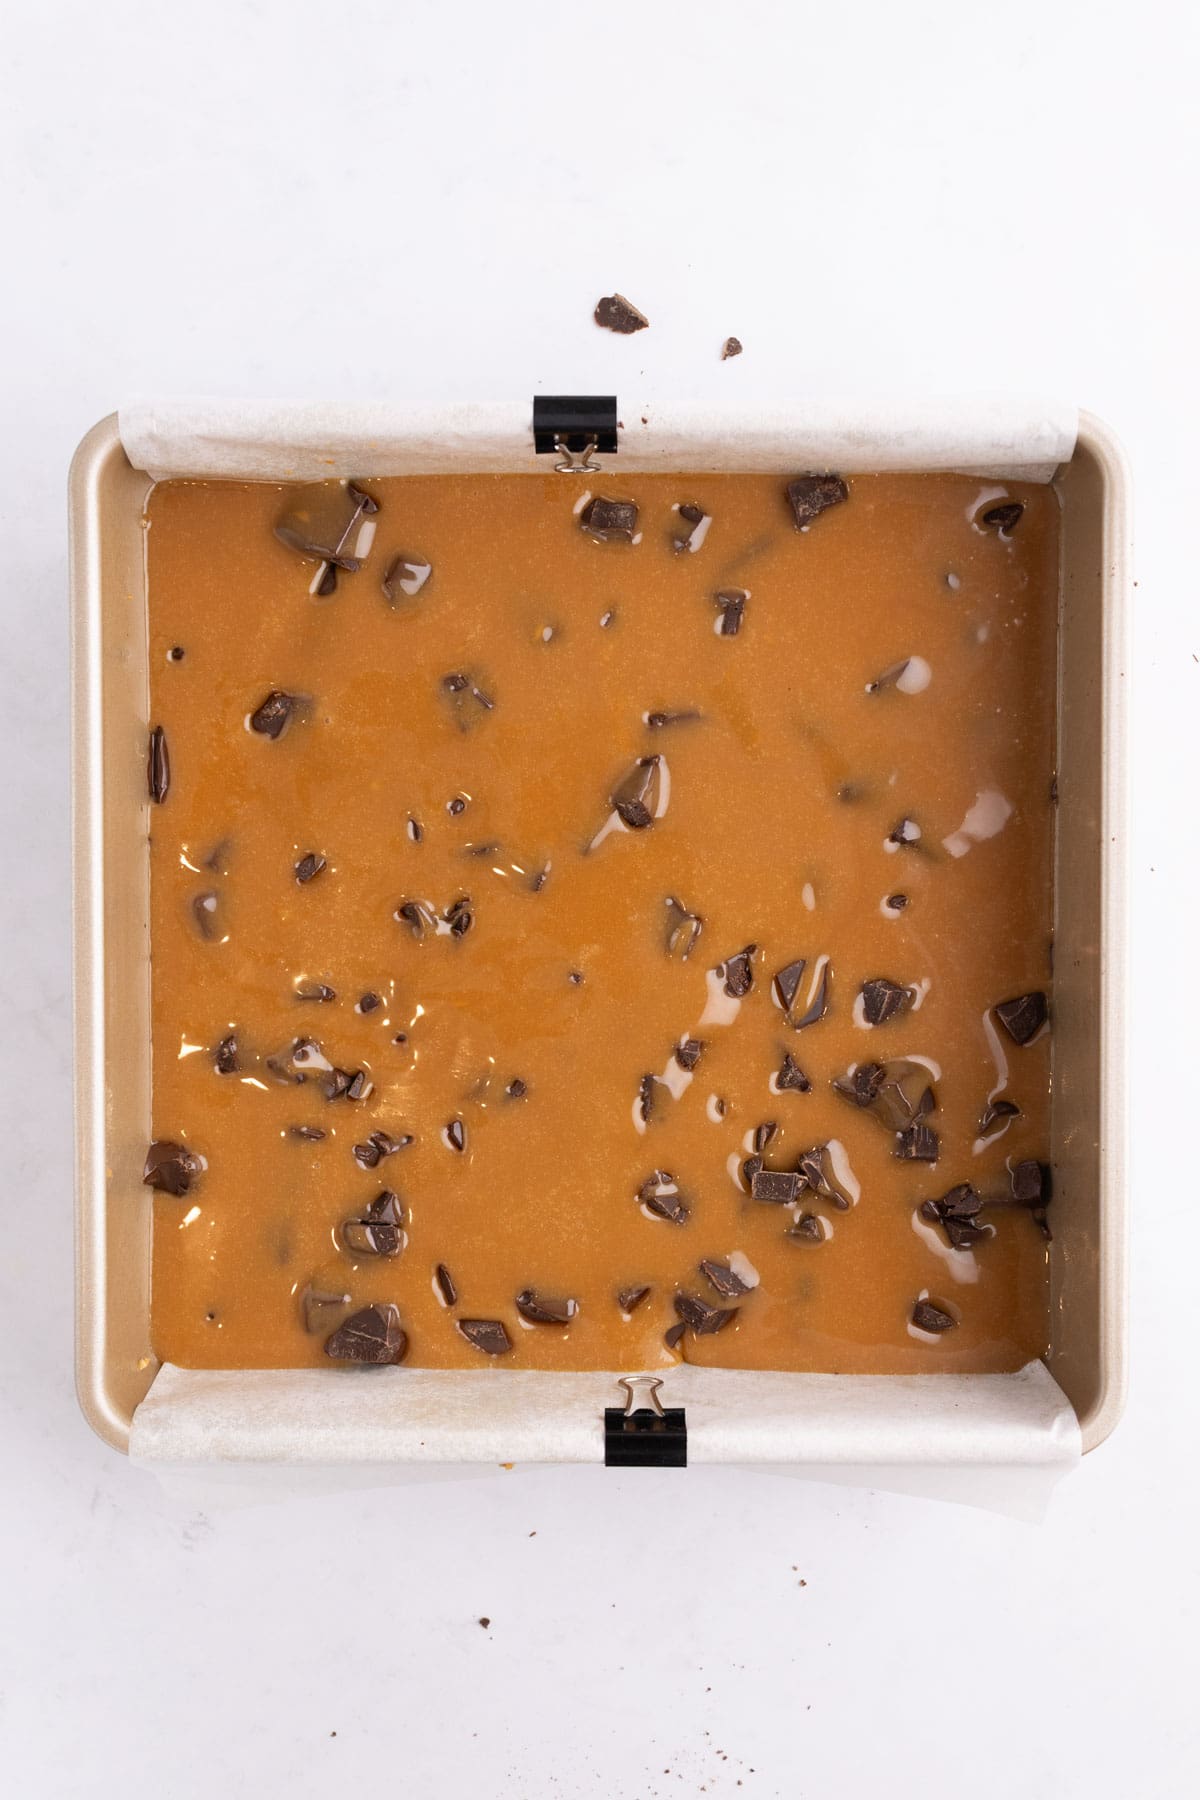
The caramel should fill the pan with just little bits of chocolate peaking through here and there.
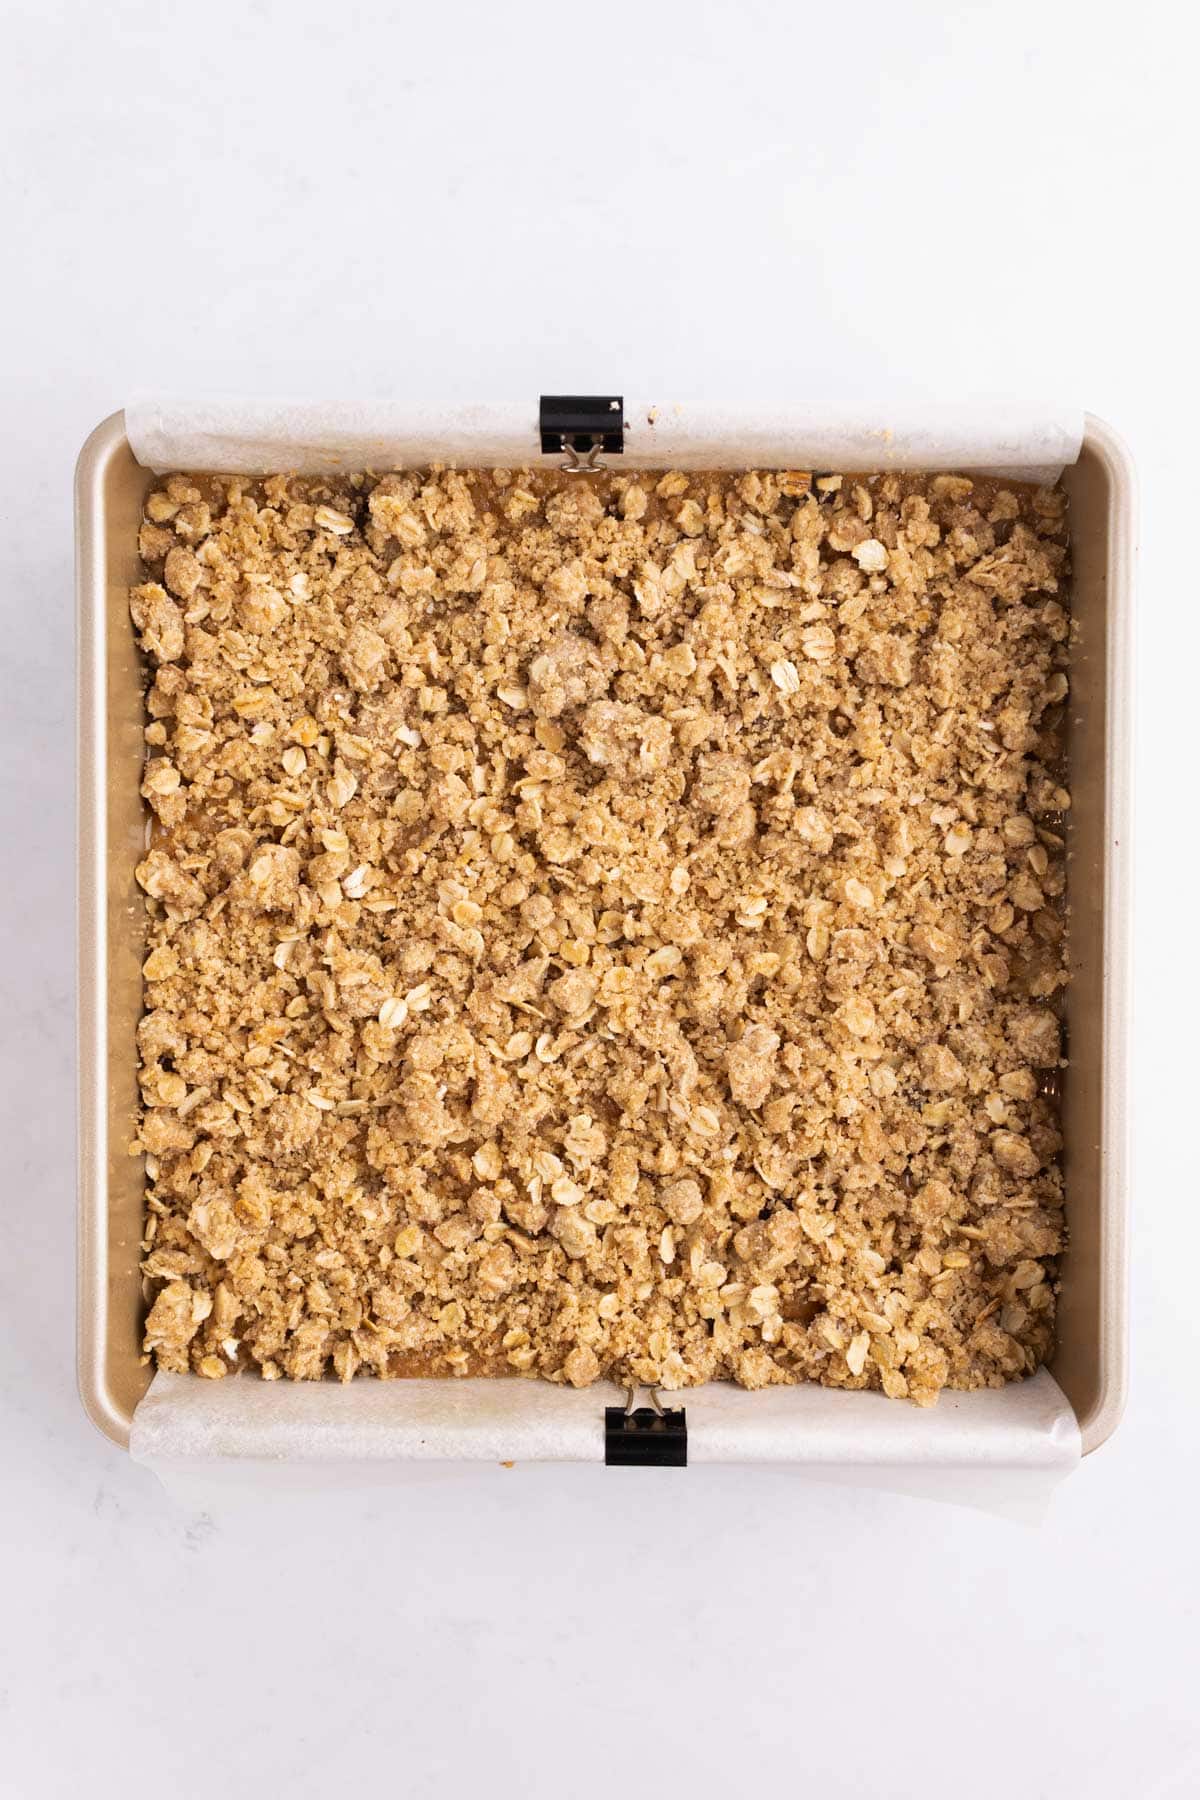
Finally, take the remaining batter and sprinkle it across the top. If it is too clumpy, break it apart with your hands. It is ok if a few bits of caramel show through in a few spots. Bake for 18-23 minutes more, until it is golden brown. Allow to cool completely in the pan before trying to remove.
Hint: These bars are incredibly delicious when warm, but they will just fall apart, similar to a pizookie. If you want them to slice neatly, they must cool all the way before removing.
How to get perfect cuts
Getting perfect cuts is not essential since they taste equally as delicious either way, but if you want to cut them for presentation here are our best tips.
- Make sure the bars are super cold before cutting. Popping them in the freezer for 15 minutes after removing them from the pan will help create crisp lines.
- Use a ruler to measure and make little hashtag marks along each side. Once all four sides are done, connect the lines for a straight cut.
- A serrated knife (this is our hands-down favorite) works best for slicing these bars. The sharper the knife the cleaner the cuts.
Variations and substitutions
We think these are perfect as they are, but here are a few ways to mix it up.
- Caramels: We tested a few different caramels but landed on caramel bits because it is such a hassle to unwrap the individual pieces. Kraft caramels squares bake up nice and chewy, while Werther's caramels produce an ultra soft center that barely holds its shape, but they do taste really good.
- Cinnamon: For a little bit of fall spice, try adding ½ a teaspoon of cinnamon to the oat mixture.
- Brown sugar: We use light brown sugar, but dark brown sugar produces an even deeper flavor.
- Nuts: Add in ½ to ¾ a cup of chopped pecans or walnuts to the topping for some added crunch.
- Salt: Sprinkle on some good salt, like this Maldon sea salt, for a salted caramel bar.
- Coconut: For a Samoa-inspired bar, try adding in a ½ a cup of shredded coconut.
- Chocolate: Use peanut butter chips, or cinnamon chips, or white chocolate chips in the place of the chocolate.
How to store
Store these in an airtight container at room temperature for up to 3 days. My favorite way to store them is in the refrigerator for up to a week because they are absolutely delicious when cold.
To freeze, place cut squares on a baking sheet and freeze for a couple hours or until solid. Then wrap each one in a layer of plastic wrap and place in a freezer bag or container. They will stay fresh for up to 3 months.
FAQs
These can absolutely be doubled! Baking them in a 9x13 pan will mean a thicker bar so add on a little extra baking time.
We have yet to try this option, but it should work as long as you use a thick, high-quality sauce. If the sauce is too thin the bars may not set up properly.
Tips & tricks
- We recommend using a light-colored metal pans for the best texture on these chocolate oatmeal bars. Glass or stone pans produce a thicker, harder crust.
- These bars are absolutely delicious when warm, but more like a pizookie. If you want them to be actual bars, it is essential to let them cool all the way in the pan before slicing.
- They cut very nicely with a sharp serrated knife. See the post for exact instructions.
More recipes
Looking for other recipes like this? Try these:
Recipe
Carmelitas Recipe
Equipment
Ingredients
- 1 cup butter
- 1 tablespoon vanilla
- 1 ½ cup all-purpose flour
- 1 ¼ cup old fashioned oats not instant
- 1 cup light brown sugar packed
- ½ teaspoon baking soda
- ½ teaspoon kosher salt
- 11 ounces caramel bits or 35 wrapped caramels
- ½ cup heavy cream
- 1 ½ cups about 8 oz bittersweet chocolate (chips or a chopped baking bar)
Instructions
- Preheat oven to 350ºF. Line a 9x9 pan with a parchment sling and spray with nonstick baking spray.
- In a medium pot on the stove, melt the butter over medium heat. Continue cooking the butter, stirring often, for 5-8 minutes, or until the butter is a medium golden brown color. It will sizzle and foam as it cooks. For a full tutorial, see our post How to Brown Butter.1 cup butter
- Remove from the heat and allow it to cool for about 5 minutes. Add in the vanilla.1 tablespoon vanilla
- In a separate bowl mix together the flour, oats, brown sugar, baking soda, and salt.1 ½ cup all-purpose flour, 1 ¼ cup old fashioned oats, 1 cup light brown sugar, ½ teaspoon baking soda, ½ teaspoon kosher salt
- Pour the butter/vanilla mixture over the dry ingredients and stir with a rubber spatula until evenly combined, but being careful not to overmix.
- Scoop ½ of the batter into the bottom of the prepared pan and press it down until evenly distributed. It should go all the way to the edges with no gaps, but it will be a thin layer. Bake for 8-10 minutes.
- In a microwave safe bowl or liquid measuring cup, combine the caramel bits and heavy cream. Microwave in 30 second increments, using a whisk to stir very well between each increment, until it is fully melted and smooth. It should take 1.5-2 minutes.11 ounces caramel bits, ½ cup heavy cream
- Remove the pan from the oven. Sprinkle the chocolate over the top of the warm crust going all the way to the edges. Then pour the caramel mixture on top, going all the way to the edges again. Lastly, sprinkle the rest of the cookie dough on top as evenly as possible, reaching all the way to the edges. If the dough is very clumpy, use your fingers to gently break it apart as needed. It's fine if some small spots of caramel are showing.1 ½ cups about 8 oz bittersweet chocolate (chips or a chopped baking bar)
- Return to the oven and bake for 18-23 minutes more, or until it's lightly golden brown and cooked through. The caramel will be bubbling on the edges and the center of the batter looks matte instead of shiny.
- Allow to cool completely in the pan. Use the parchment sling to lift them out of the pan, then slice them into 16 squares.
Notes
- We recommend using a light-colored metal pans for the best texture on these chocolate oatmeal bars. Glass or stone pans produce a thicker, harder crust.
- These bars are absolutely delicious when warm, but more like a pizookie. If you want them to be actual bars, it is essential to let them cool all the way in the pan before slicing.
- They cut very nicely with a sharp serrated knife. See the post for exact instructions.
Add Your Own Notes
Nutrition
All nutrition information is provided by a third party and is an estimate only. Use your own nutritional calculator for more specific measurements.

Misty says
A simple dessert that will be a hit at parties or potlucks!