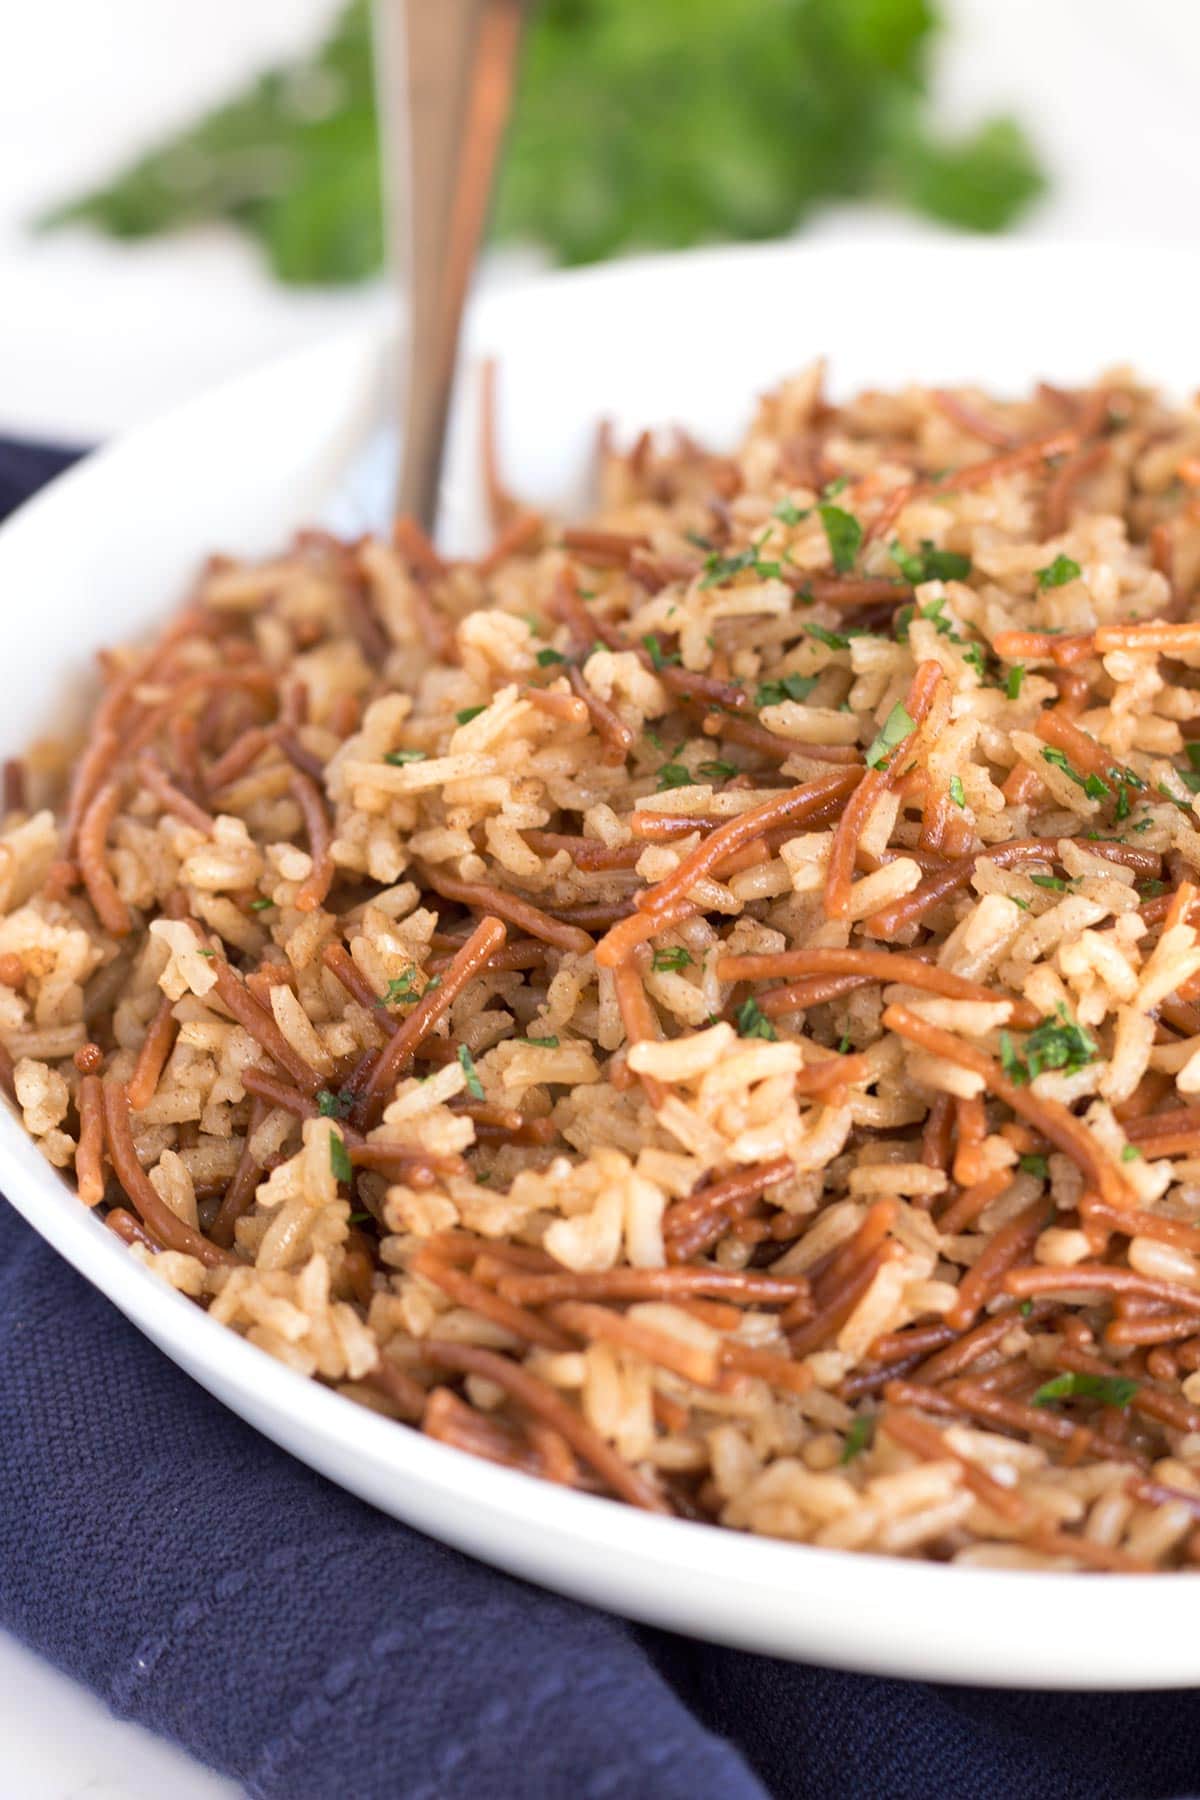
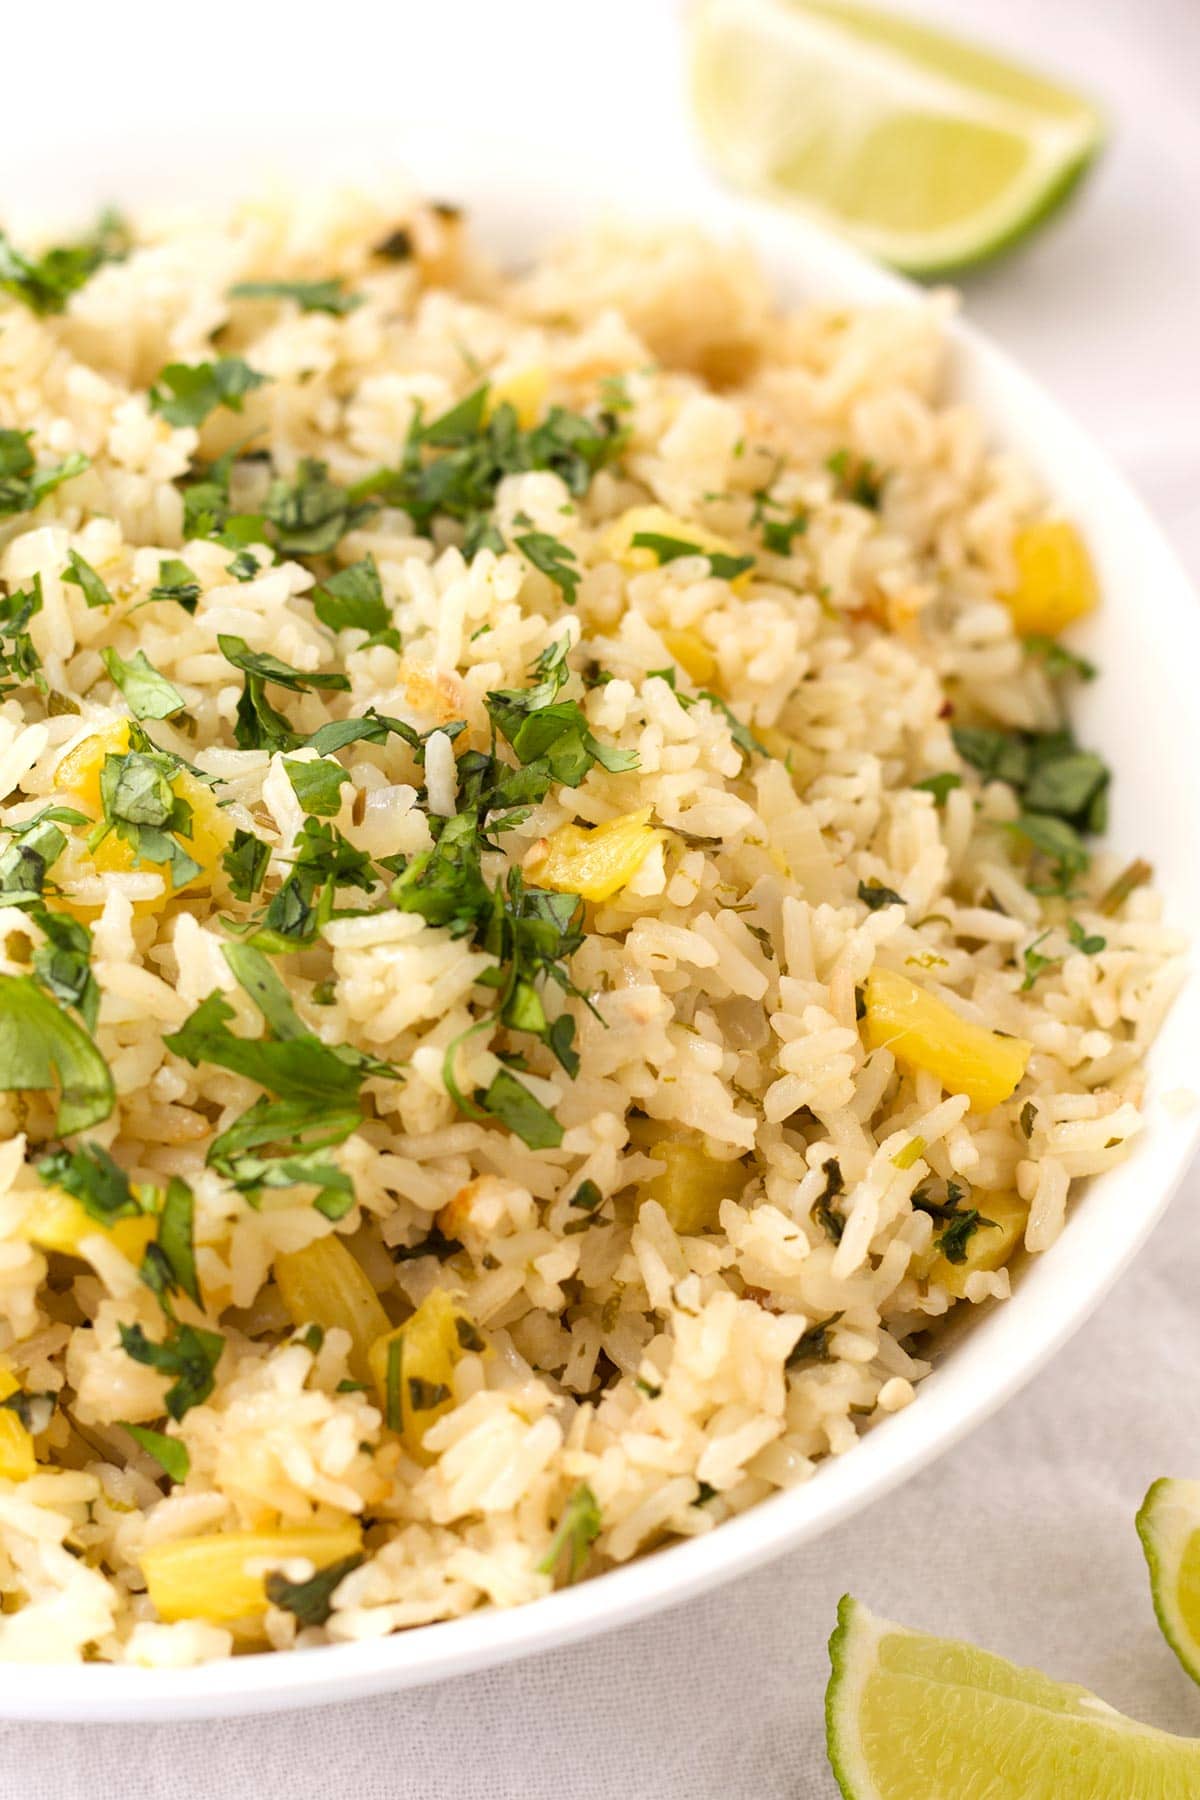
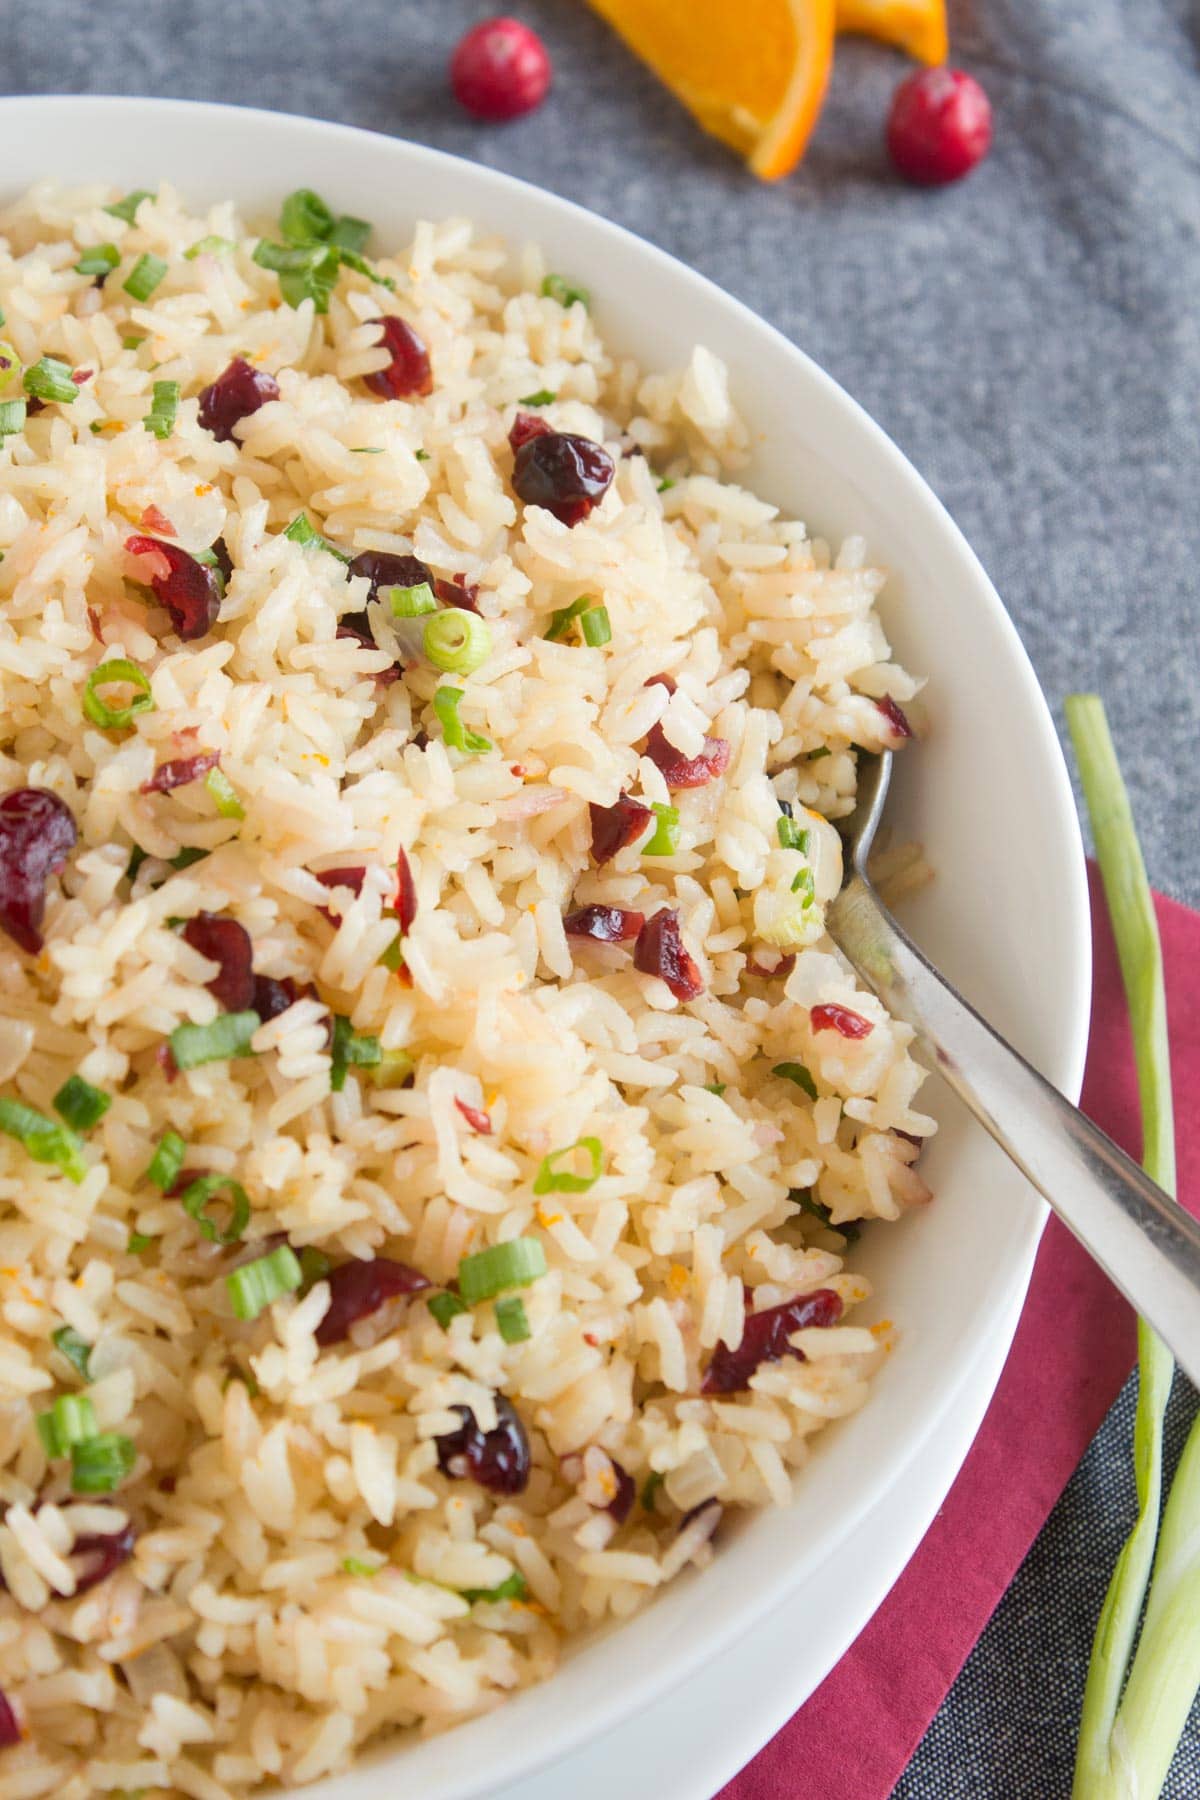
This list of Instant Pot Rice Pilaf Side Dishes will help transform plain rice into a flavor-packed side dish any night of the week. By using the classic rice pilaf method in an electric pressure cooker, the end result will be a fluffy, tender rice pilaf that’s good enough to upstage the main dish!
After looking through this, see a complete collection of rice recipes that includes everything you need to know about this amazing grain!

Super flavorful rice that is tender and not at all sticky. That’s the kind of rice dish I am looking for. Nothing against plain rice...but, well, it’s plain. 🤷🏼♀️
These rice dishes are anything but plain! They are loaded with flavor and texture. Yay for easy rice pilaf side dishes cooked in the Instant Pot that are as good (or better) than the main dish!
Plus, they great for times when I need my hands free to cook the main course, and they are a frugal family's dream!
If you want to see what we serve with our rice pilaf, look at our dinner recipes page.
Skip to:
Why instant pot rice pilaf is great!
- It leaves you free to make the rest of dinner. Or just sit on the couch with a nice drink and catch up on social media.
- Taking the classic rice pilaf method and combining it with the ease of the Instant Pot (or other electric pressure cooker) is a marriage made in heaven. It really is the perfect way to ensure that your pilaf turns out perfectly fluffy with tender grains that don’t adhere to each other.
- It freezes beautifully, which makes it helpful for busy weeknights and a great way to serve a crowd. For our tips and tricks on how to freeze cooked rice and reheat from frozen see this post or see the FAQ’s below.

How to make instant pot rice pilaf side dishes
It’s all about using an easy process called the pilaf method. It’s used to produce a flavored rice that is sautéed then, cooked in broth so that the grains don’t stick together.
- First the aromatics (if using) get sautéed until soft.
- Then the rice gets cooked in oil or butter until translucent. Nine times out of ten it will be butter for me. So much flavor!
- Next, a flavorful liquid is poured into the pot, the pressure is set, and the rice absorbs all that flavor while cooking.
- The rice sits with the heat off for a few minutes to allow the moisture to really soak into the grains which produces a light and fluffy rice pilaf that doesn’t get sticky.
For a crowd
Since rice pilaf is relatively inexpensive to make, holds well, and can be reheated beautifully, it is the perfect side dish for serving a crowd! You will love taking one of these to your next potluck.
Make as many batches as you need depending on the size of your crowd. Serve the day of making, or follow the freezing instructions below and reheat the day of serving.
**Note: The size of your Instant Pot may only hold 1-2 recipes. My 6 quart Instant Pot can hold a double recipe. If you need more, make separate batches.

FAQs
Both are cooked in liquid, but plain rice is usually cooked in water. Rice pilaf, on the other hand, is a dish where the rice gets cooked in a little bit of oil or butter to ensure that the rice grains stay seperate, and then a liquid, usually broth or stock, is added for additional flavor. Often pilafs will have additional ingredients like assorted meats, small pastas, herbs, juices, nuts, and dried fruits to add to the seasoning and texture of the dish.
Flavored rice dishes freeze beautifully. For full instructions see How to Freeze and Reheat Rice Perfectly, but in a nutshell start by spreading the fluffed rice pilaf on a sided cookie sheet. Allow it to cool to room temperature, then scoop into ziptop bags or baking pans and freeze.
To reheat rice pilaf, place it into a baking dish, sprinkle it with a couple tablespoons of water, tightly cover, and place in a 300º oven for 20-30 minutes. Fluff with a fork, add any finishing touches, and serve.
Rice pilaf is crunchy because of one of two reasons:
1. The rice hasn’t cooked long enough. If you check on it and the rice is swimming in liquid then it hasn’t cooked for long enough. The best fix is to set the Instant Pot back on for a few minutes and see if that takes care of the situation. Be sure to let it do a natural release for at least 10 minutes before opening the lid. That will help the rice absorb the liquid.
2. The other reason for crunchy rice is that it needs more liquid. You will know that this is the case if after the cooking time and 10 minute natural release the rice still isn't quite tender enough. The easiest remedy for this problem is to add ¼ to ½ cup of additional hot liquid (whichever liquid was used in the recipe) into the rice. Set the Instant Pot to manual pressure for 1 minute and then allow the rice to naturally release for 10 minutes. That should fix the problem.
Any variety of white long grain rice is used in rice pilaf. These recipes use standard long grain rice, but feel free to use a long grain jasmine or basmati. Wild rice or brown rice can be used in rice pilaf, but the cooking time and liquid ratio will be different.

Tips & tricks for perfect rice pilaf in a pressure cooker
- No matter which rice pilaf recipe you choose, be sure to let it release naturally for approximately 10 minutes. That helps the grains of rice absorb all the liquid so that they are fully cooked but not sticking together.
- Be sure that each grain of rice is coated in oil or butter before adding the liquid. That will help ensure that the grains do not adhere to one another.
- If you want something to be crunchy at the end (nuts, toasted coconut, etc.) be sure to add it in after the rice has been fluffed. Just before serving is best.
- Once the rice has finished cooking, be sure to fluff it with a fork. Rake the fork across the grains of rice to separate them. If you are too rough or stir with a spoon they will glue together and will lose their separateness.
Rice pilaf recipes


Bonus


Comments
No Comments