
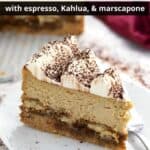
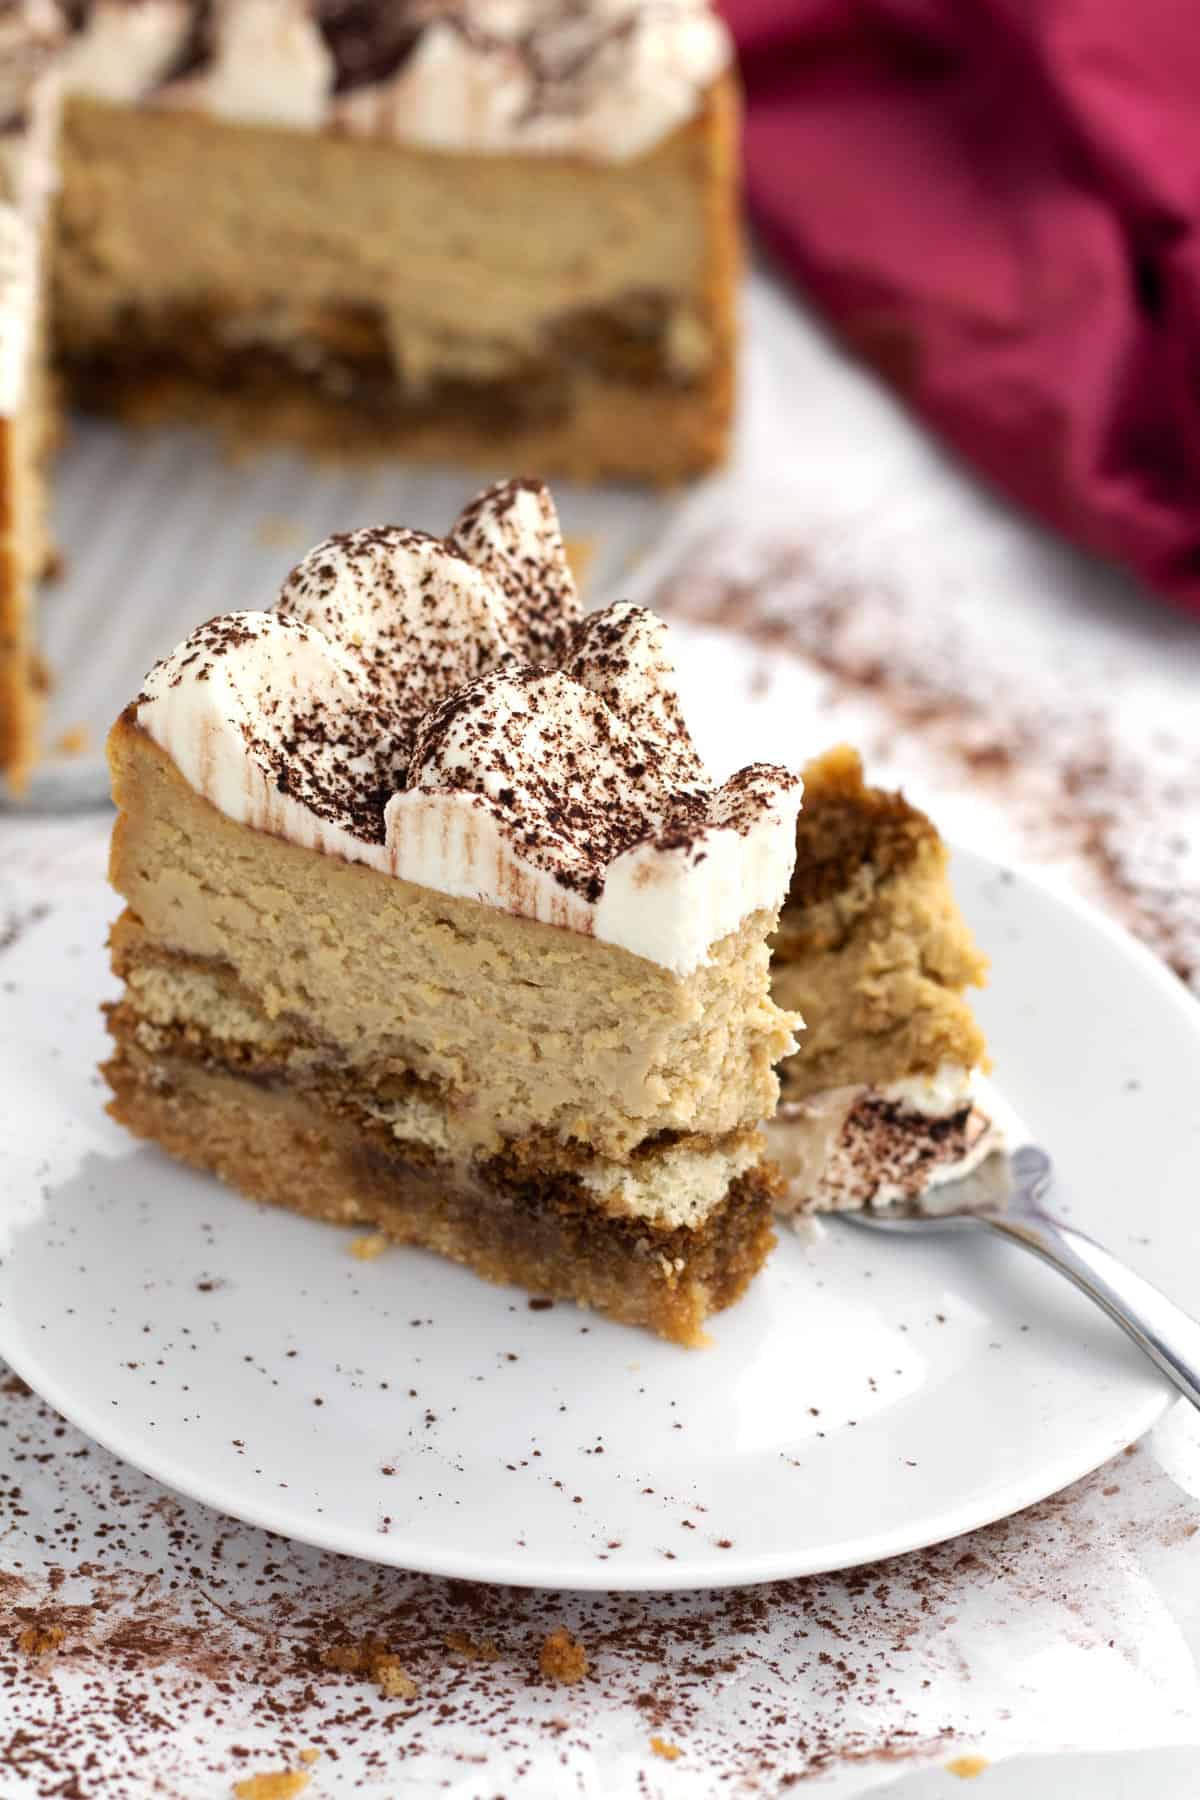
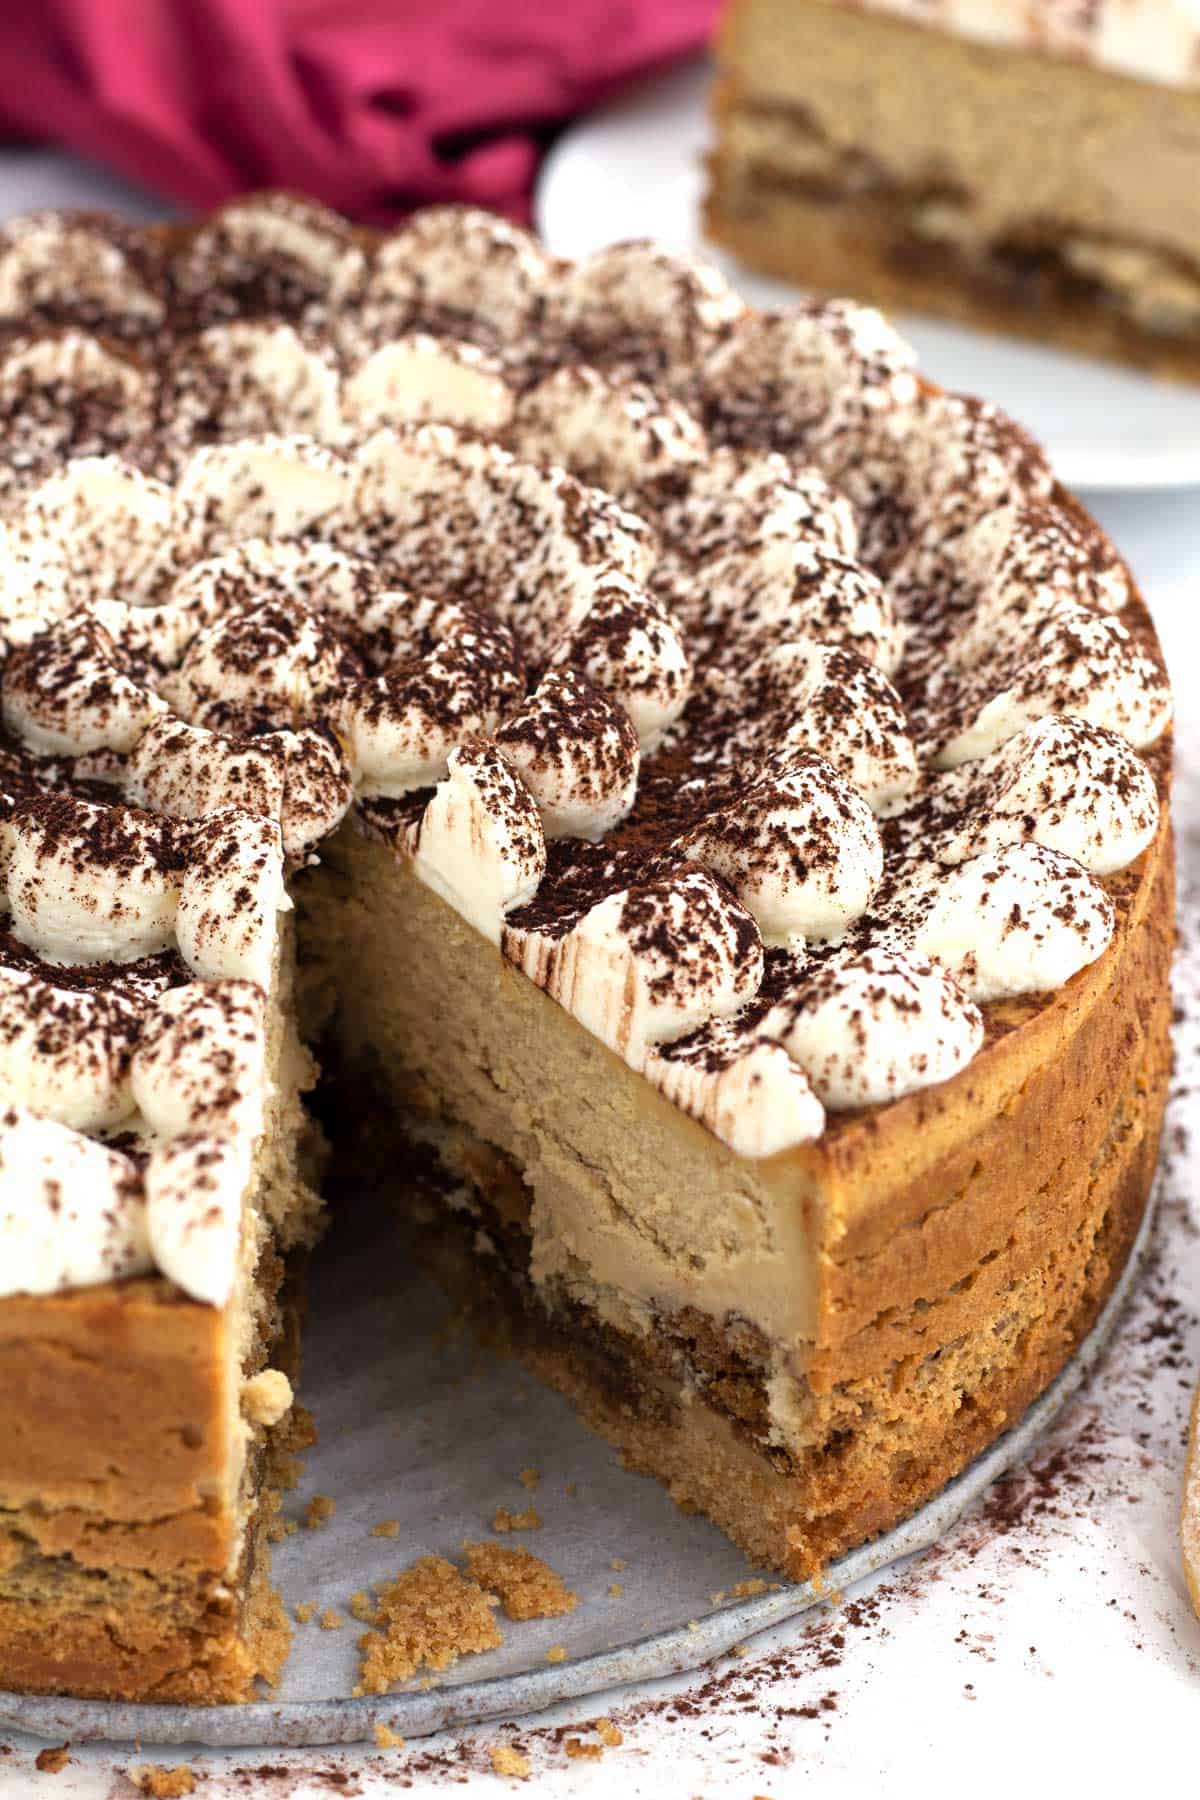
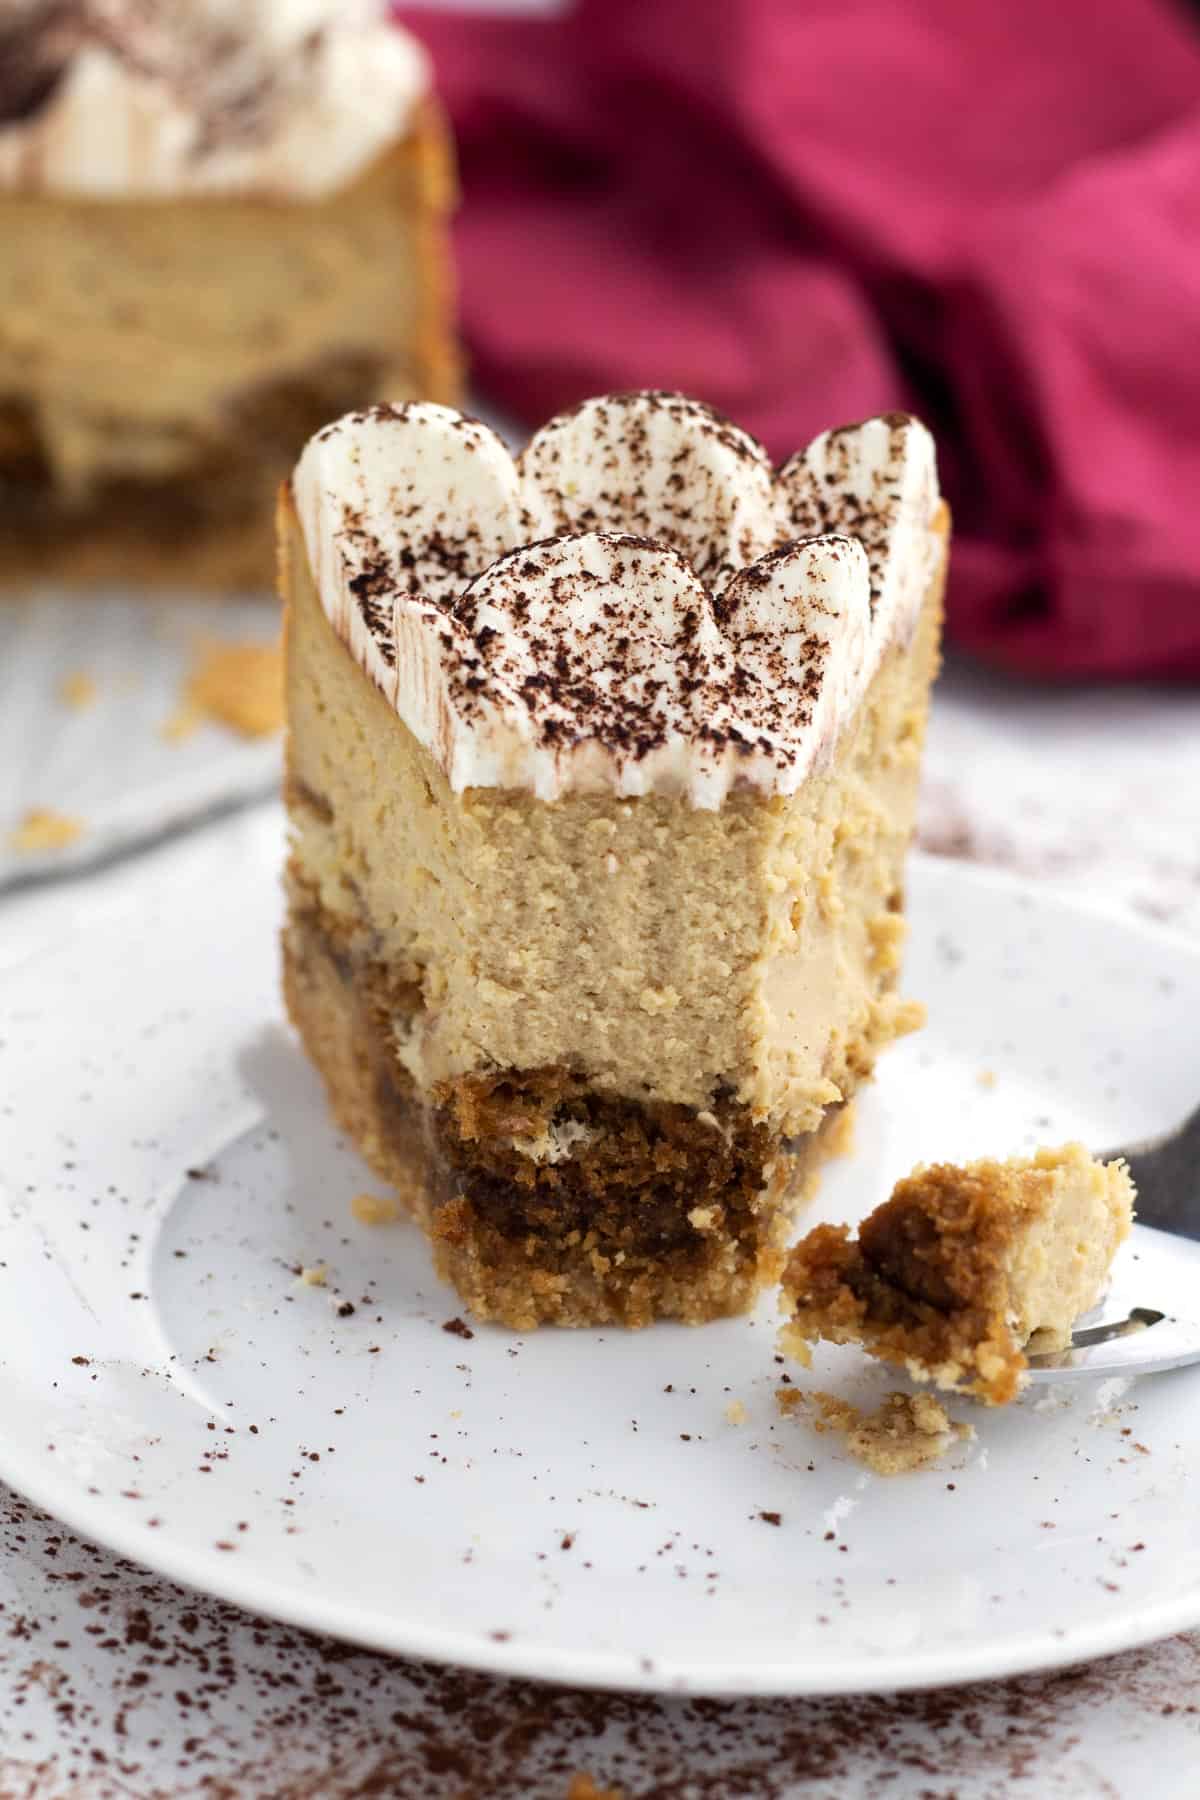
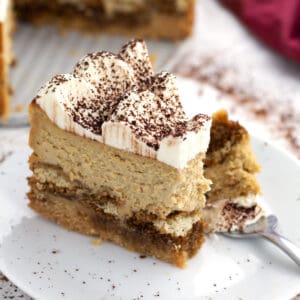
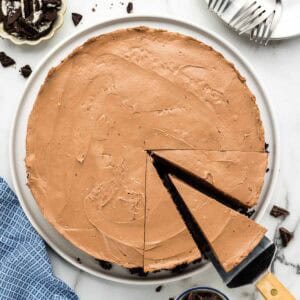
This creamy Tiramisu Cheesecake is 100% homemade with a buttery ladyfinger crust, espresso-soaked ladyfingers, creamy espresso cheesecake, and a whipped mascarpone topping. It tastes just like the classic dessert and is the perfect cheesecake recipe for entertaining and making ahead! Plus it's made without a water bath for hassle free baking.
This is one of our many amazing Cheesecake Recipes we know your guests will love! We've curated an amazing cache of recipes for you with everything from berry to chocolate, minis and bars!
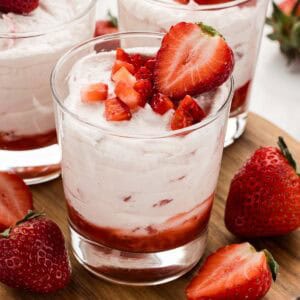
We've developed several creamy cheesecake recipes over the years, like this classic White Chocolate Raspberry Cheesecake, this Golden Oreo Cheesecake, this beautiful Strawberry Cheesecake, and this Blackberry Lemon Cheesecake. But the flavors in this Tiramisu Cheesecake Recipe might be my favorite!
The inspiration for this one came from a variety of places, including a local mediterranean restaurant and, of course, The Cheesecake Factory tiramisu recipe. If you're looking for more inspiration to satisfy your sweet tooth, check out our dessert recipes.
Skip to:
Why this recipe is great
I won't lie - tiramisu cheesecake is a tricky one to get right. Ladyfinger crusts can tend to be dry, bland, and crumbly. Espresso-soaked ladyfingers have to be dunked just long enough to avoid being dry but not so long that they get soggy. The cheesecake and topping should both be creamy - not over-baked or over-whipped.
For all of those reasons, we've tested this tiramisu cheesecake recipe many times to nail down the best instructions so that you are successful. Here's why this recipe is great:
- The crust is buttery, sweet, and doesn't fall apart.
- The ladyfinger layer is soft and full of flavor, but not soggy.
- The espresso cheesecake filling is creamy and flavorful, but not overpowering.
- The mascarpone topping is creamy and light without separating or losing it's shape.
- This baked cheesecake is made without a water bath. See more of my notes on this below.
I made this for my husband's birthday and it was a big hit!! I was nervous but followed all the instructions carefully and it turned out great! Thanks for the amazing recipe! I will definitely be making it again.
⭐⭐⭐⭐⭐ - Kelsey
Ingredients for tiramisu cheesecake
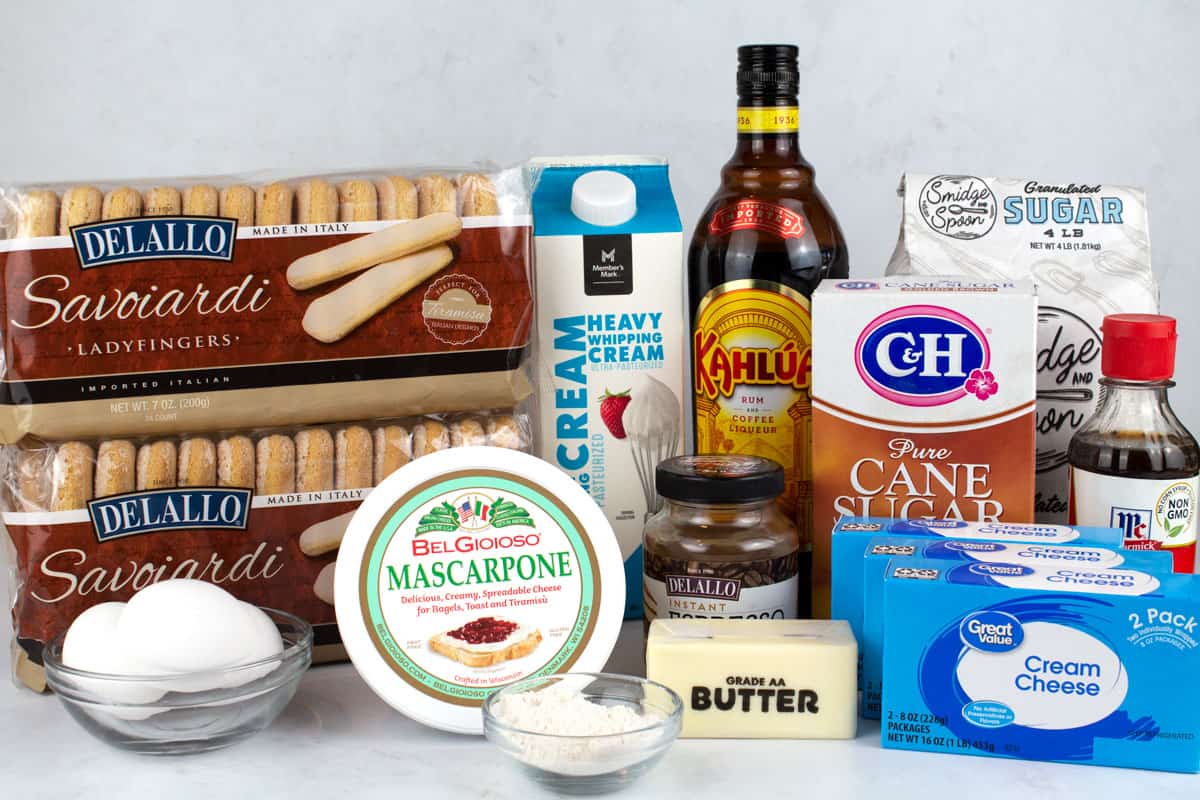
- Lady fingers: I find these the cheapest at my local Kroger store in the cookies aisle.
- Butter: I use salted butter. If you use unsalted, consider adding a pinch of salt to the crust.
- Kahlua: This coffee liqueur is pricey now-a-days, but it is worth it. There really is not a good substitution for Kahlua, since it is the main flavor profile for tiramisu.
- Granulated sugar: Just regular white sugar.
- Instant espresso: I use the DeLallo brand Instant Espresso (affiliate) because that is what they sell at my local store. Any brand will do. This is not the same as instant coffee- it needs to be instant espresso powder for the best results.
- Cream cheese: Use full fat cream cheese and allow it to soften to room temperature before you start baking. The best way to soften it is to leave it on the counter until it is room temperature and very easily dents when pressed with a spoon or finger. If it feels slightly firm or cold it's not ready yet.
- Brown sugar: I use light brown sugar.
- Flour: A little all-purpose flour helps the filling set properly.
- Vanilla: Vanilla extract rounds out the flavor.
- Heavy whipping cream: Heavy cream makes the filling extra creamy and is also used to make the whipped cream topping.
- Eggs: Bring to room temperature before using, or set them in a bowl and cover with slightly warm water for 10 minutes.
- Mascarpone cheese: Unlike the other dairy ingredients, you want this one to be cold when you make the topping. Warm mascarpone tends to separate, but keeping it cold ensures it combines with the cream properly.
Helpful kitchen tools


How to make tiramisu cheesecake
Prepare pan
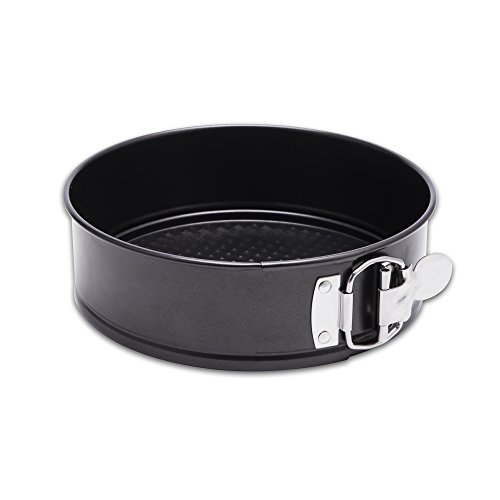
With a 9 inch springform pan (affiliate), lay one large piece of parchment paper over the circular base. Clamp the rim onto the base, securing the parchment layer inside the pan. Trim off the excess parchment, then spray the bottom and sides with baking spray.
Crust
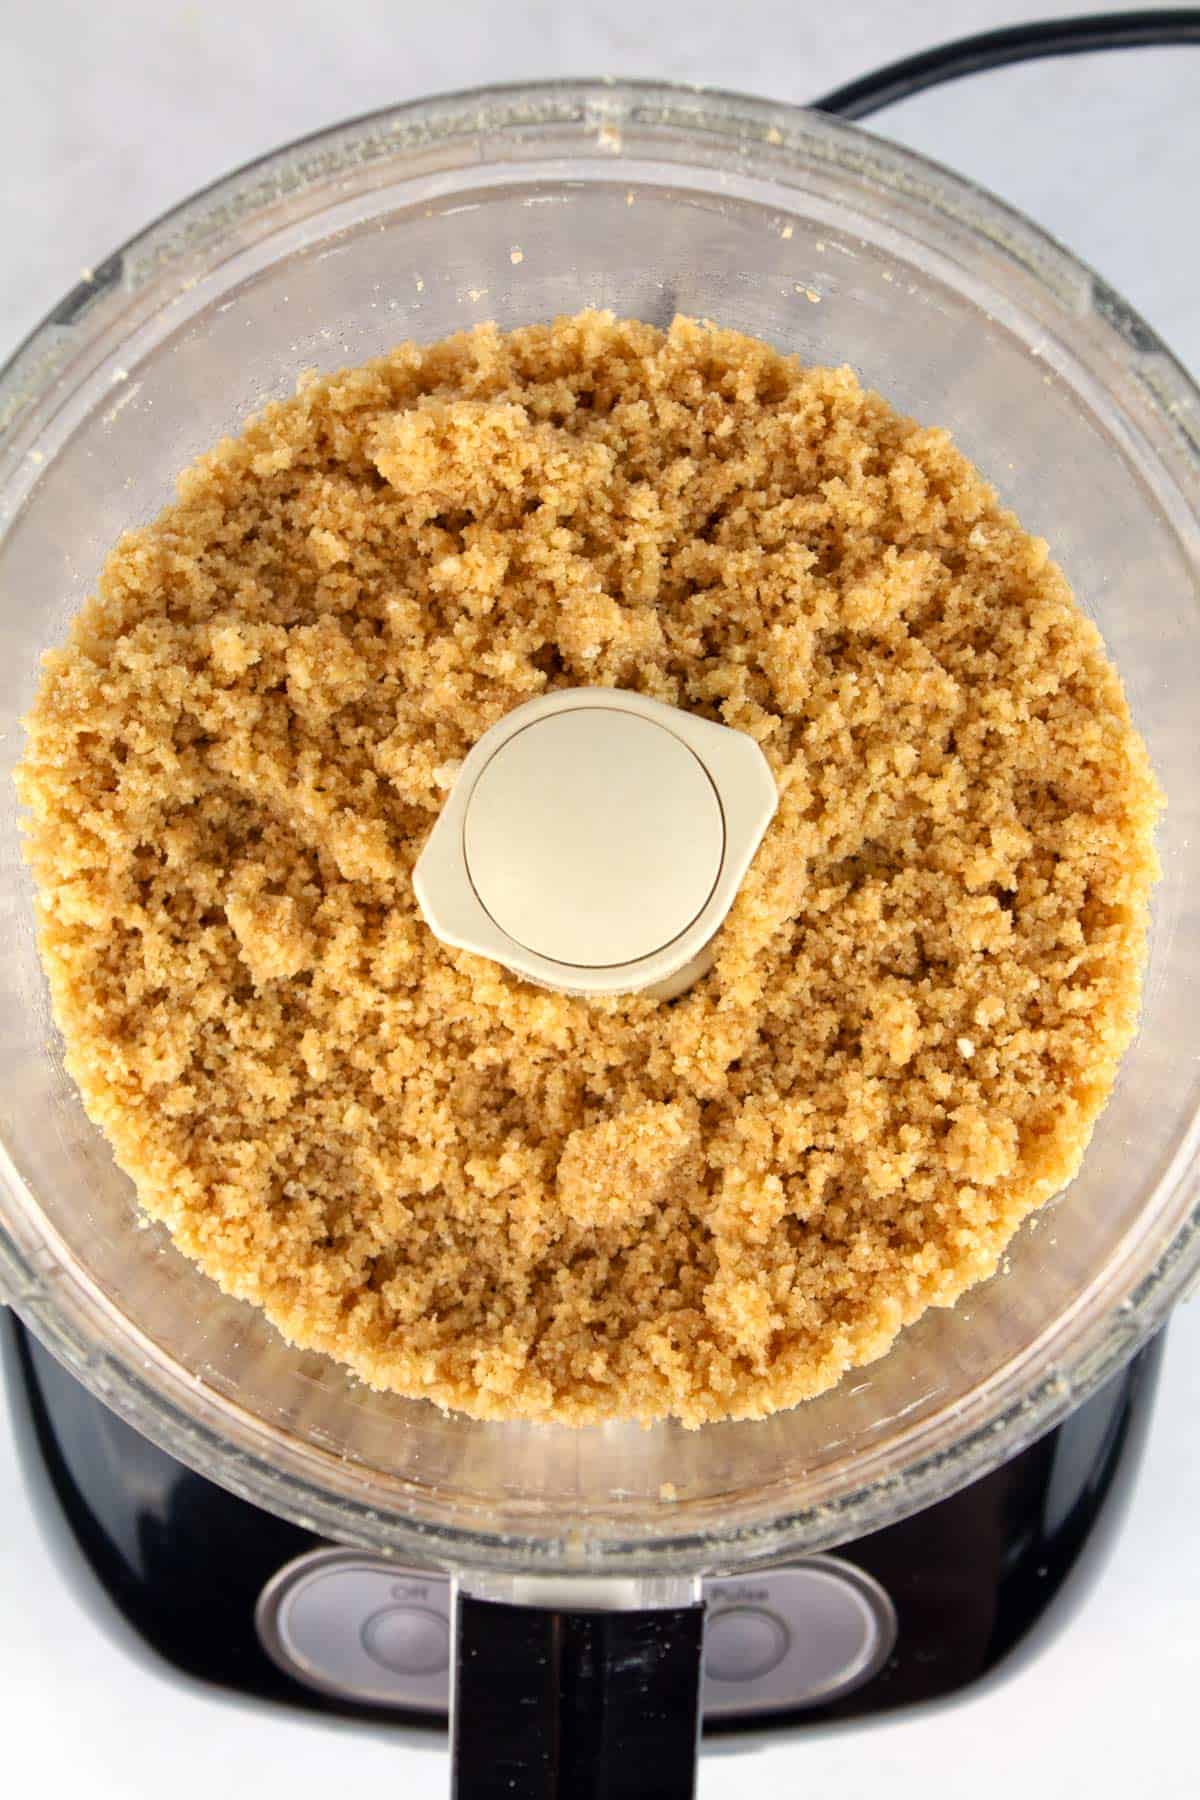
For the crust, add the lady fingers to a food processor (affiliate) and pulse until they are fine crumbs. Add the melted butter, Kahlua, and sugar and pulse until combined (it should look like damp sand).
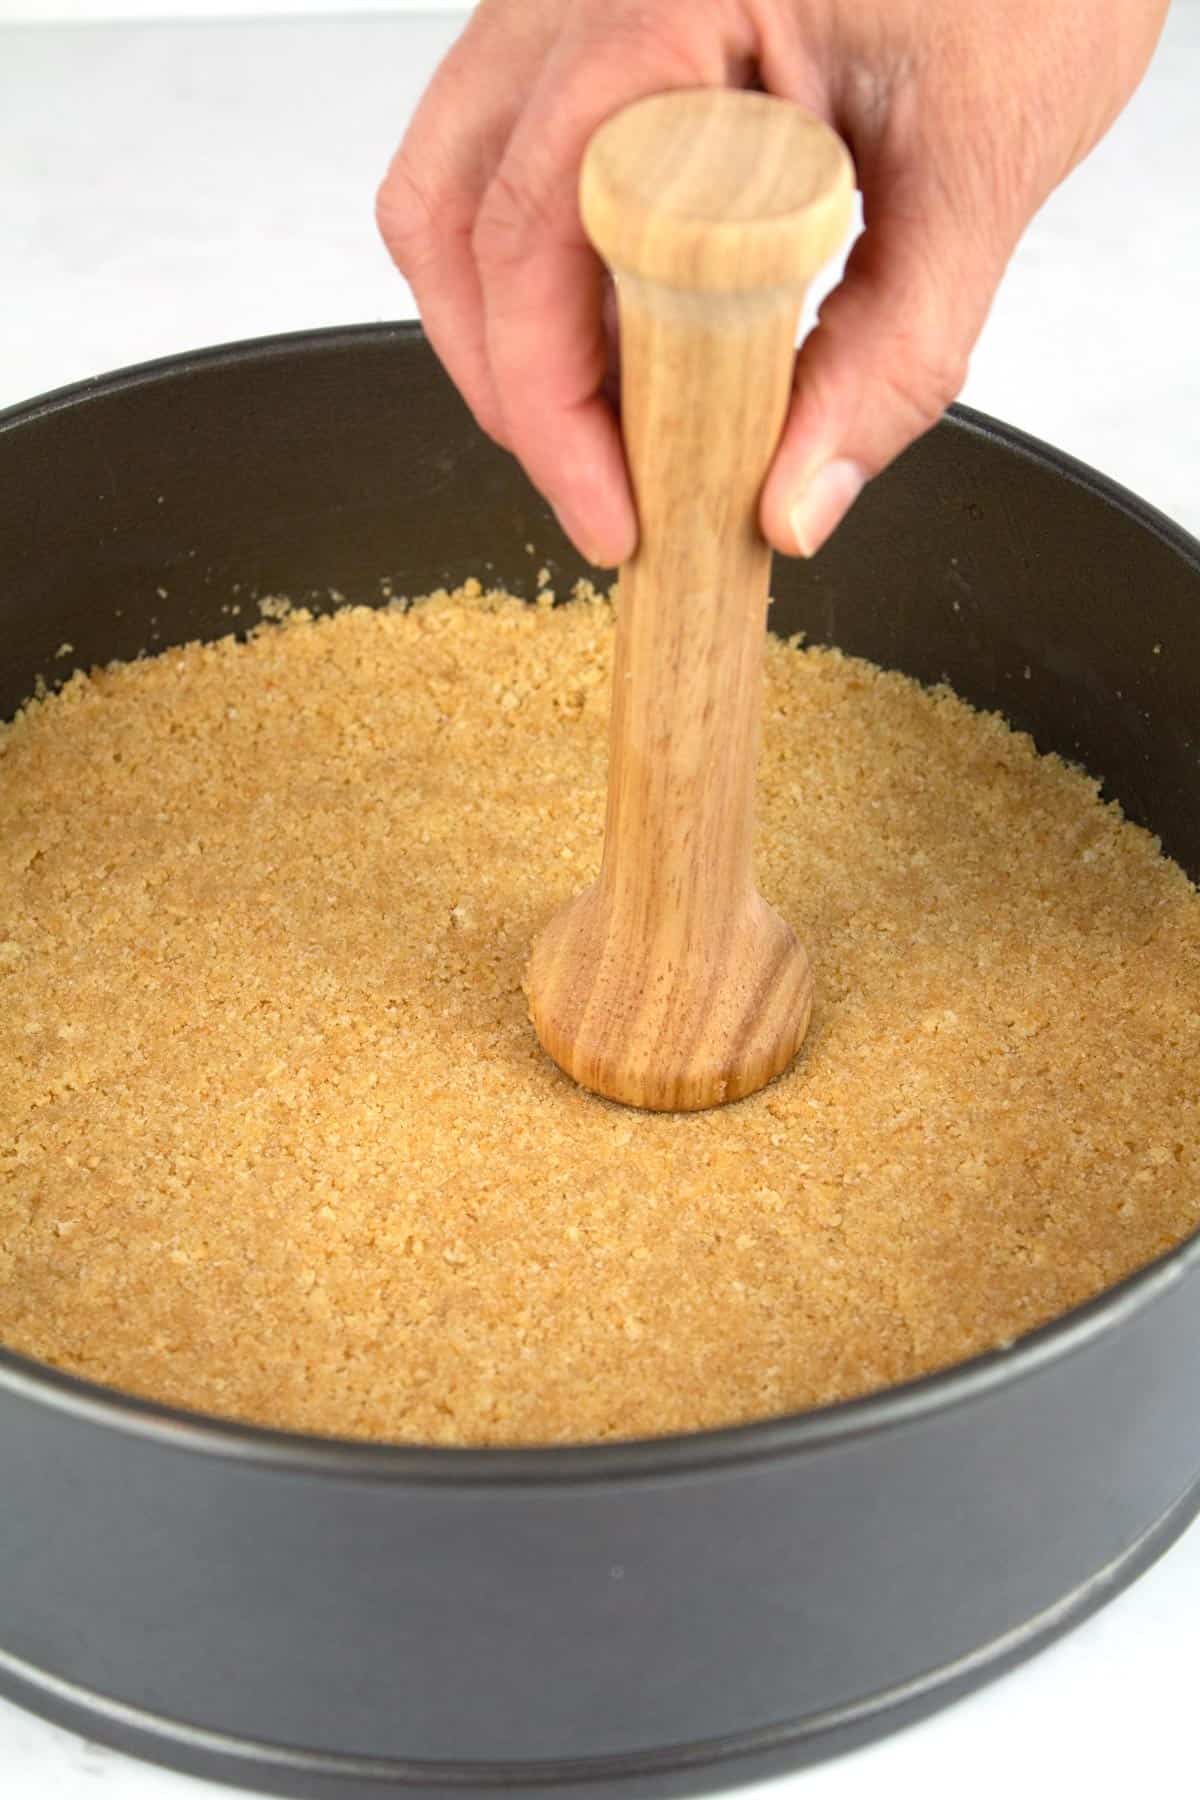
Press into your prepared pan and bake at 350°F for 6-7 minutes. Set aside to cool.
Cheesecake batter
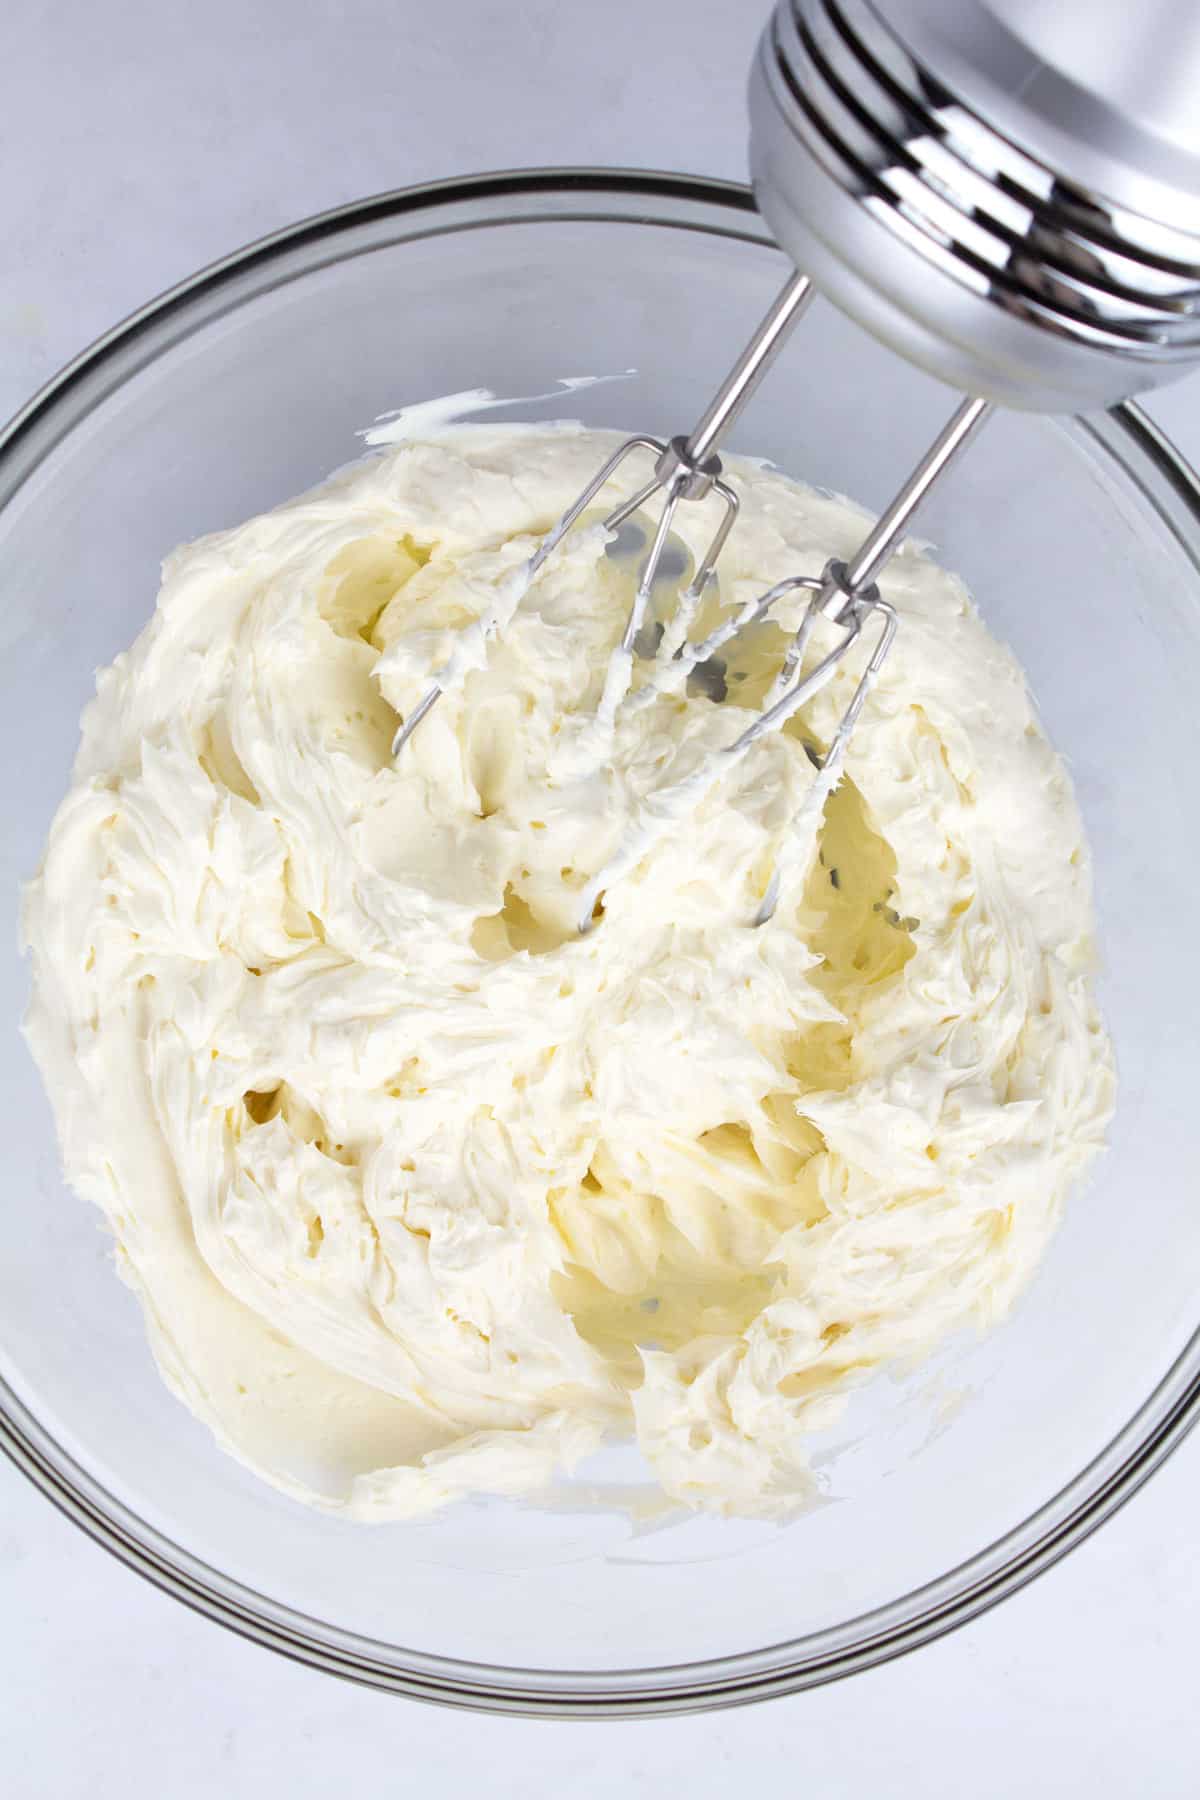
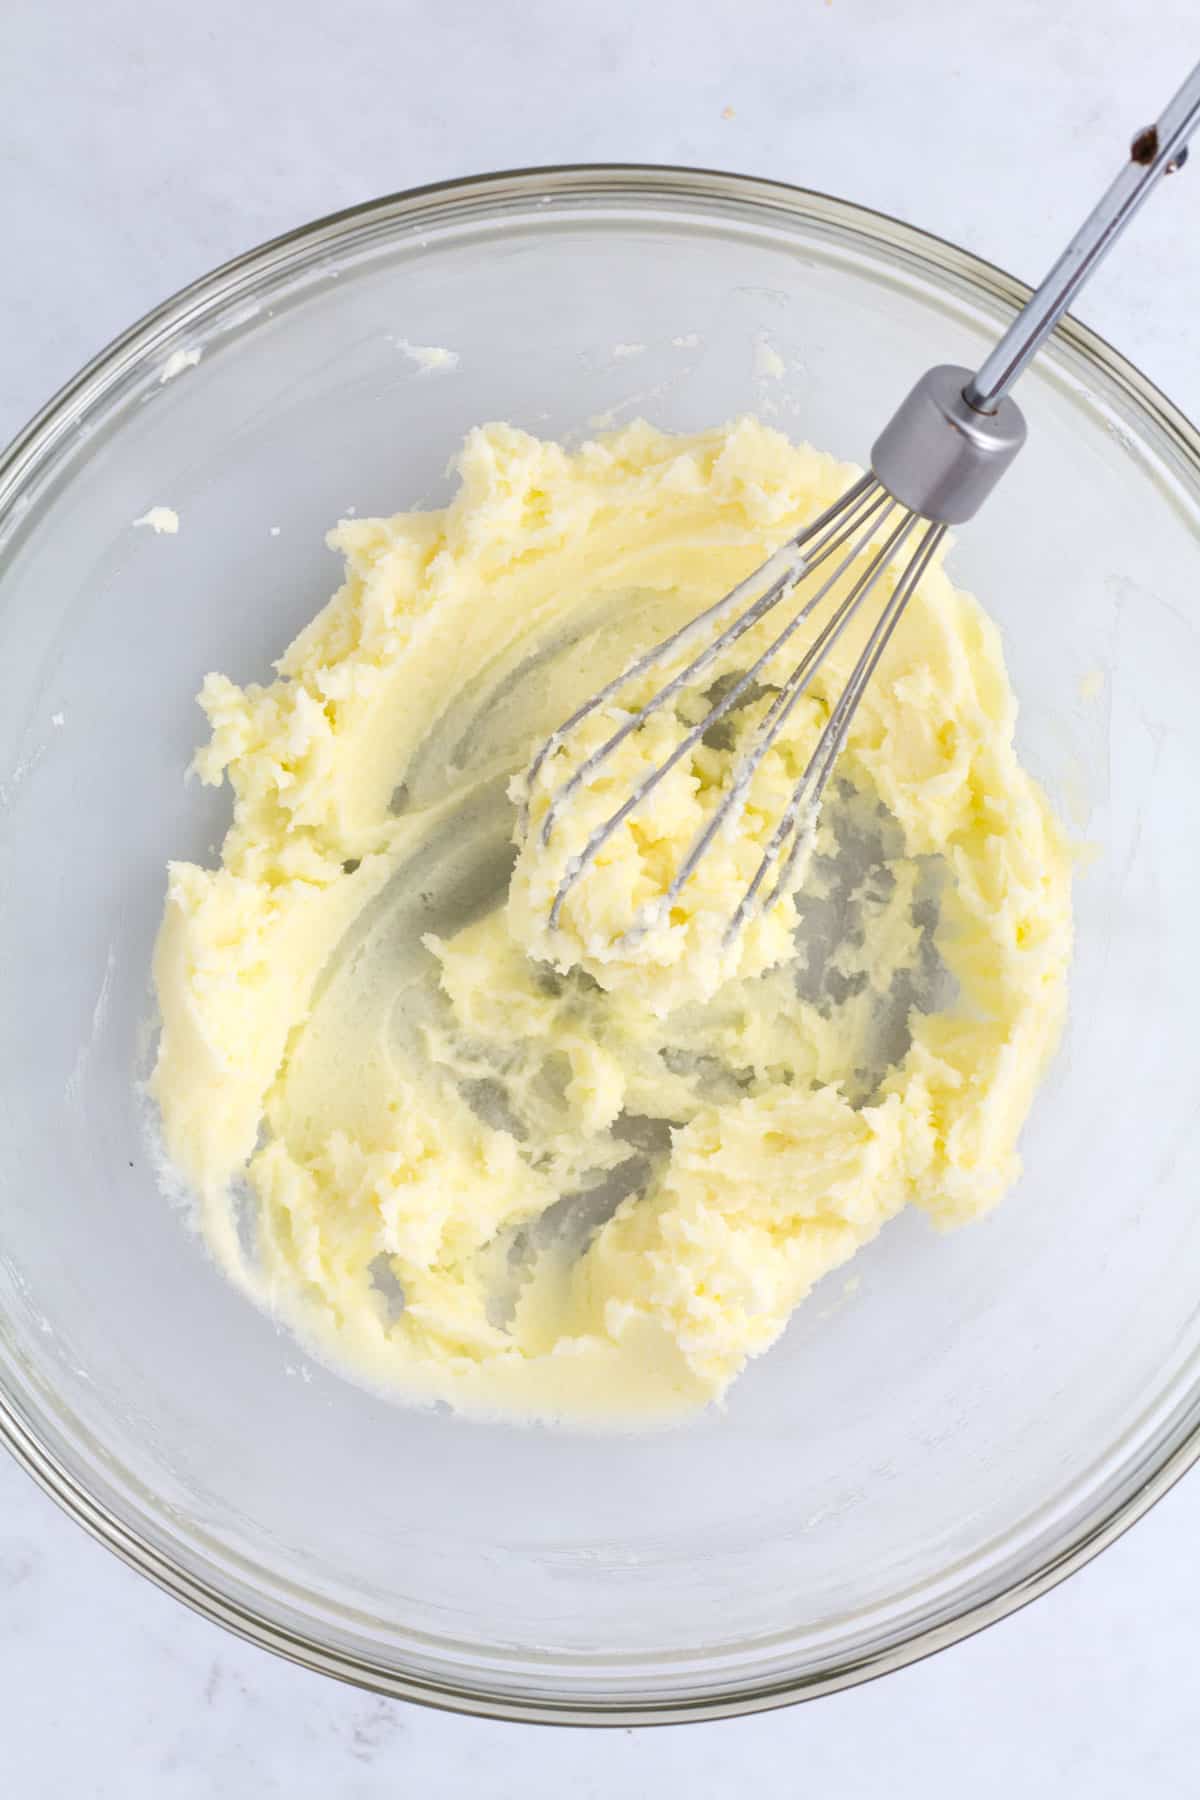
In a large mixing bowl with hand mixers or a stand mixer with the paddle attachment, beat the cream cheese for 1-2 minutes on medium speed, until smooth and creamy.
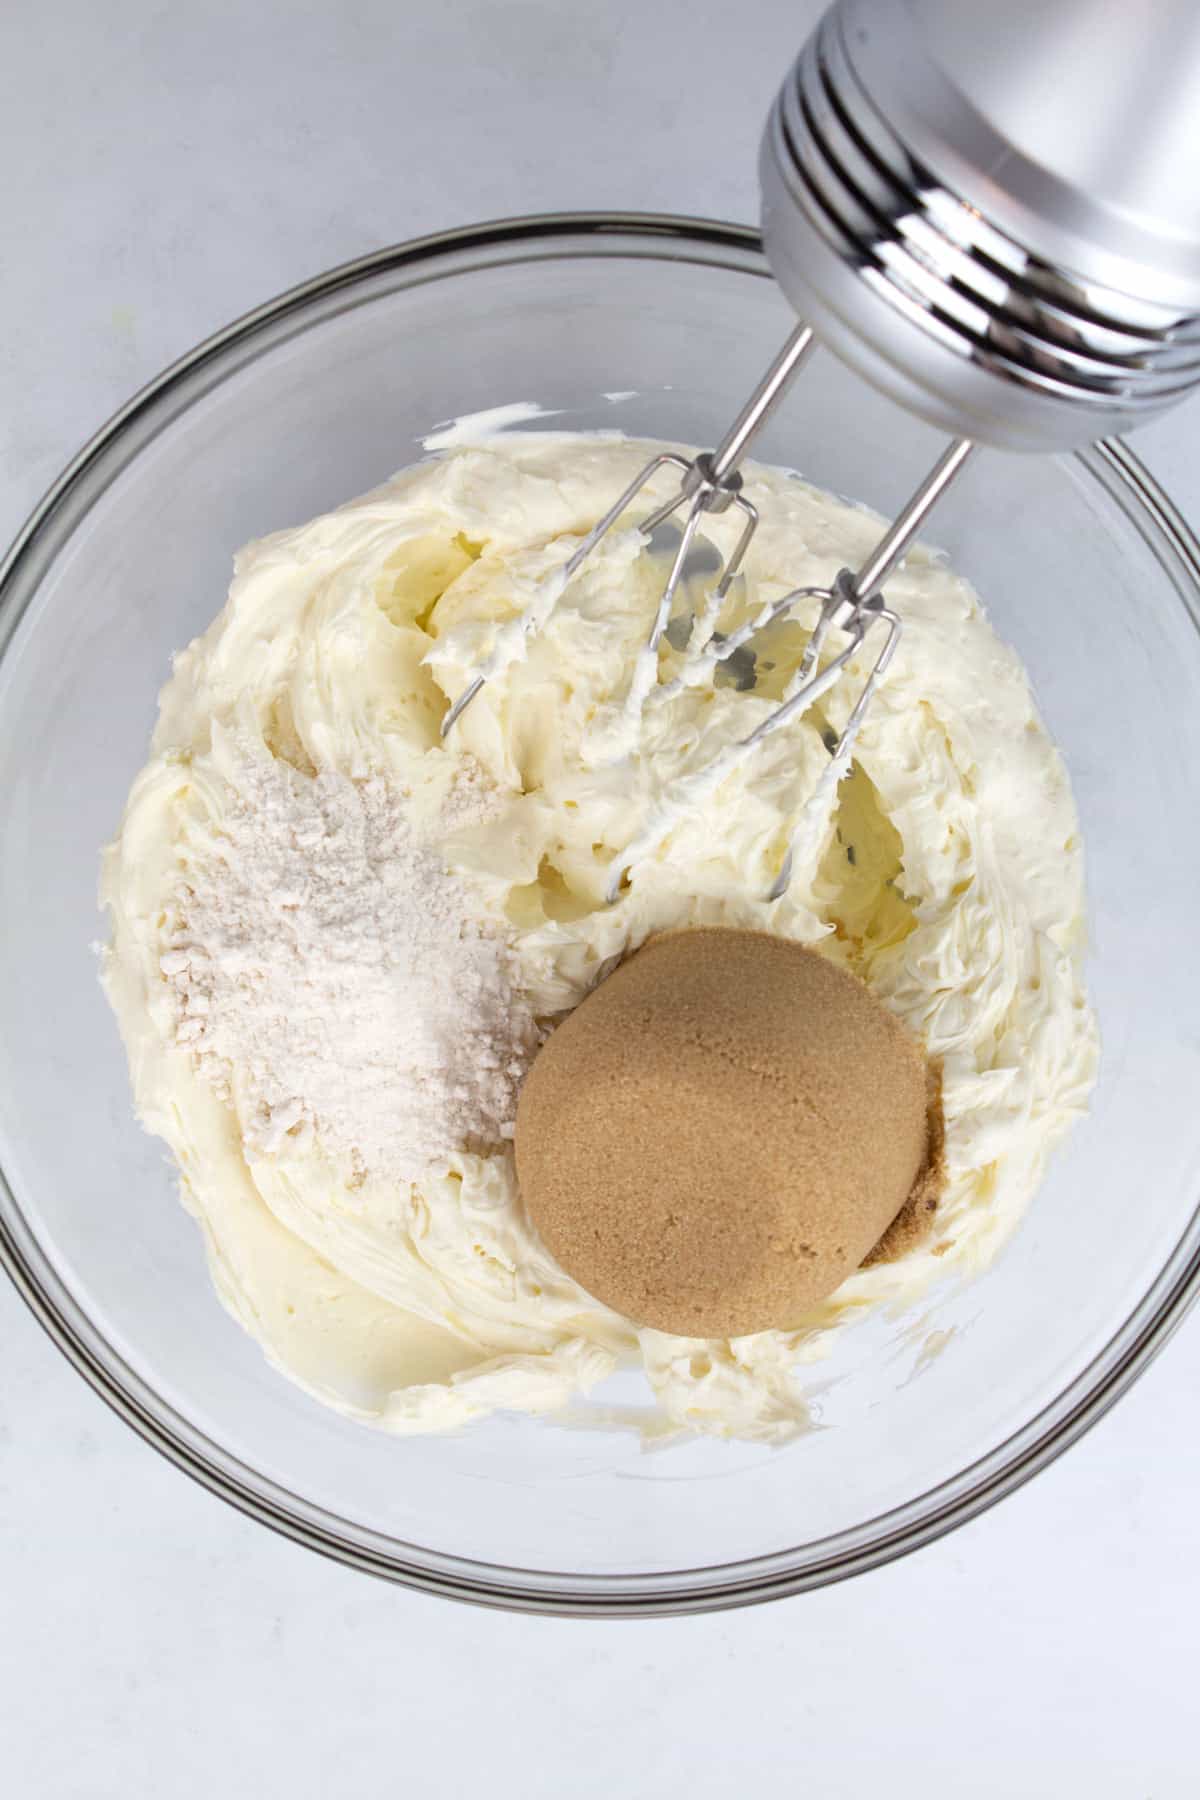
Add the flour and brown sugar. Combine on medium speed for 1 minute.
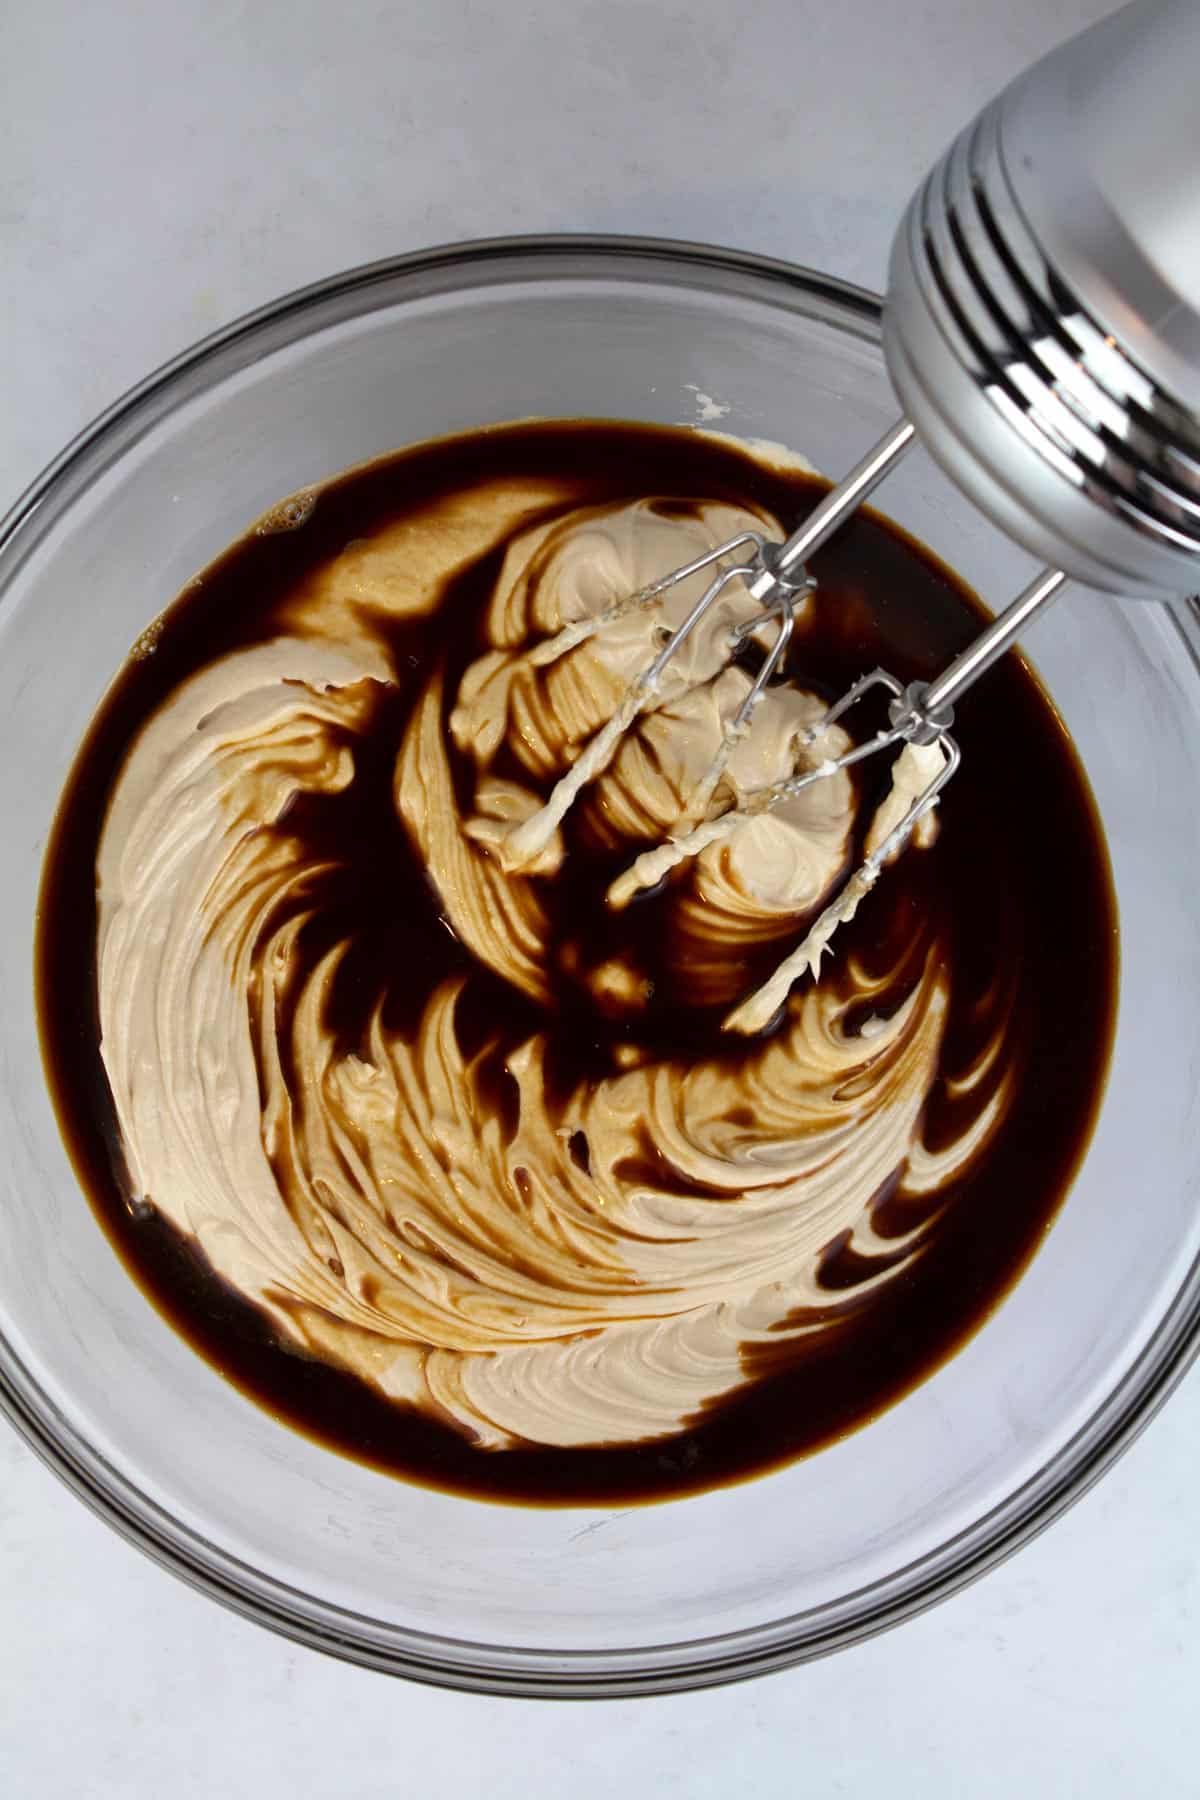
Add the espresso and vanilla. Beat on medium-low until just combined.
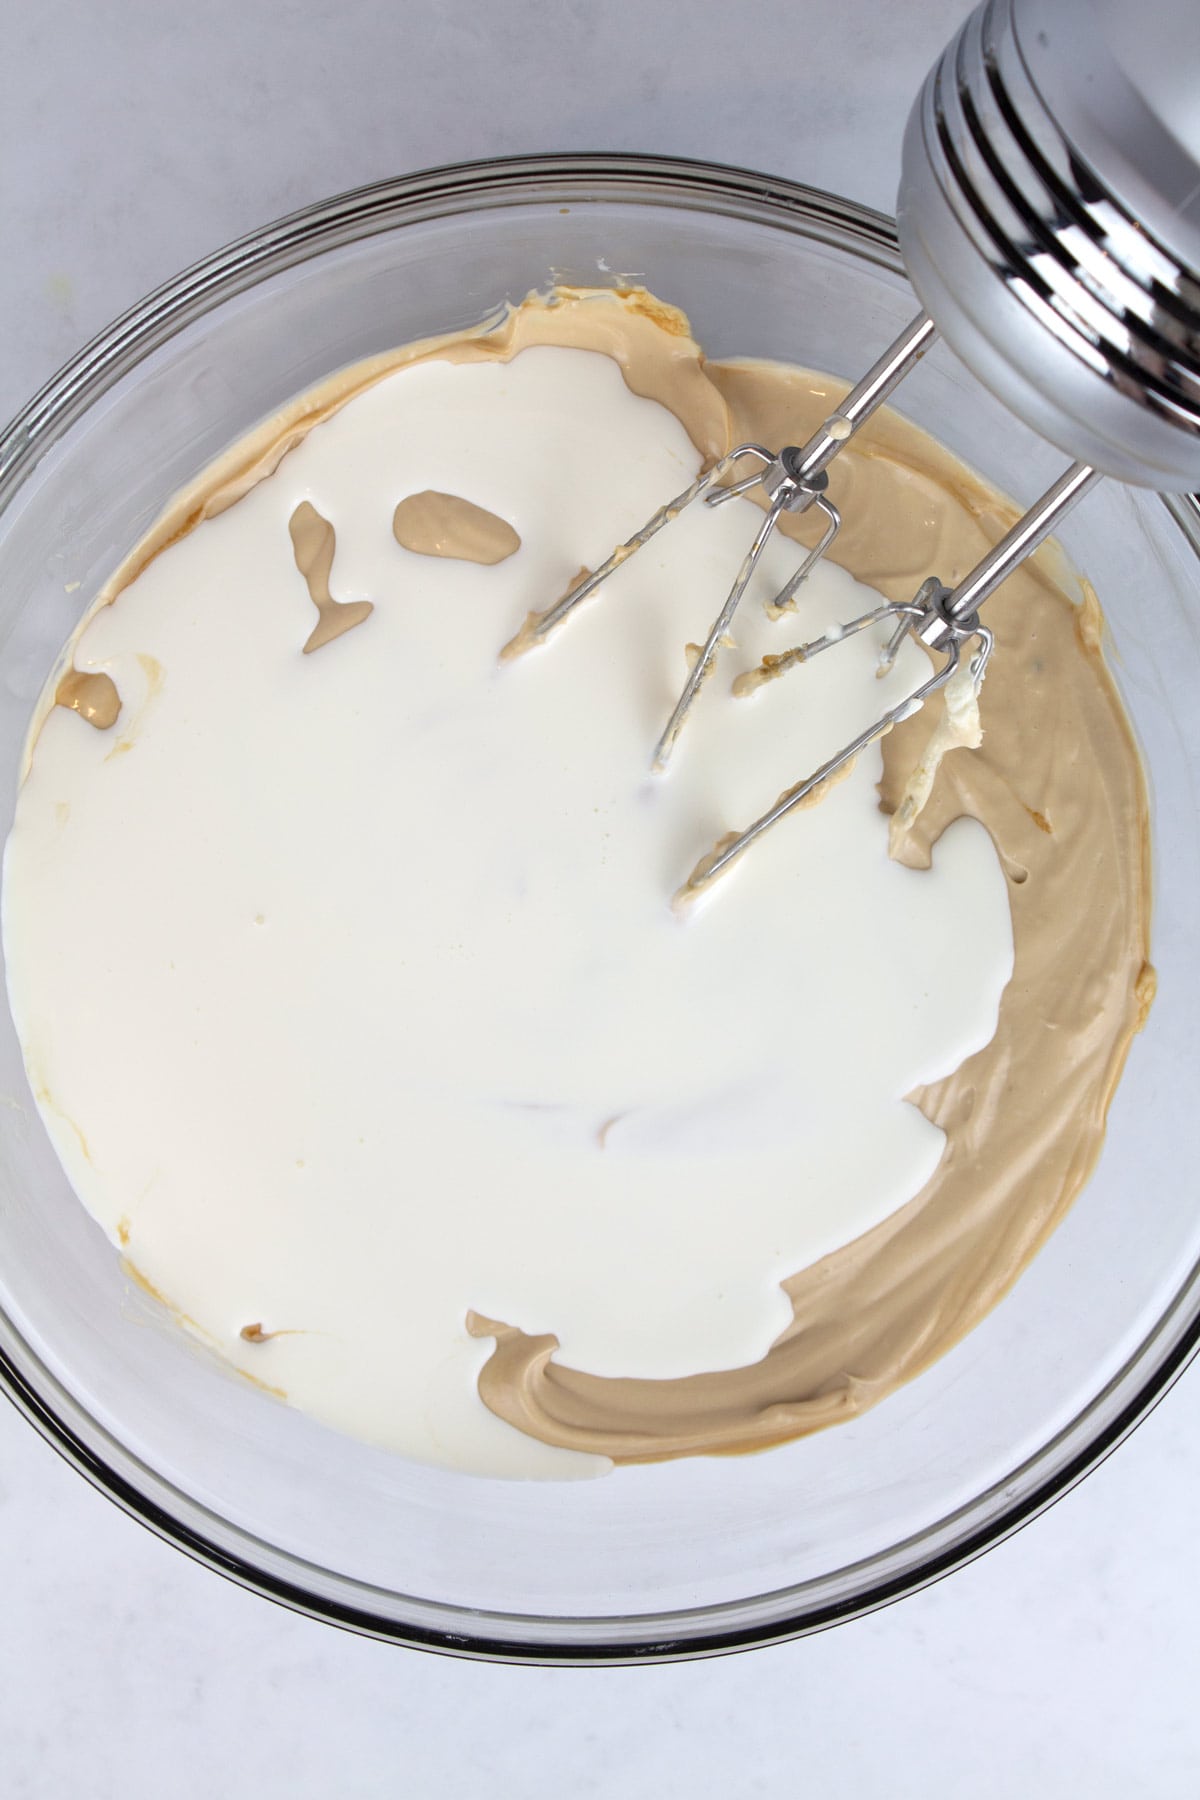
Add the cream. Beat on medium-low until just combined.
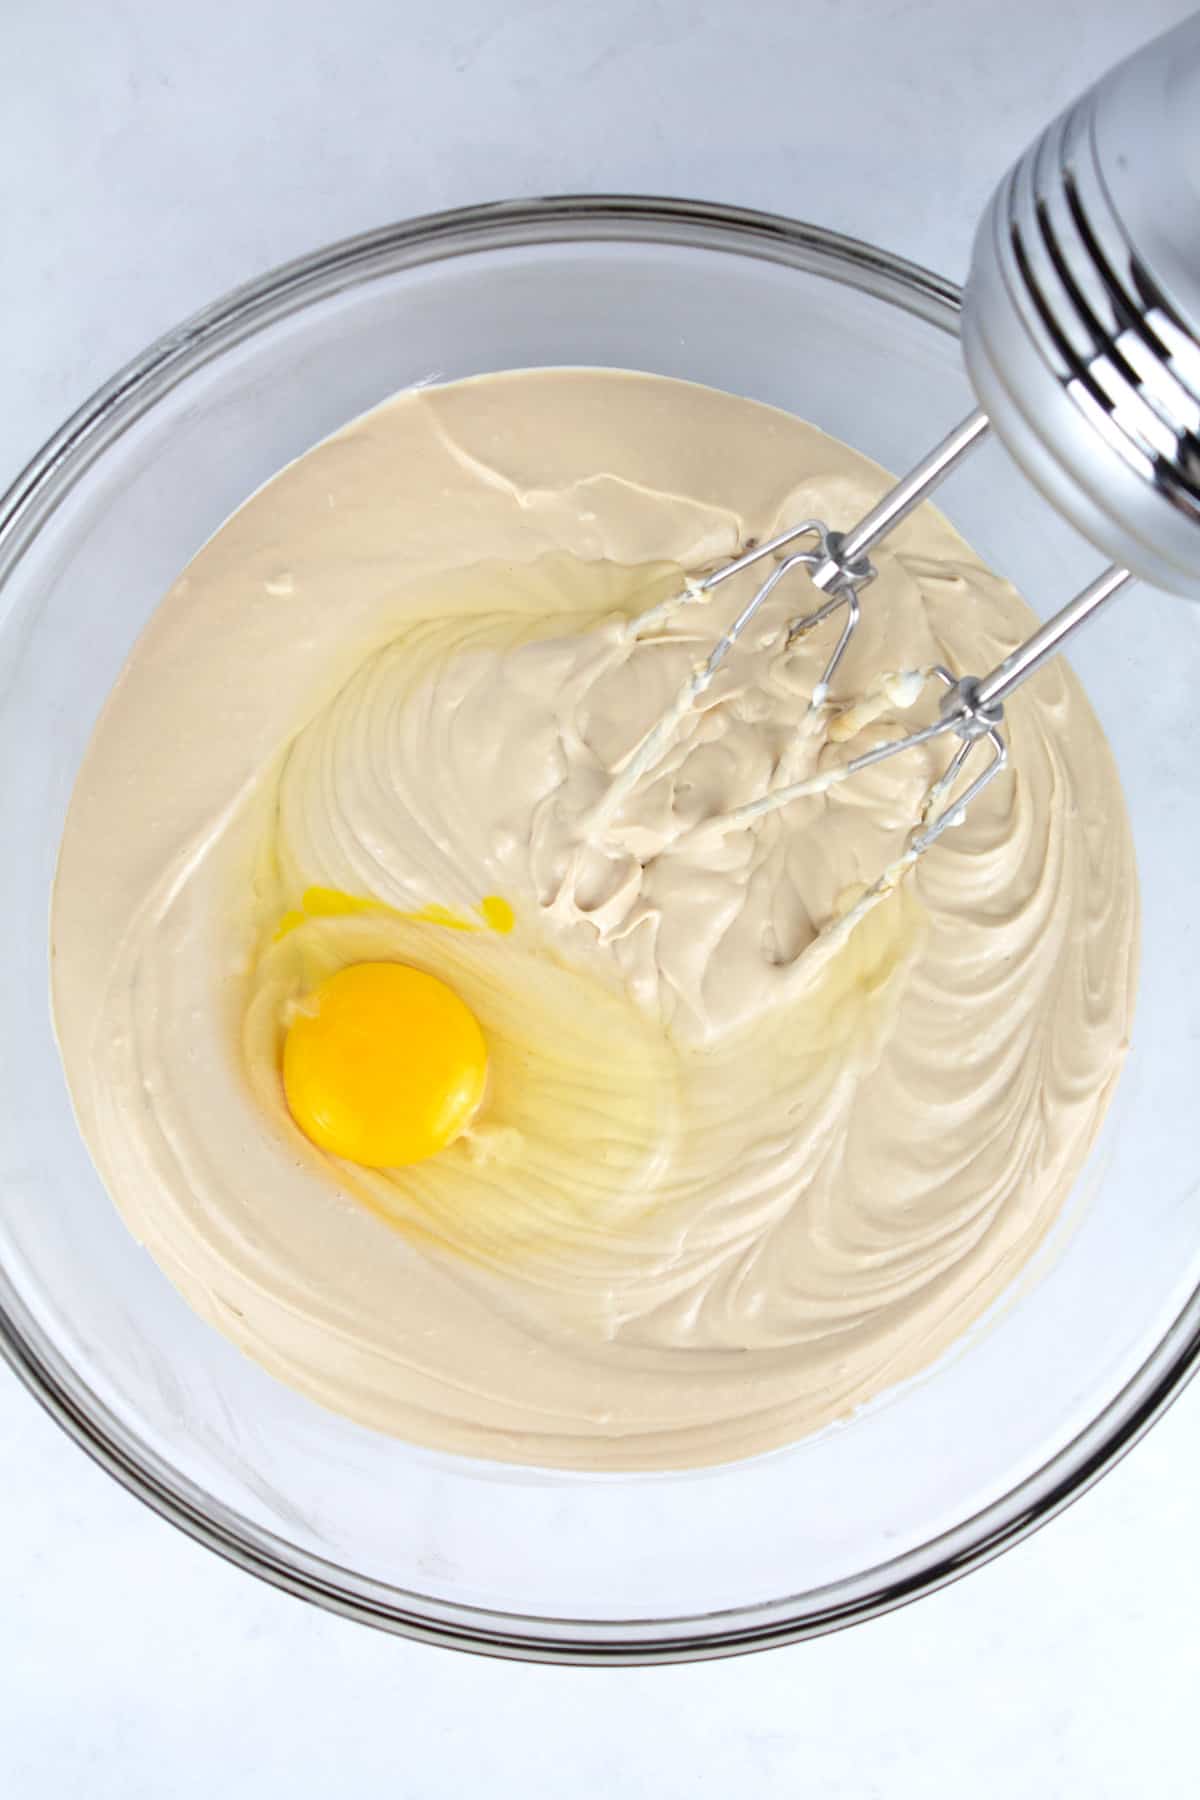
Add the eggs one at a time, mixing on low speed until just combined.
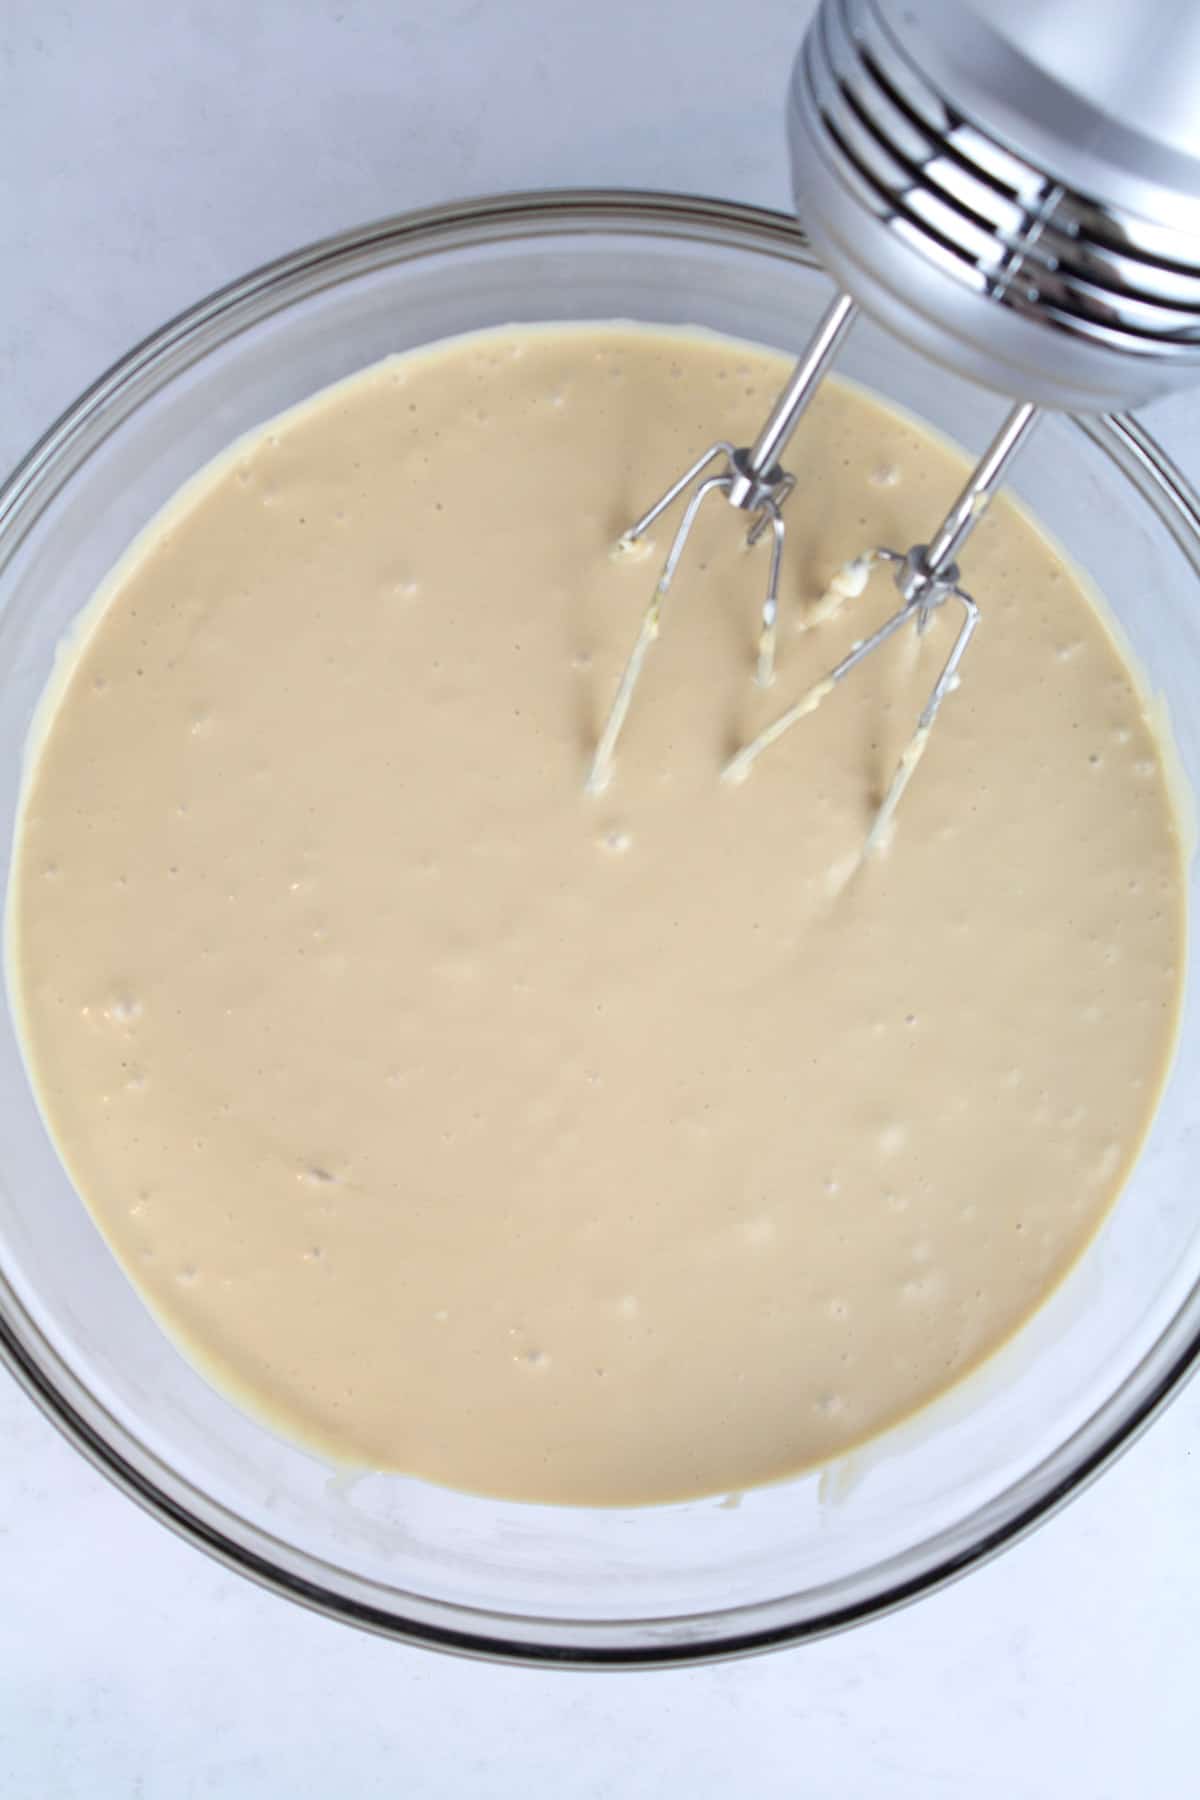
The final batter should be very creamy. Tap the bowl on the counter for 30 seconds, releasing excess air bubbles.
Ladyfingers
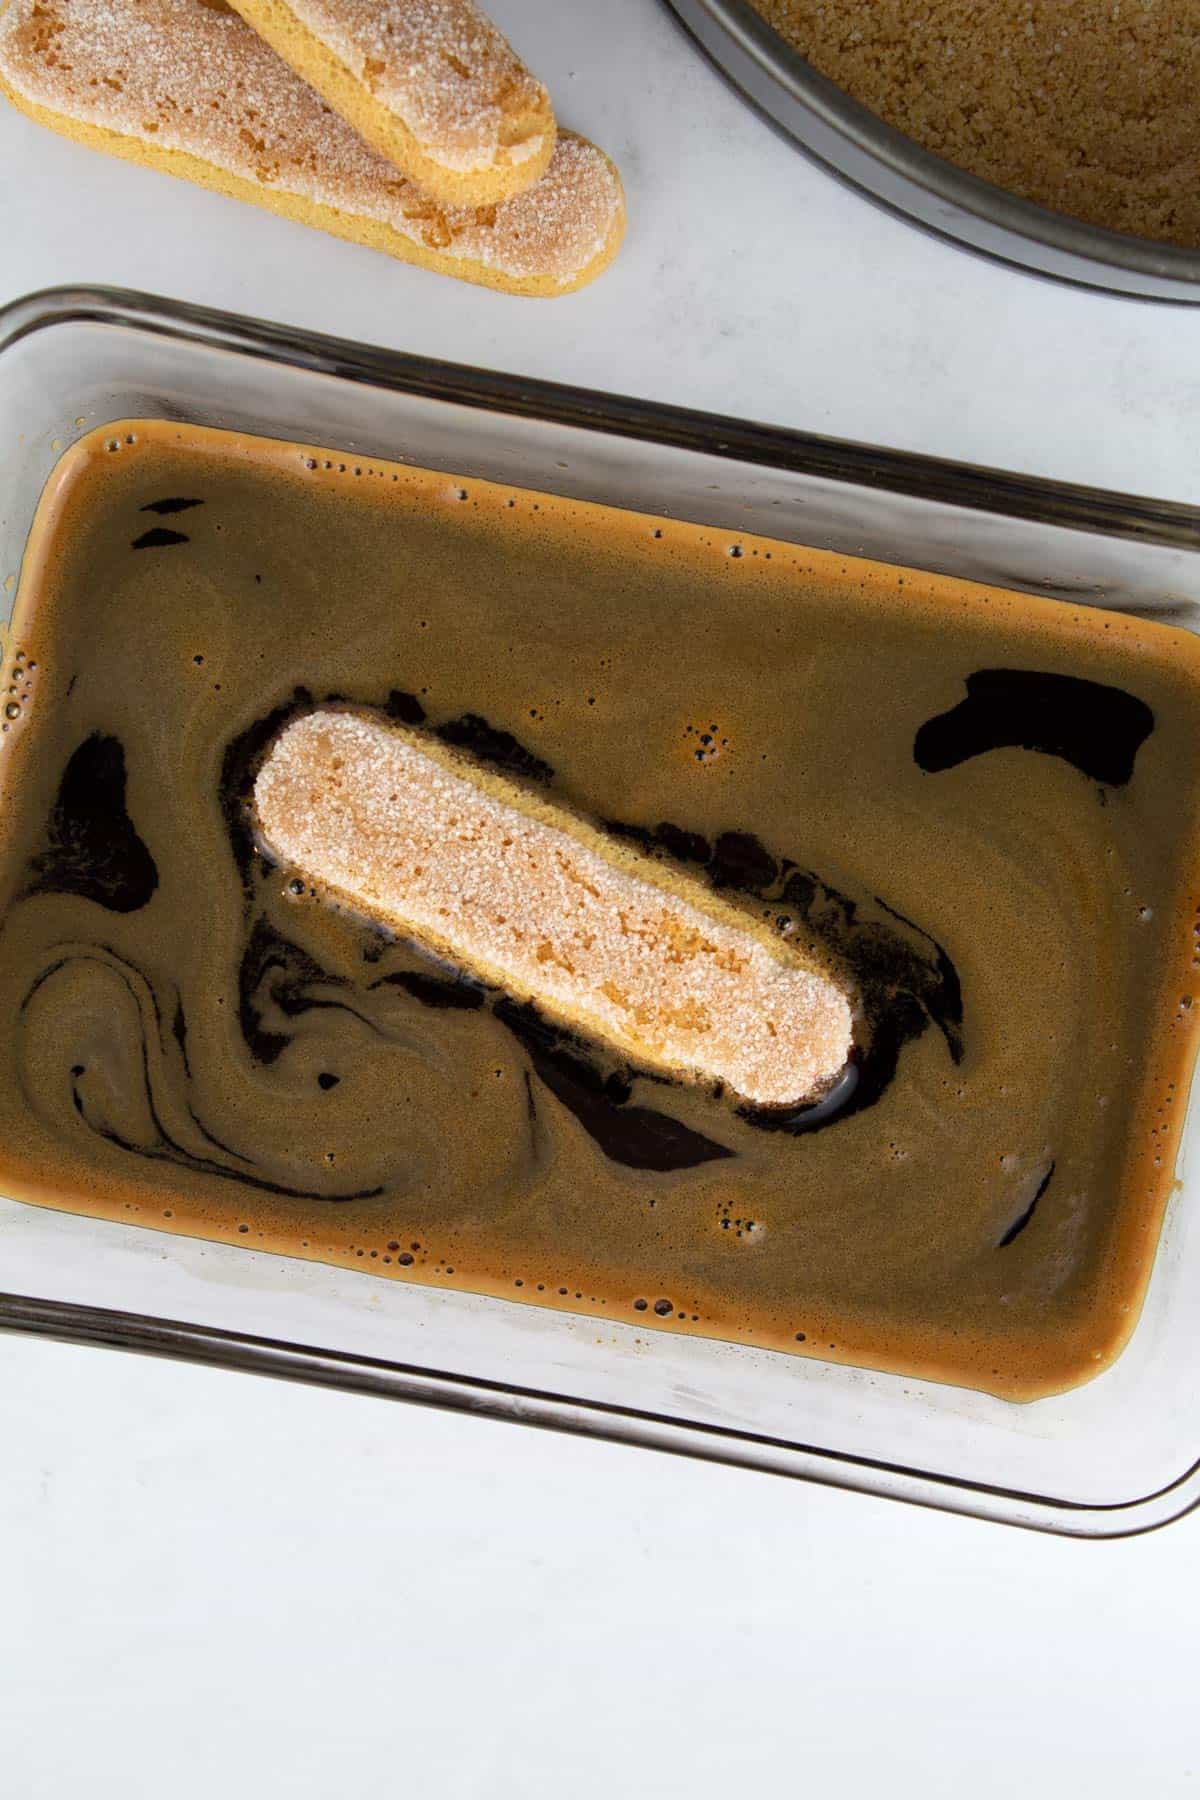
Combine warm water and espresso powder in a shallow dish or small bowl. Then mix in the Kahlua. Working with one ladyfinger at a time, dip it into the coffee mixture for 4 full seconds on the first side, then flip it and allow it to sit for 4 more seconds.
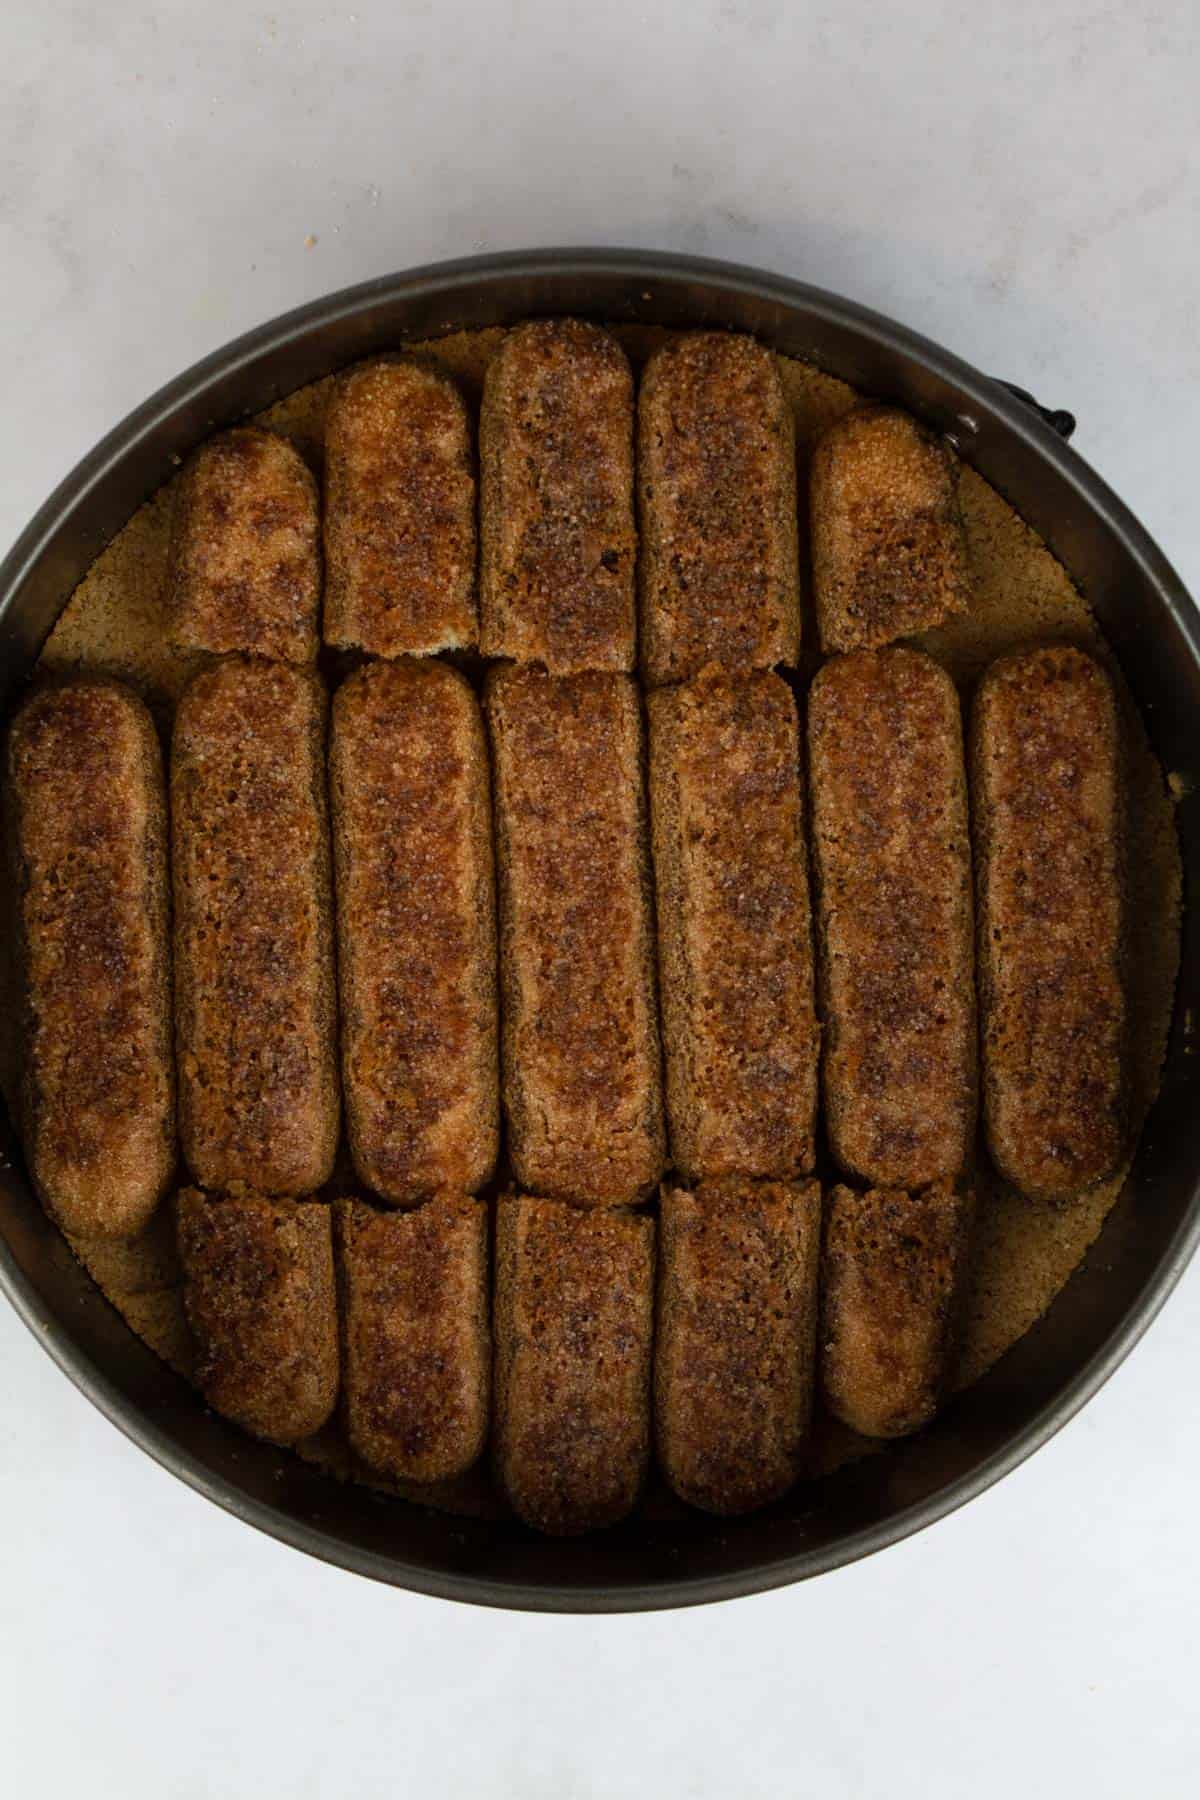
Arrange the dipped ladyfingers onto the crust to form a single layer. You will have to break some of the soaked fingers to fill in the edges, as shown in the picture. Then pour the cheesecake batter on top.
How to bake cheesecake without a water bath
To bake tiramisu cheesecake without a water bath, preheat the oven to 325°F and place a 9x13 baking pan on the lower rack. When ready to bake, pour 3 cups of hot water into the pan. Place the cheesecake on the middle rack above it, then bake for 50-60 minutes.
The pan of water adds moisture to the oven without the risk of leaking and causing a soggy crust, as commonly happens with a water bath. The cheesecake is done when the edges are set and firm, but the middle 2-3 inches are underset (not liquidy, but not quite firm). The middle should jiggle when you lightly shake the pan.
Remove from the oven and allow to cool to room temperature for several hours. Then refrigerate for 3-4 hours, or overnight, before adding the topping.
How to bake cheesecake with a water bath
There are definitely benefits to a traditional water bath, namely a more even texture all the way through. However, it is more hassle and you run the risk of water leaking in and making a soggy crust.
If you prefer to use a water bath, the best method I've used is to wrap the pan in tinfoil, then wrap the whole thing in a slow cooker liner. Check out the following recipe for full instructions and photos on how to prepare a water bath.
Note that the total baking time may increase if you use a water bath. Begin checking it at the 50 minute mark and continue baking until the edges are set and the middle 2-3 inches are still somewhat jiggly.
How to make mascarpone whipped cream
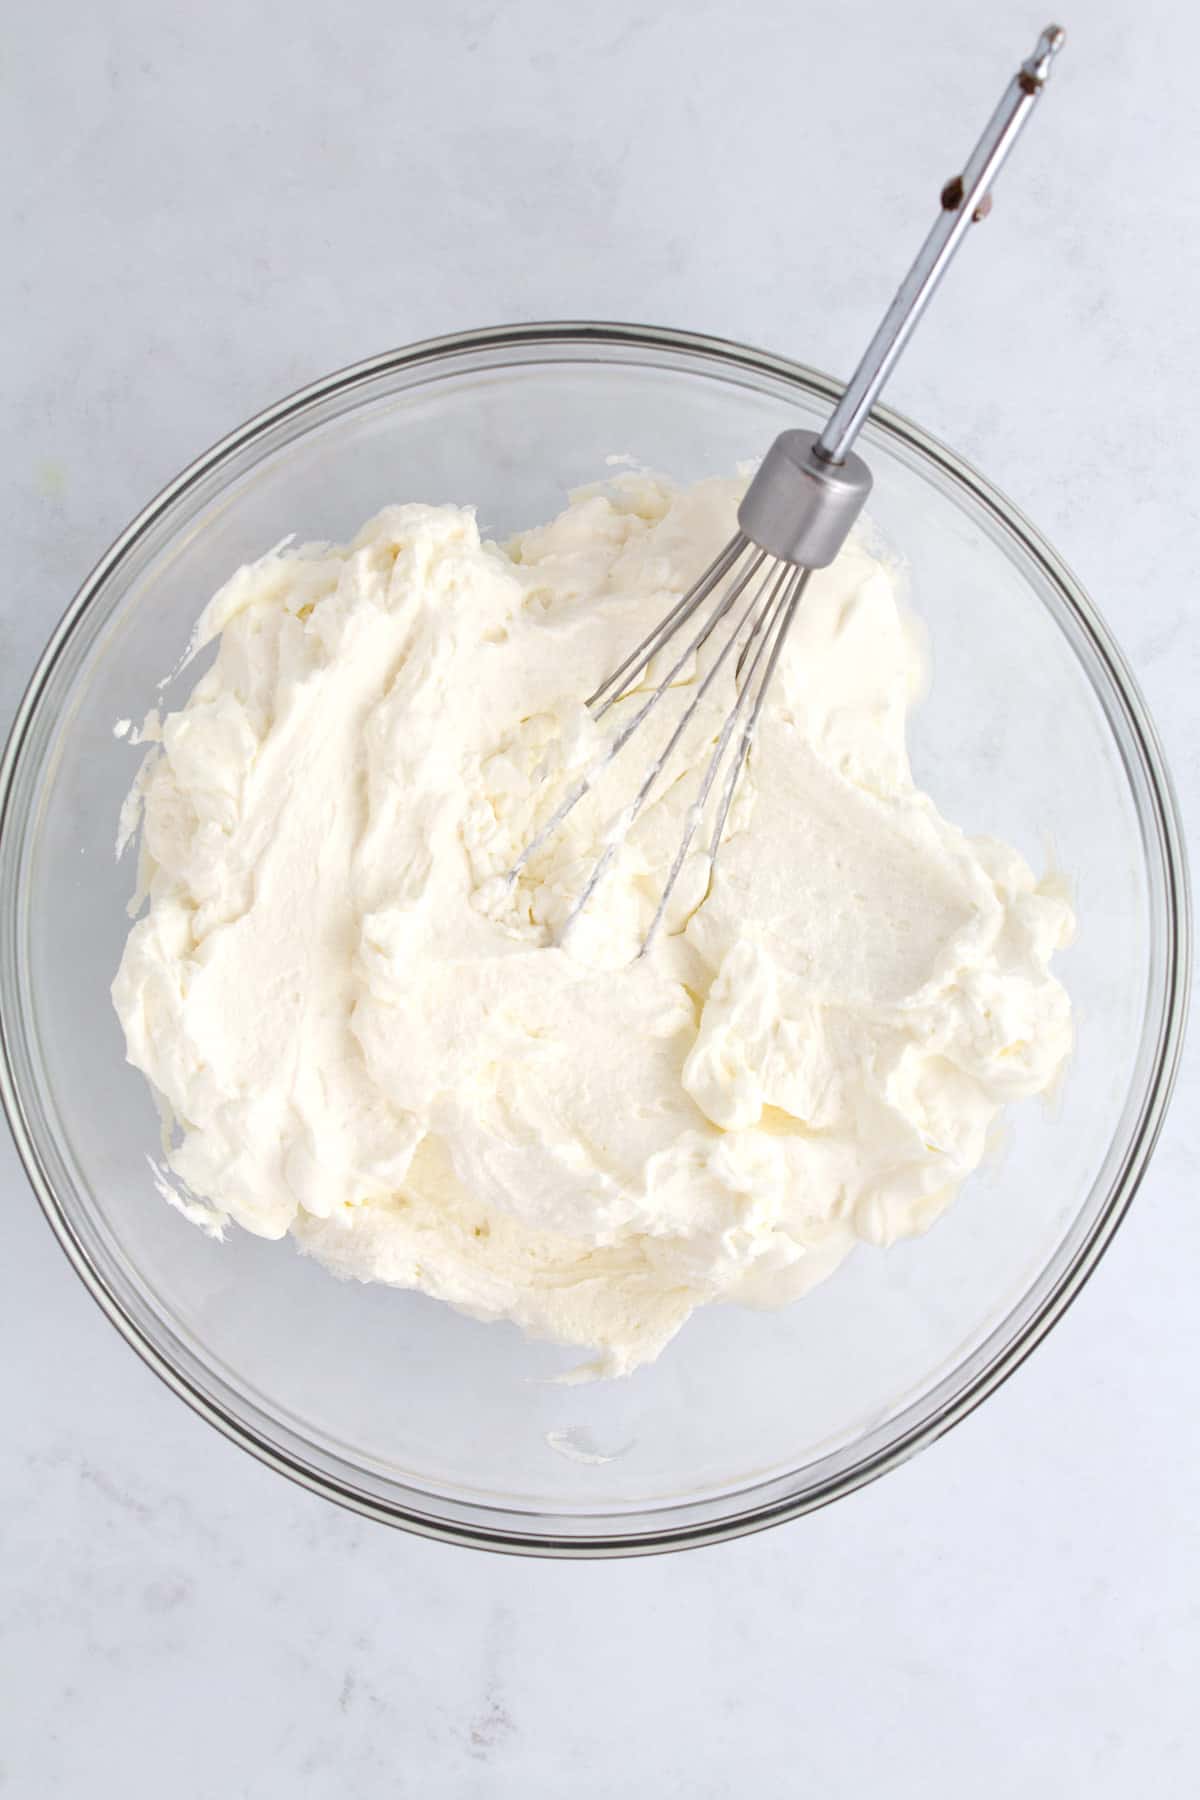
Once the cheesecake is cooled, make the topping with a hand mixer or stand mixer fitted with the whisk attachment. In a large bowl, whip the cold mascarpone and sugar on high until combined.
Add the cold cream and Kahlua. Whip on medium low until mostly combined, then increase the speed to high until stiff peaks form.
You can spread the topping over the tiramisu cheesecake with a spatula using swirly motions, or you can pipe it on with your favorite tip. As a final touch, use a sieve (affiliate) to add a dusting of cocoa powder before serving.
FAQs
If your cheesecake has cracks, don't fret too much! All cracks will be covered by the mascarpone topping, so no one will know. But it if it did crack, it is probably for one of these reasons:
1. Too much air in the batter: Follow the speeds listed in the instructions, mixing mostly on medium-low and only on low once the eggs are added. Eggs incorporate air easily, so stop mixing as soon as the eggs are combined.
2. Over cooked: See my section below about how to know when your cheesecake is done.
Cheesecake is done baking when the edges are set and firm, the top is dry, and the middle 2-3 inches of the cheesecake are jiggly like jello - not sloshy, but not quite firm either.
Every oven is different, so the key is to start checking it at the lower end of the cooking range, and then look for visual cues. Once you see those visual cues, stop baking it. It will continue to bake as it cools.
Store tiramisu cheesecake in the fridge for up to 3-5 days. I suggest storing it in a cake carrier (affiliate) to keep the top pretty.
You can make the cheesecake up to two days in advance and store it in the fridge. I suggest making the topping and dusting it with cocoa powder the day of serving, for best results. Because it can be made ahead of time, this is a great dessert for the holidays. Add it to your list of Thanksgiving recipes!
To freeze the cheesecake, completely cool and refrigerate it as directed. Then place it on a cookie sheet and freeze unwrapped for 2-3 hours (this ensures that the cheesecake won't be dented or otherwise ruined when you wrap it).
Once frozen solid, wrap it tightly in plastic wrap, then in tinfoil. Freeze for 1-2 months. When ready to serve, defrost the cheesecake in the fridge overnight.
Tips and tricks
- Follow the instructions carefully. It's a lot of words, but if you follow them carefully I am confident your cheesecake will be a success.
- Start with truly softened cream cheese to avoid lumps in the batter. The best way to soften it is to leave it on the counter until it is room temperature and very easily dents when pressed with a spoon or finger. If it feels slightly firm or cold it's not ready yet.
- Don't over mix the batter - this is key! Keep the mixer on medium-low after adding the espresso, and only on low after adding the eggs. If you mix on a higher speed or for too long, it will add air to the batter and cause cracks.
- Avoid overbaking the cheesecake. Take the cheesecake out of the oven as soon as the edges are set and firm, the top is dry, and the middle 2-3 inches is still jiggly like jello.
Recipe
Creamy Tiramisu Cheesecake Recipe (No Water Bath)
Ingredients
Crust
- 7 oz ladyfingers
- ½ cup butter melted
- 2 tablespoon Kahlua
- 3 tablespoon granulated sugar
Cheesecake
- 3 8oz packages cream cheese softened
- ¾ cup brown sugar packed
- 3 tablespoon flour
- ¼ cup brewed espresso cooled
- 1 teaspoon vanilla
- ½ cup heavy cream room temperature
- 3 eggs room temperature
Ladyfinger Layer
- 3 tablespoon warm water
- 2 tablespoon instant espresso
- 1 cup Kahlua
- 12 ladyfingers
Mascarpone Whipped Cream Topping
- 4 oz mascarpone cold
- ¼ cup granulated sugar
- 1 cup heavy cream
- ½ teaspoon Kahlua
- Cocoa powder for dusting the top
Instructions
Crust
- Preheat the oven to 350°F. Line the bottom of a 9 inch springform pan with parchment paper. Spray lightly with baking spray.
- In a large food processor, pulse the the ladyfingers until they are fine crumbs. Add the melted butter, Kahlua, and sugar and pulse until combined (it should look like damp sand).7 oz ladyfingers, ½ cup butter, 2 tbsp Kahlua, 3 tbsp granulated sugar
- Press the crumbs firmly into a single layer in the prepared pan. Bake for 6-7 minutes, then set aside to cool.
Cheesecake
- Reduce the oven temperature to 325°F and position two racks-one in the middle and one on the lowest level. Start heating 3 cups of water in the microwave; you'll need it when the cheesecake goes into the oven.
- With hand mixers or a stand mixer with the paddle attachment, beat the cream cheese for 1-2 minutes on medium speed, until smooth and creamy.3 8oz packages cream cheese
- Add the brown sugar and flour. Combine on medium speed for 1 minute. Scrape the bowl well.¾ cup brown sugar, 3 tbsp flour
- Add the espresso and vanilla. Beat on medium-low until just combined, then scrape the bowl.¼ cup brewed espresso, 1 tsp vanilla
- Add the cream. Beat on medium-low until just combined.½ cup heavy cream
- Add the eggs one at a time, mixing on low speed until just combined, then scrape well. Tap the bowl on the counter for 30 seconds, releasing excess air bubbles.3 eggs
Ladyfingers
- Combine warm water and espresso powder in a shallow dish. Stir in the Kahlua. Working with one ladyfinger at a time, dip it into the mixture for 4 full seconds on the first side, then flip it and allow it to sit for 4 more seconds.3 tbsp warm water, 2 tbsp instant espresso, 1 cup Kahlua, 12 ladyfingers
- Arrange the dipped ladyfingers onto the cooled crust to form a single layer (see photo in post). Then pour the cheesecake batter on top.
Baking
- Place a 9x13 baking pan on the lower rack of your oven. When ready to bake, pour 3 cups of very hot water into the pan. Immediately place the cheesecake on the middle rack above it, then bake for 50-60 minutes. The cheesecake is done when the edges are set and firm, but the middle 2-3 inches are underset. The middle should jiggle when you lightly shake the pan.
- Remove from the oven and allow to cool to room temperature for several hours. Then refrigerate for 3-4 hours, or overnight, before adding the topping.
Mascarpone Topping
- Once the cheesecake is completely cooled, make the topping. With a hand mixer or stand mixer fitted with the whisk attachment, whip the cold mascarpone and sugar on high until combined.4 oz mascarpone, ¼ cup granulated sugar
- Add the cold cream and Kahlua. Whip on medium low until mostly combined, then increase the speed to high until stiff peaks form.1 cup heavy cream, ½ tsp Kahlua
- Spread or pipe the topping onto the cheesecake. Use a sieve to dust the top with cocoa powder. Serve and enjoy!Cocoa powder
Notes
- Follow the instructions carefully. It's a lot of words, but if you follow them carefully I am confident your cheesecake will be a success.
- Start with truly softened cream cheese to avoid lumps in the batter. The best way to soften it is to leave it on the counter until it is room temperature and very easily dents when pressed with a spoon or finger. If it feels slightly firm or cold it's not ready yet.
- Don't over mix the batter - this is key! Keep the mixer on medium-low after adding the espresso, and only on low after adding the eggs. If you mix on a higher speed or for too long, it will add air to the batter and cause cracks.
- Avoid overbaking the cheesecake. Take the cheesecake out of the oven as soon as the edges are set and firm, the top is dry, and the middle 2-3 inches is still jiggly like jello.
Add Your Own Notes
Nutrition
All nutrition information is provided by a third party and is an estimate only. Use your own nutritional calculator for more specific measurements.
Miranda Redenbaugh says
I've never left a comment on a recipe before, but this one deserves it. I've made this cheesecake several times now, and every time it turns out exactly like the cheesecake factory version. everyone who tries it raves about it, and I've even had multiple people say it was the best cheesecake theyve ever had. WOW! I have no idea how this recipe only has 3 reviews, but dont hesitate to make it- you won't be disappointed!
Misty says
Hi Miranda! Thank you so much for taking the time to share - this comment really made our day! We're so happy you and your loved ones enjoyed it. Merry Christmas!
Liz says
After 1 hour out of the oven it was still very warm, I put it in the fridge 3 hours later. Is it still safe to eat?
Danielle says
Hi Liz! As the recipe states, the cheesecake needs to sit out for several hours until it has reached room temperature - one hour is not nearly long enough. Only then should it go in the refrigerator. This slow cooling process is one of the keys to an evenly baked cheesecake. Once room temperature it needs 3-4 hours in the refrigerator to get cold, but I like my cheesecake very cold so I prefer to leave it overnight. If I were you I would let it chill until it is quite cold throughout. Hope that helps!
Nikki says
Hello! The cheescake mixture mentions “cream” and then the topping mentions “heavy cream.” Can I use heavy cream for the cheesecake mixture or does it have to be cream?
Misty says
Hi Nikki! Yes, it should be heavy cream for both portions. I updated the recipe card to reflect that more clearly. Thanks!
Nikki says
thank you Misty! one more thing, the cheesecake mixture says espresso, whereas the ladyfingers mixture says instant espresso. Can I use instant espresso in the cheesecake mixture or does it need to be freshly brewed espresso? Going to be making this tonight, can’t wait to try!!
Misty says
Hi Nikki! It should be brewed espresso, however you can use the espresso powder and hot water to make it in lieu of actually brewing it. That's how I prefer to do it to keep it simple! Hope you love it!
Jill says
This was the BEST cheesecake recipe I have ever made! I have “lost” so many cheesecakes to the horrible water bath, that I love, love, love that this one didn’t require it! The flavors were amazing! Thank you!
Misty says
Hi Jill! I loved hearing this! After years of water baths, I am so over them haha. We really have had so much success without them. I am so glad you gave it a try and thank you for taking the time to share your experience!
Daphne says
Can I substitute sugar for maple syrup or honey?
Danielle says
I think you mean, can you substitute in maple syrup or honey for the sugar in the recipe. Unfortunately, the sugar is needed in this recipe for the correct texture and flavor. It really is best when made as written. If you end up making it, we would love to know how it turns out!
Diana Milhomme says
What's the difference between cream and heavy cream? If different what can I substitute it with.
Misty says
Hi Diana! Heavy cream is also called heavy whipping cream in the store. In this recipe I don't suggest substituting since it will change the outcome quite a bit. Enjoy!
Kelsey says
I made this for my husband’s birthday and it was a big hit!! I was nervous but followed all the instructions carefully and it turned out great! Thanks for the amazing recipe! I will definitely be making it again.
Misty says
Hi Kelsey, so glad you enjoyed it!