
I can confidently say this White Chocolate Raspberry Cheesecake is still my favorite, even after creating over 20 other cheesecake recipes for our readers. Thanks to our signature no-water-bath method, it bakes up creamy and crack-free so the raspberry swirl can take center stage! This post shares all of our tips from years of fine tuning, including how to make the perfect swirl, how to keep the crust crispy, and freezer instructions.
I started making the original version of this recipe when I was in middle school and learning how to make cheesecake for the first time. I saw it on allrecipes.com and new I had to learn!
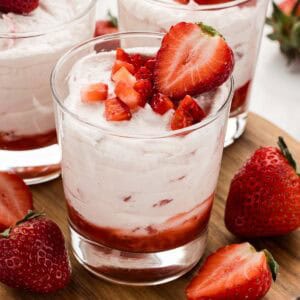
Since then, I have tweaked the baking technique to use my favorite no-water-bath method and progressive cooling so that it's the best version! Although I will say, these Strawberry Cheesecake Bars are another great option if you're looking for that fresh berry flavor.
This was delicious! My first time making cheesecake and I was not disappointed. I served this at a Christmas dinner and people told me it was the best cheesecake they've ever tasted.
⭐⭐⭐⭐⭐ - Rachel
Why this recipe is great
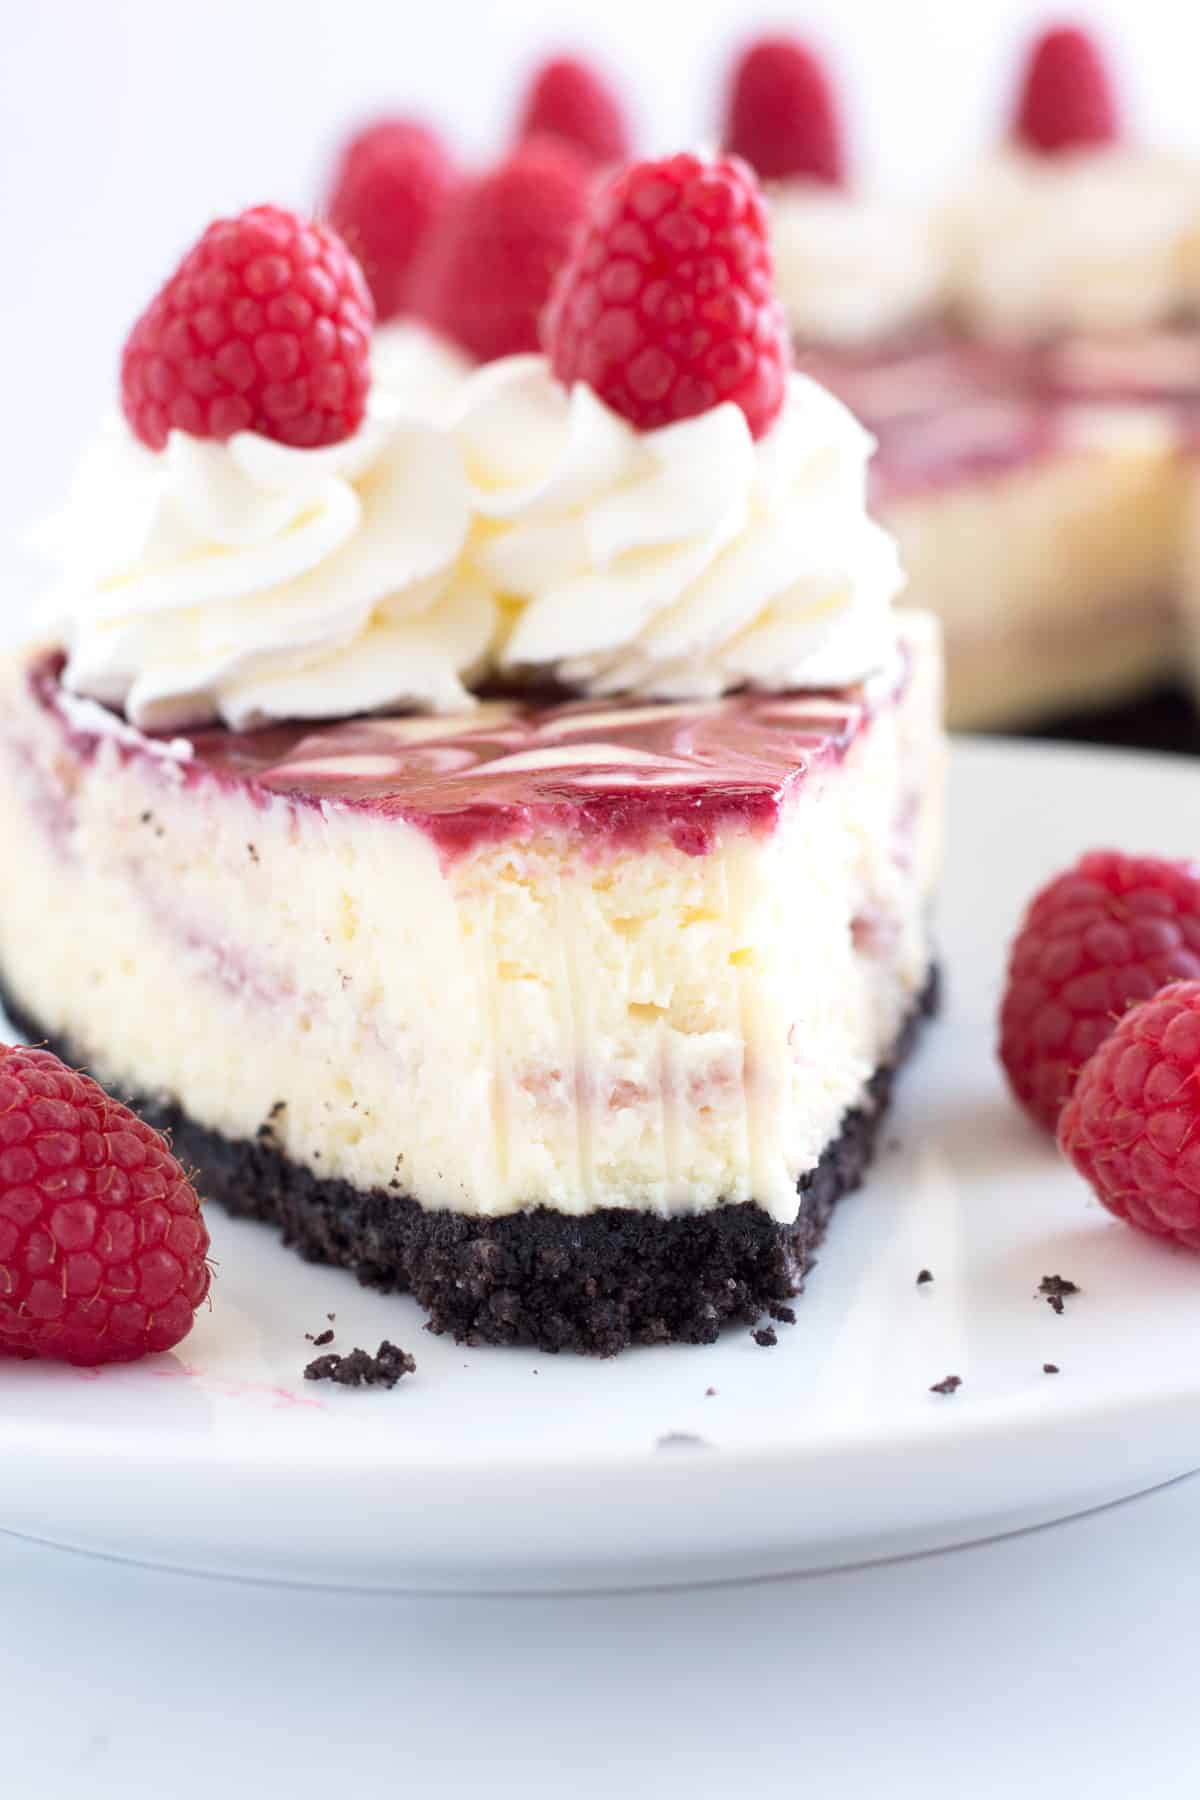
- Smooth and creamy, not overly sweet, and bursts of tangy raspberry to compliment the white chocolate cheesecake.
- Great for making ahead and freezing.
- No water bath! We use an easy water bath alternative instead.
- It's the perfect holiday dessert. Don't forget to see it and many other ideas on our lists of Easter recipes and Thanksgiving recipes!
Skip to:
- Why this recipe is great
- Ingredients for white chocolate raspberry cheesecake
- Helpful kitchen tools
- How to make white chocolate raspberry cheesecake
- How to swirl a cheesecake
- Baking instructions (without a water bath)
- How to decorate your cheesecake
- How do I prevent cracks in my cheesecake?
- FAQs
- Tips & tricks
- More recipes
- Recipe
- Comments
Ingredients for white chocolate raspberry cheesecake
Full quantities for each ingredient can be found in the recipe card below, but here are a few noteworthy tips:
- Oreos: You don't need to remove the filling, just use the whole cookies.
- Granulated sugar: This will act as a binder in the crust so that it isn't crumbly, and of course it sweetens the filling.
- Butter: We have used unsalted and salted with equal success.
- Frozen raspberries: Frozen is easy because they're available all year round, but you can also use fresh raspberries.
- Cornstarch: You want the raspberry sauce to be thick enough so that it doesn't interfere with the baking of the filling. Cornstarch accomplishes this purpose.
- White chocolate chips: My favorite are Ghiradelli. The better the quality, the better the final flavor will be.
- Half-and-half: I don't recommend substituting milk, because the fat content in the half-and-half impacts the final texture of the batter.
- Cream cheese: Soften it before using by leaving it on the counter until it is room temperature and easily dents when pressed with a spoon.
- Eggs: Bring to room temperature before using, or set them in a bowl and cover with slightly warm water for 10 minutes.
- Vanilla: You can substitute with vanilla bean paste too.
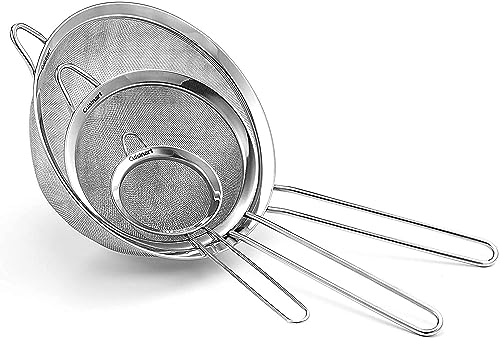
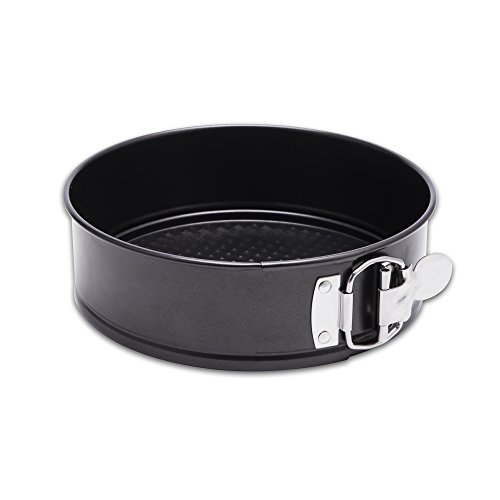
Helpful kitchen tools


How to make white chocolate raspberry cheesecake
How to make chocolate cookie crust
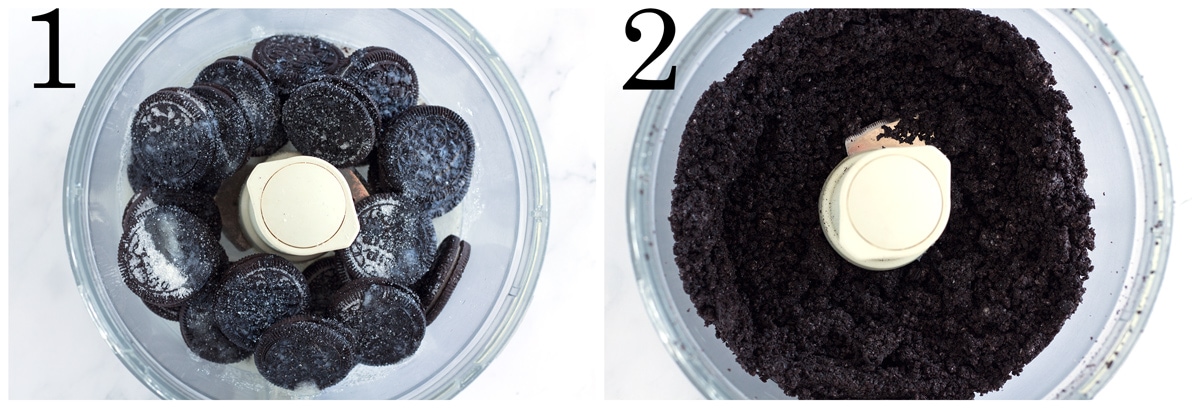
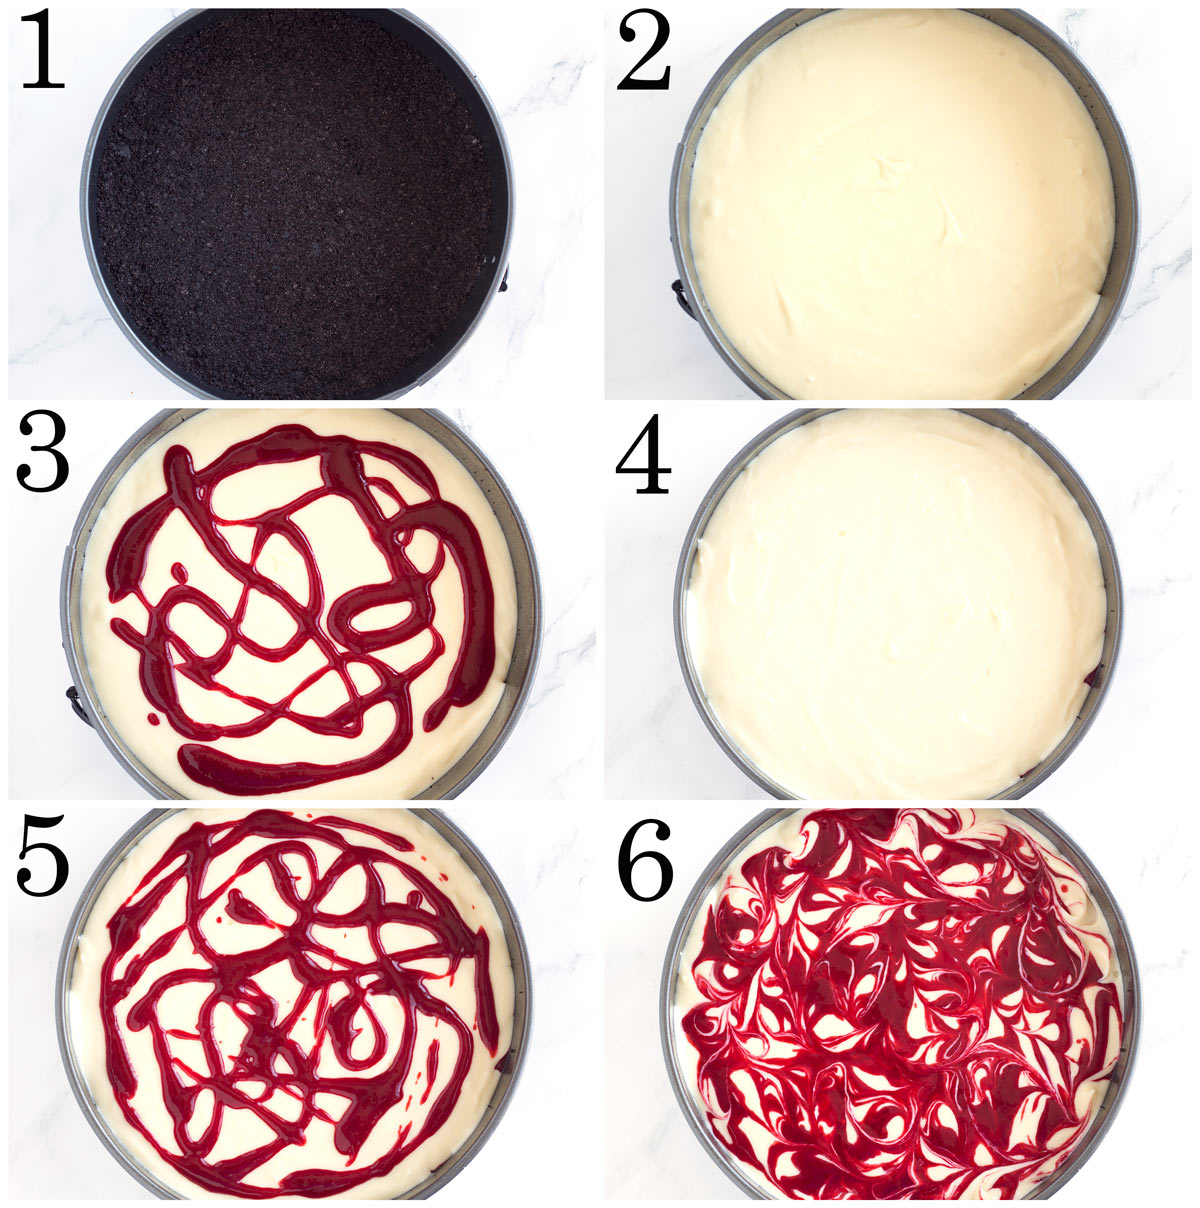
For the crust, add the Oreo cookies (don't remove the filling), sugar, and melted butter to a food processor (affiliate). Pulse it until the cookies are fine crumbs. Then press this mixture firmly into the bottom of a 9 inch springform pan that has been lined with parchment and sprayed lightly with baking spray.
Check out our Oreo Crust for Cheesecake for a crust that goes up the sides of the pan.
Raspberry sauce for swirling
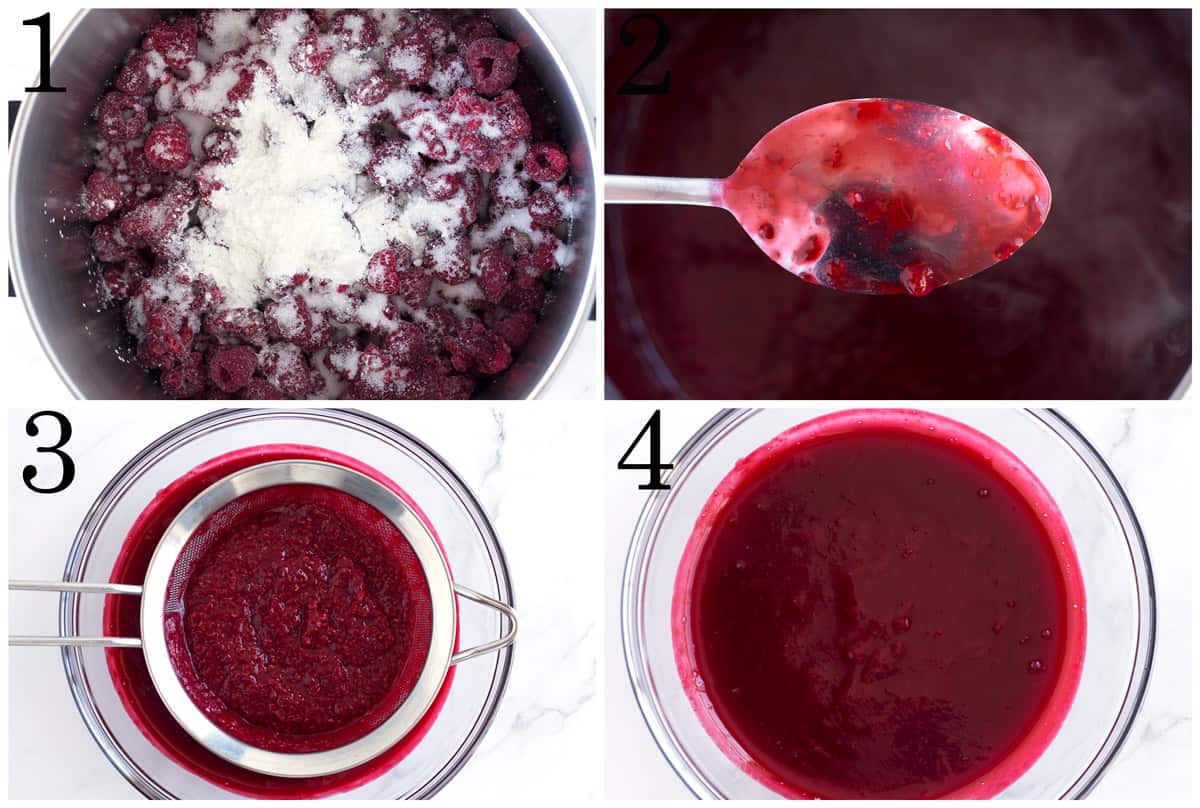
For the sauce, combine raspberries, sugar, and cornstarch in a small saucepan and simmer over medium heat on the stove until it is thick (5-6 minutes). Pour it through a mesh strainer to remove any lumps and seeds. The resulting sauce should be a smooth, glossy, and thickened raspberry mixture.
White chocolate cheesecake batter
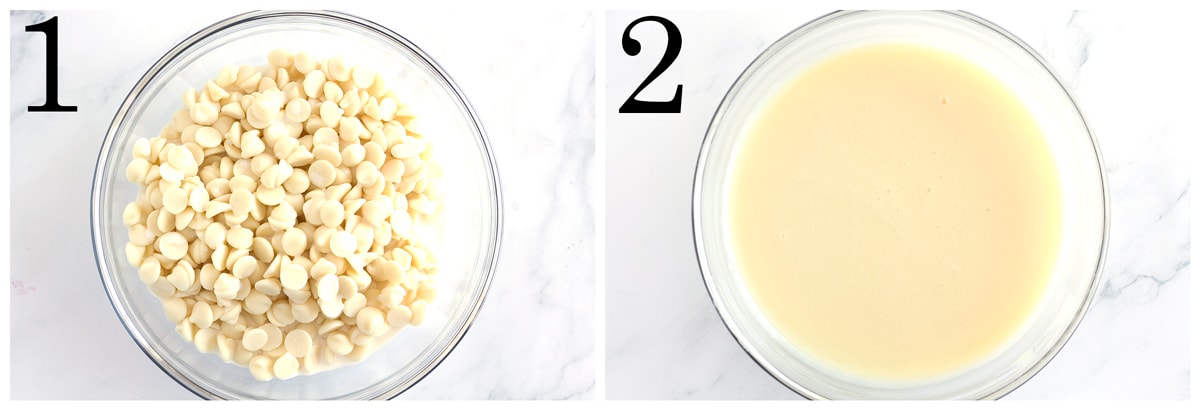
Melt the white chocolate and half-and-half in the microwave, stirring every 30 seconds, until the mixture is completely smooth.
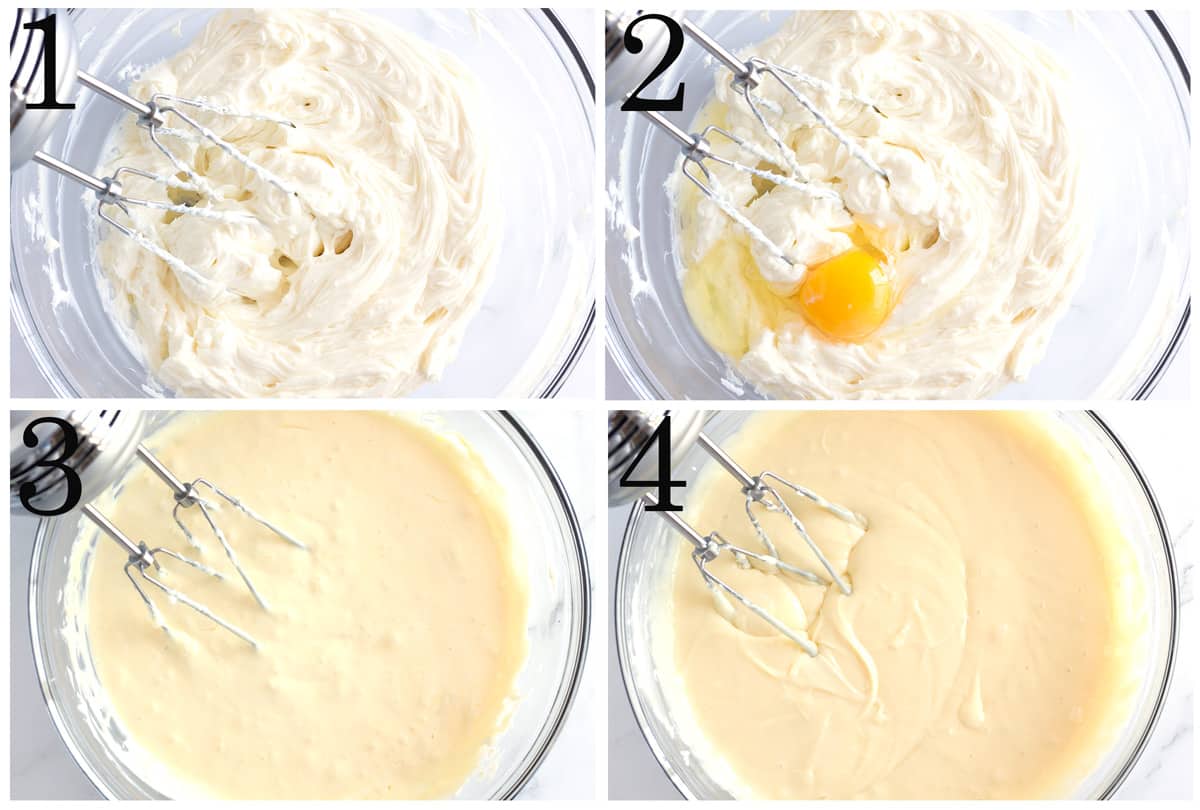
Next, beat the cream cheese and sugar on medium-low speed until ultra smooth. Turn the mixer to low and add the eggs one at a time, mixing until each egg is just incorporated. Lastly, add the white chocolate mixture and vanilla and continue to mix on low speed until fully combined. The final cheesecake mixture should be thick and very smooth.
How to swirl a cheesecake
Start by pouring half of the batter on top of the prepared crust. Use a spoon to drizzle 3 tablespoons of the raspberry sauce over the batter (picture 3). Then repeat with the remaining white chocolate cheesecake filling and 3 more tablespoons of raspberry filling (pictures 4 and 5).
To make the final swirl, stick a wooden skewer or toothpick into the batter and gently swirl the sauce in a figure 8 or "S" shape, swirling all the way to the edge (picture 6). For a full tutorial, check out our How to Swirl a Cheesecake post. It uses dots of sauce rather than drizzles, but both methods work great.
Baking instructions (without a water bath)
Preheat the oven to 325°F and place an empty 9x13 baking pan on the lower rack. Pour 3 cups of hot water into that pan. Immediately place the cheesecake on the center rack (above the 9x13 dish), close the oven door, and bake for 55-70 minutes. The pan of water adds moisture to the oven without the risk of leaking into the crust like a water bath.
After baking, turn the oven off and crack it slightly with a wooden spoon. Leave the cheesecake inside for 30 minutes. Then open the oven door completely and leave it for another 30 minutes. Finally, place it on the counter until it comes to room temperature, usually 2- 3hours. This progressive cooling technique helps you avoid cracks on the top, so it's worth it!
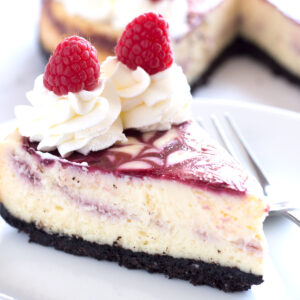
How to decorate your cheesecake
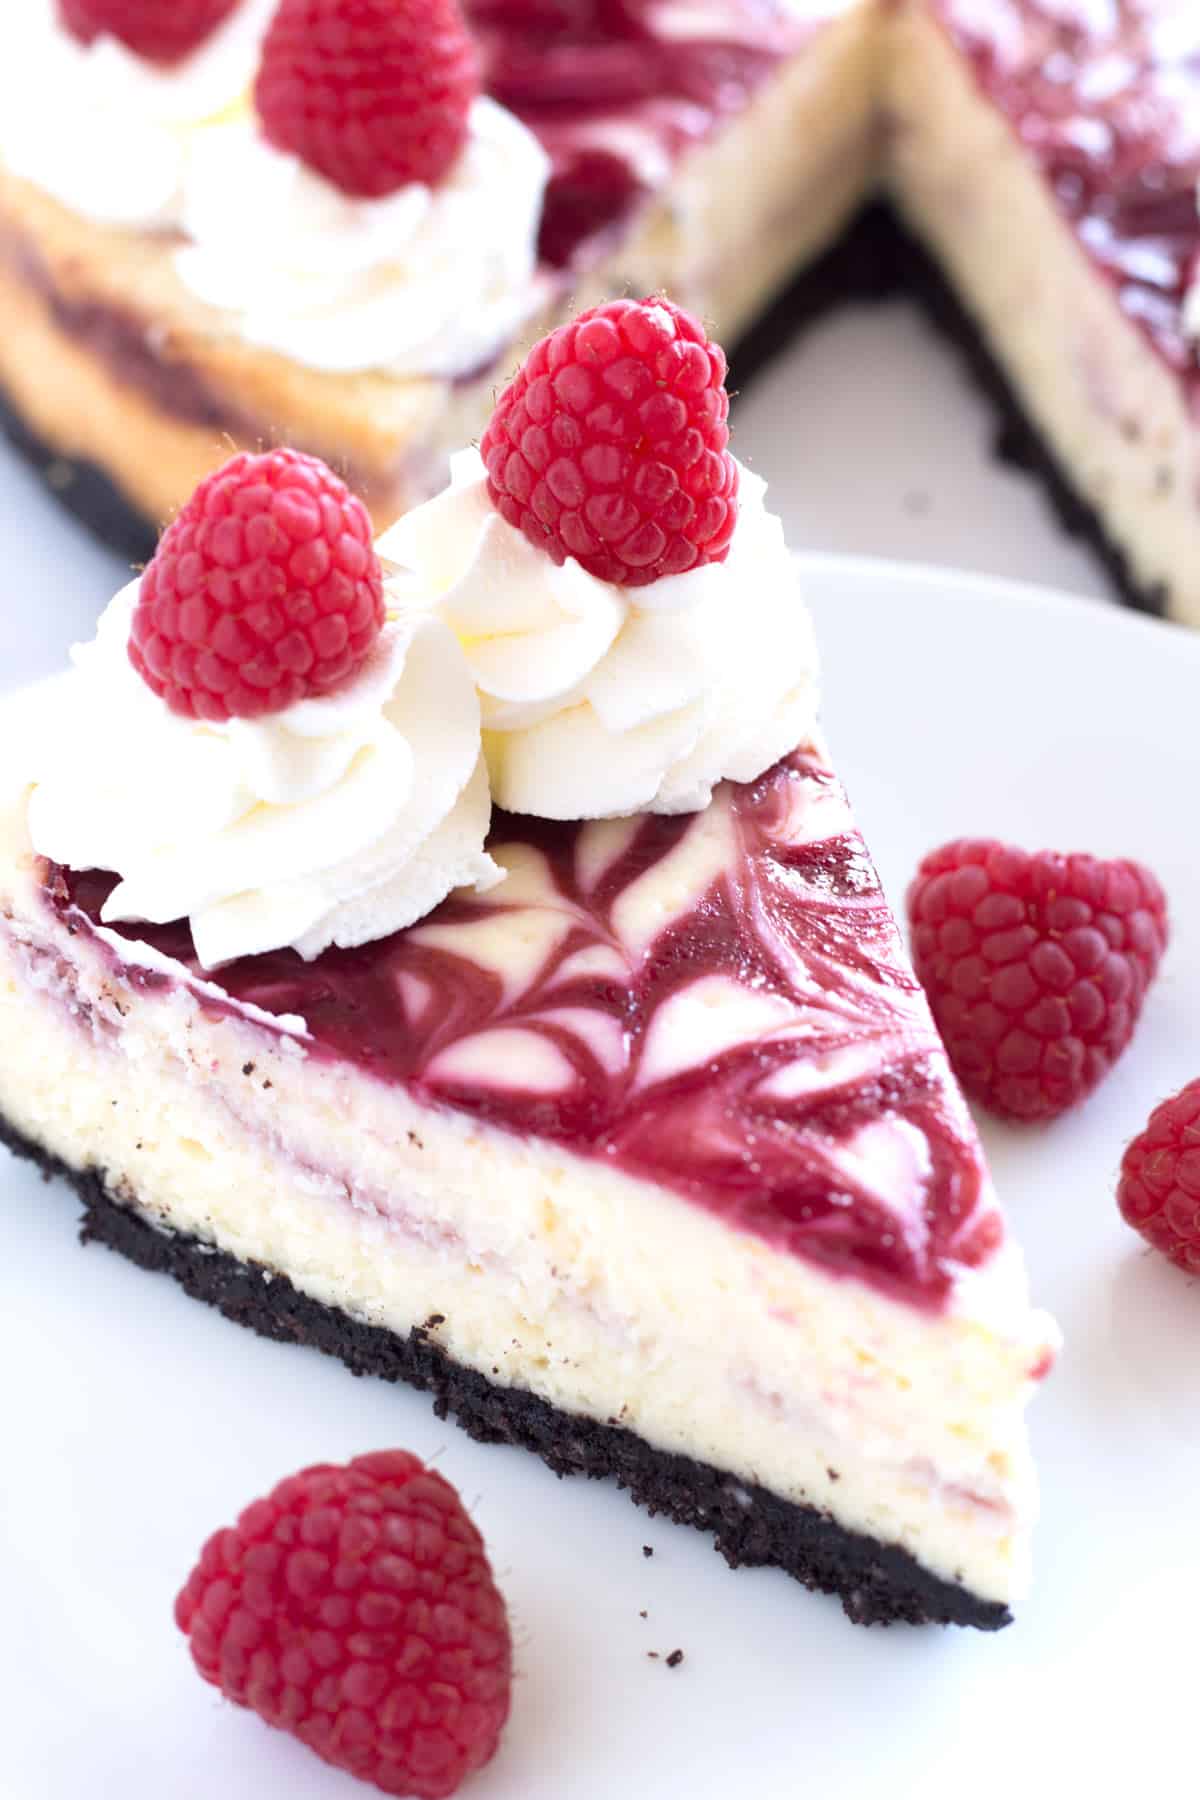
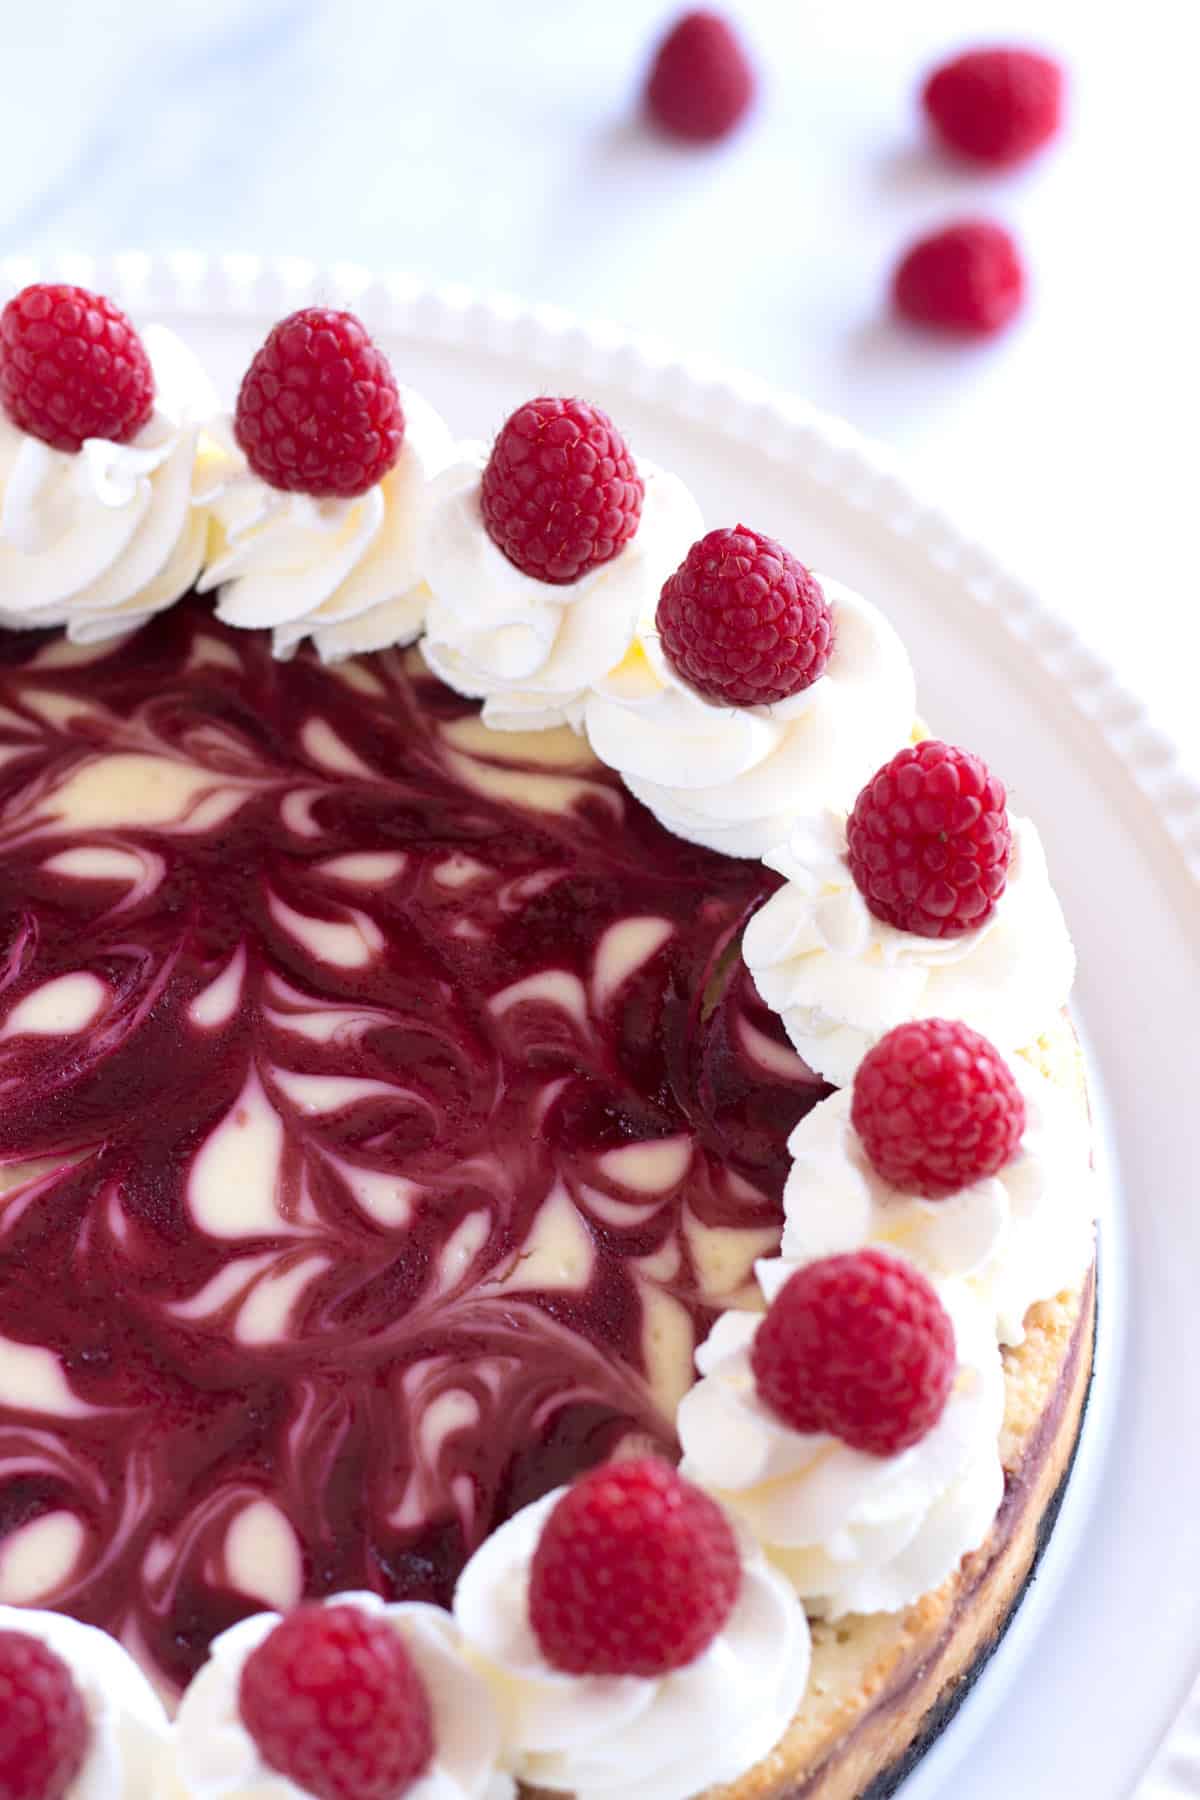
This cheesecake is beautiful serves as is, but it also is delicious with an extra drizzle of raspberry sauce and sprinkle of powdered sugar.
To decorate it as pictured whip up some heavy cream with powdered sugar and vanilla extract. Place it in a piping bag and with a large tip and swirl evenly around the outside edge of the cheesecake. Place a fresh raspberry on the top of each swirl.
How do I prevent cracks in my cheesecake?
Cheesecakes crack for three main reasons.
- Too much air in the batter: Mix the cheesecake batter on medium-low speed at first, and only on low speed after you add the eggs. Eggs incorporate air easier, so mix the batter until the eggs are just combined, then stop.
- Over cooked: See my section below about how to know when your cheesecake is done.
- Cooled too fast: To prevent this, use a progressive cooling timeline as described in the recipe card.
If your cheesecake does have cracks, don't fret too much! You can leave it as is, or you can cover the top with raspberry sauce, white chocolate shavings, or whipped cream.
FAQs
No, do NOT use frozen cream cheese. It will not turn out smooth and creamy because frozen cream cheese takes on a gritty texture.
Every oven is different, so the key is to start checking it at the lower end of the cooking range, and then look for visual cues. The edges will be set and firm (maybe slightly golden), and the middle 2-3 inches will still look underset (not liquidy, but not yet firm). When you lightly shake the pan, the cheesecake should still jiggle in the center.
Once you see those visual cues, stop baking it. It is very important not to over bake because it will continue to cook as it cools. If at any point you see small cracks forming, stop baking immediately.
Absolutely! Completely cool and refrigerate your cheesecake, then place it on a cookie sheet and freeze unwrapped for 2-3 hours. This ensures that it won't be dented or otherwise ruined when you wrap it. Then wrap it in a layer of plastic wrap and a layer of tinfoil. Freeze for 1-2 months.
For a detailed tutorial, check out our post How to Freeze Cheesecake.
Once it has been removed from the ring portion of the springform pan, it can be covered with plastic wrap and stored in the fridge for up to 2 days. You can also use an airtight cake carrier (affiliate), which is easier if you have already added whipped cream or sauce on top.
It can be made up to two days in advance if storing in the refrigerator or it can be frozen (see instructions above). I suggest storing it without any toppings, then adding the whipped cream and any extra raspberry sauce right before serving to avoid whimpy whipped cream and any bleeding from the sauce.
Tips & tricks
- Use very softened cream cheese to avoid lumps. The best way to soften it is to leave it on the counter until it is room temperature and very easily dents when pressed with a spoon or finger. If it feels slightly firm or cold, it is not ready yet.
- Make sure it's smooth before adding the eggs. After you add the eggs it is difficult to remove lumps without adding air to the batter.
- Don't over mix the batter - this is key! Keep the mixer on medium-low before adding the eggs, and only on low after adding the eggs. Mixing on high speed will add air and cause cracks.
- Don't over bake. It will be dry, cracked, and too brown when over cooked. See my notes above for knowing when it's done.
- Cool progressively to avoid cracks in the top.
More recipes
Looking for other recipes like this? Try these: (5-8 links)
- This incredibly creamy and flavorful Blackberry Cheesecake
- Our family's favorite Ultimate Chocolate Chip Cookies
- Creamy Tiramisu Cheesecake Recipe
- Simple and delicious Golden Oreo Cheesecake
- Simple and delicious White Chocolate Raspberry Bundt Cake
- Moist and summery Lemon Yogurt Cake
- This fresh and creamy Raspberry Cheesecake Recipe
- Oreo Crust for Cheesecake and Graham Cracker Crust for Cheesecake
- Creamy and delicious Mini Blackberry Cheesecakes
- This classic Cheesecake Recipe with Cream
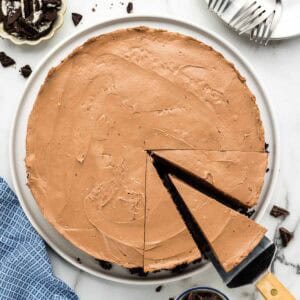
- Rich and creamy No Bake Chocolate Cheesecake
Recipe
White Chocolate Raspberry Cheesecake Recipe
Ingredients
Crust
- 24 Oreo cookies
- 1 tablespoon sugar
- ¼ cup butter melted
Raspberry Sauce
- 10 oz frozen raspberries
- 2 tablespoon sugar
- 2 teaspoon cornstarch
- ¼ cup water
Cheesecake Batter
- 2 cups white chocolate chips
- ½ cup half-and-half
- 3 8oz packages cream cheese softened
- ½ cup sugar
- 3 eggs room temperature
- 1 teaspoon vanilla
Instructions
Crust
- Preheat the oven to 325°F. Line the bottom of a 9 inch springform pan with parchment paper. Spray lightly with baking spray. Set aside.baking spray
- Combine the Oreo cookies, sugar, and melted butter in food processor. Pulse until cookies are fine crumbs. Press crumbs firmly into the bottom of the pan, making one even layer.24 Oreo cookies, 1 tbsp sugar, ¼ cup butter
Raspberry Sauce (makes enough for swirling and extra for serving)
- Combine raspberries, sugar, cornstarch, and water in a medium saucepan. Bring to a boil and cook for 5-6 minutes, until the sauce is very thick. Pour warm sauce into a mesh strainer and strain thoroughly to remove seeds. Set aside. *Note: This makes enough sauce to swirl and then also to serve on top. It's plenty!10 oz frozen raspberries, 2 tsp cornstarch, ¼ cup water, 2 tbsp sugar
Batter
- In a microwave safe bowl, combine white chocolate chips and half-and-half. Microwave on high for 30 seconds. Stir well and continue to microwave, stirring every 30 seconds, until the mixture is smooth.2 cups white chocolate chips, ½ cup half-and-half
- Using a stand mixer or hand mixer, combine cream cheese and sugar on medium-low speed until smooth (there should not be any large lumps). Adjust speed to low and add eggs one at a time, mixing after each addition until just combined. Add vanilla and white chocolate mixture, mixing on low until just combined.3 8oz packages cream cheese, ½ cup sugar, 3 eggs, 1 tsp vanilla
- Pour half of the cheesecake batter onto the prepared crust. Using a spoon, drizzle 3 tablespoons of raspberry sauce onto the batter. Add remaining cheesecake batter and drizzle another 3 tablespoons of sauce on top, being sure to bring the sauce to the edges. Using a wooden skewer or toothpick, swirl the raspberry sauce with small circular motions until desired swirl is reached.
- Before baking, place a 9x13 baking pan on lowest rack in oven. Pour 3 cups of hot water into the pan. Place the cheesecake on the center rack and bake for 55-70 minutes. Baking time is highly dependent on your oven - cheesecake is done when edges are set and firm, and the middle 2-3 inches are jiggly (not liquidy, but not quite set). See more detailed notes on how to know when it is done in the "Questions and Answers" section in the post.
- Turn oven off. Leave the cheesecake inside with the oven door cracked for 30 minutes. Open the oven door completely and leave for another 30 minutes. Move cheesecake to the counter and allow to come to room temperature for 2-3 hours. Refrigerate until cold.
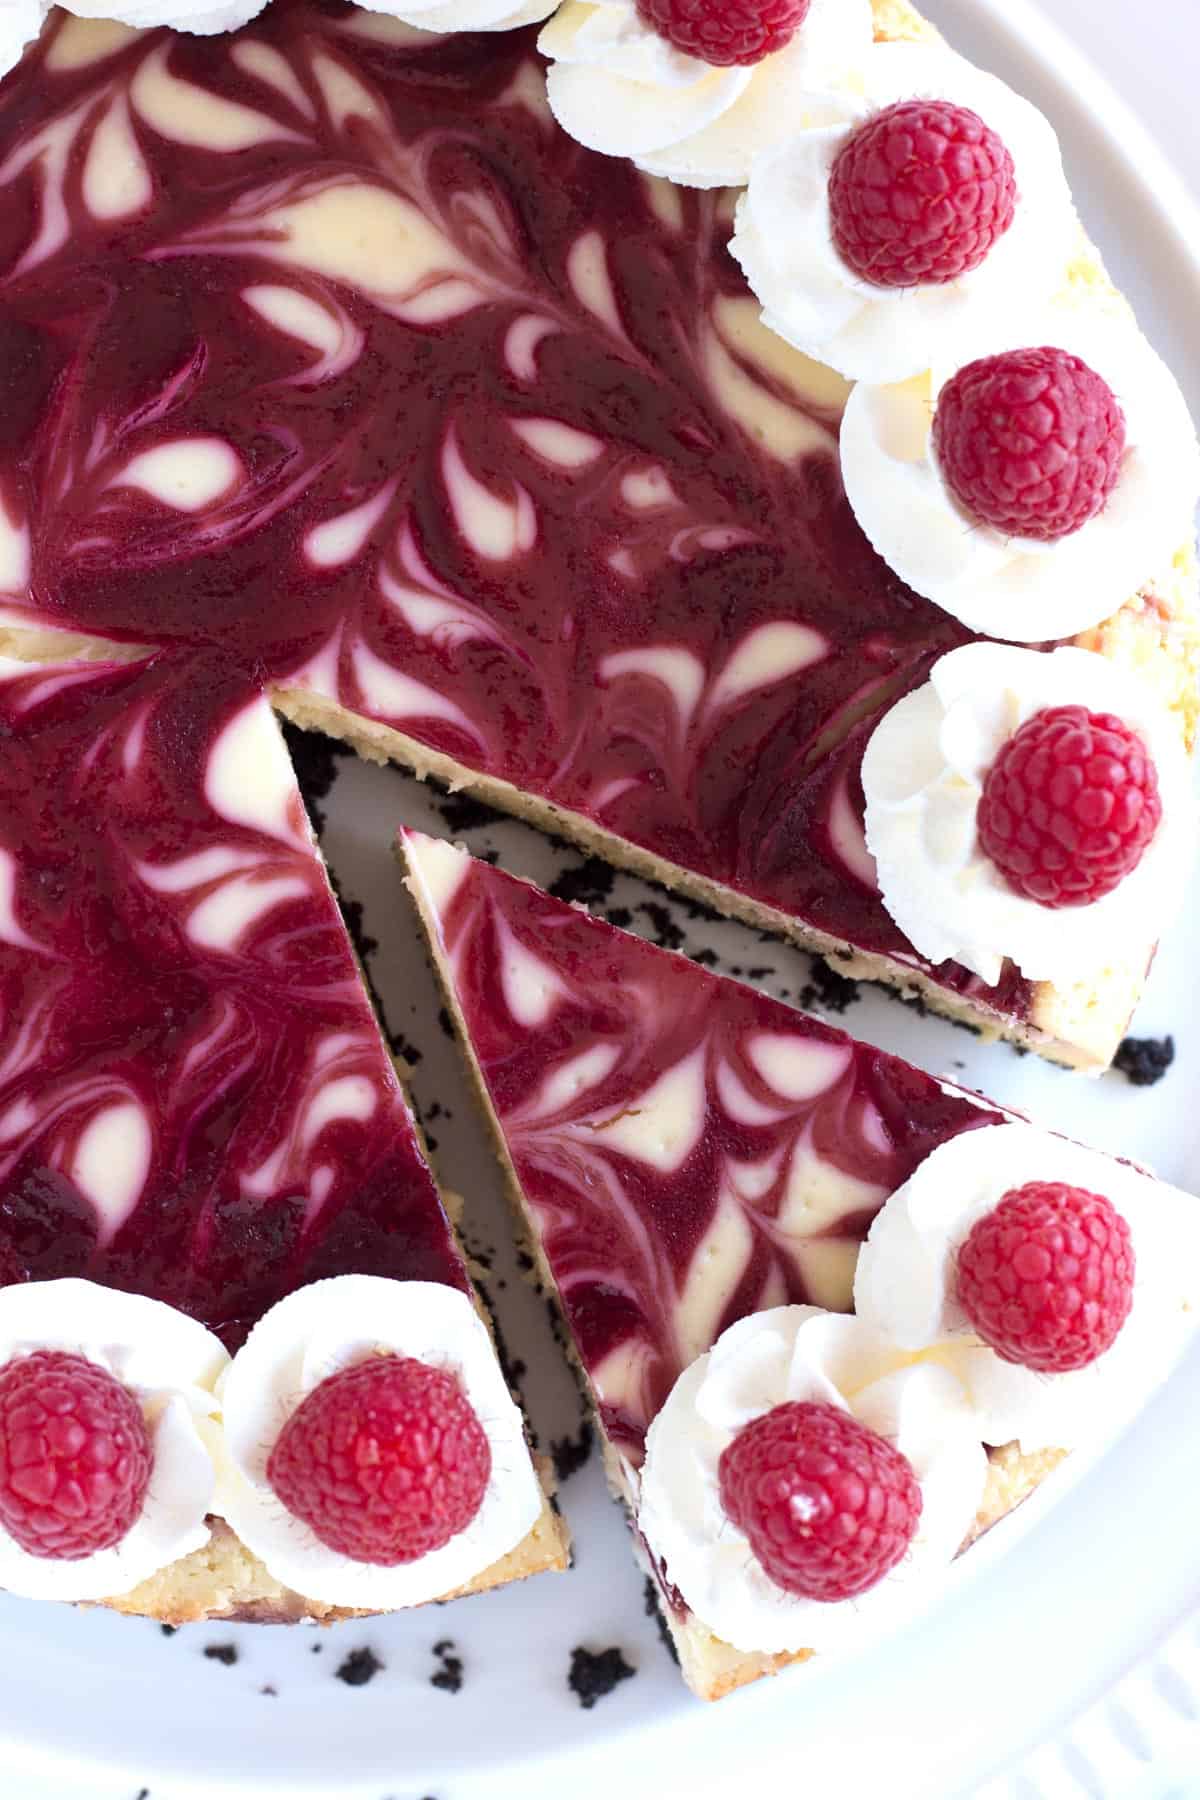
- Slice and serve with the extra raspberry sauce, fresh berries, or whipped cream if desired.
Notes
- Use very softened cream cheese to avoid lumps. The best way to soften it is to leave it on the counter until it is room temperature and very easily dents when pressed with a spoon or finger. If it feels slightly firm or cold, it is not ready yet.
- Make sure it's smooth before adding the eggs. After you add the eggs it is difficult to remove lumps without adding air to the batter.
- Don't over mix the batter - this is key! Keep the mixer on medium-low before adding the eggs, and only on low after adding the eggs. Mixing on high speed will add air and cause cracks.
- Don't over bake. It will be dry, cracked, and too brown when over cooked. See my notes above for knowing when it's done.
- Cool progressively to avoid cracks.
Add Your Own Notes
Nutrition
All nutrition information is provided by a third party and is an estimate only. Use your own nutritional calculator for more specific measurements.
Jen says
I see the crust is not pre baked? I have never tried this method and am afraid it will be soggy? Is this right?
Misty says
Hi Jen! With the crust in one solid layer on the bottom of the pan, we have never had issues with it being soggy. For cheesecakes where we push the crust up the sides we do bake it. However, if you feel more comfortable baking it, it certainly won't hurt it! I would bake it at 350 for 8-10 minutes. Hope this helps!
Denise Walters says
I don't know if you're aware of this, but your cheesecake (at least the photos of it) is literally the ONLY one on the 'net that doesn't have trenches in the top of the cheesecake where the swirling sauce sinks down into the batter when it cooks. Some of them are positively atrocious looking. I have no idea how those (or your) cheesecakes taste, but I've struggled for years to figure out how to keep the grotesque trenches off the top of my cheesecakes. I found a semi-solution by making sure to cover the swirling with at least a bit of the batter, and that works. Then, if you want to see some swirls on top (because they do make it obvious what the cheesecake is about), you can drizzle some of the extra sauce over the cheesecake after it has baked and properly cooled. I suspect it is either the presence of the cornstarch in the swirl goo or the presence of chocolate in the batter that is preventing the trenches on yours, but either way kudos to you for pulling it off.
Danielle says
So glad to hear you like the way our swirl comes out. We have worked hard to master that technique. We have a full tutorial on How To Swirl A Cheesecake if you want to read more. It isn't the chocolate in the batter, it is the consistency of the swirl itself and the tool we use to swirl it (do not use a butter knife!). If you end up baking this, we would love to hear how it turns out!
Kat S says
This was amazing. Thank you for all the clear tips. It came out perfect. First time making cheesecake and it wont be the last. Used fresh raspberries out of our garden.
Danielle says
Oh my goodness! I am so jealous! Ha ha! I love to garden, but where I live it is too hot for raspberries. I bet it was extra yummy! Thank you for taking the time to let us know!
Rachel C says
This was delicious! My first time making cheesecake and I was not disappointed. I served this at a Christmas dinner and people told me it was the best cheesecake they’ve ever tasted. I only had 4 oz of raspberries so I only did 1 layer on top that I swirled in. Topped with white chocolate shavings and whipped cream. It was perfect!!!
Danielle says
That's so fun to hear! Thank you for sharing!
MamaLlama333 says
My husband can't wait for me to try this haha! I have juiced raspberries (from my own garden) though, so my steps would be backwards I guess... am I still able to make this sauce? Do you know how much sauce it turns out to be after it's cooked down? Thanks!
Misty says
Hello! I haven't tried it that way before, but it would likely work. You will need a minimum of 6 tablespoons to swirl into the batter and then any extra if you want to serve it on top, which is optional. If the sauce doesn't seem to thicken up, you can also add a bit of additional cornstarch dissolved in water. The sauce should be thin enough to drizzle, but thick enough to hold its shape and not run when you drizzle it (the picture in the post may give you a better idea).
Hope this helps and let us know how it goes!
Karla says
This turned out beautiful, just like the picture. I have made a lot of cheesecakes, but never this flavor. Thanks for a great recipe!
Misty says
So glad you liked it!
Jodi says
Made this white chocolate cheese cake and it turned out great and tasted even better! I want to make it again, but was thinking of making it in muffin cups with liners. Any idea how that may change the bake time/preparation process?
Misty says
Hi Jodi! I haven't made this specific recipe as mini cheesecakes, but I have done the muffin cup method with other recipes in the past. In my experience, I baked the crust in the muffin cups at 350 for 5-6 minutes, then added the batter and baked at 325 for 18-23 minutes. I have not tried it with this recipe, so these times are not specific. If you give it a try, let us know how it goes!
Kym says
Can you use a premade pie crust?
Danielle says
Premade pie crust is not deep enough to accommodate the filling. Making one from scratch is super easy though! I hope you give it a try.
Kym says
I tried it, it was delicious, I did use a premade crust and just got two pies out of it instead of one. Turned out great
Danielle says
That is great to know! Thank you so much for taking the time to let us know!
Jodi says
Can I leave on my cheesecake tin to freeze?
Misty says
Hi Jodi! I reccomend freezing it outside of the tin so that it doesn't get stuck. Enjoy!