If you want to master How To Swirl A Cheesecake, this step-by-step guide has you covered! You'll get all the tips and tricks to create beautiful swirls without worrying about cracks or craters.
Want more inspiration? Check out our collection of tried-and-true Cheesecake Recipes-many with stunning swirls! We've spent years perfecting each one, so you can bake with confidence!
In this tutorial we will share all the steps that will help you perfect the art of swirling a cheesecake. In no time you will master the techniques needed to make any cheesecake that requires a swirl.
Skip to:
Cheesecake swirl recipes we love


How to swirl a cheesecake
We're demonstrating how to swirl the top layer of the cheesecake, see the answer just below these instructions.
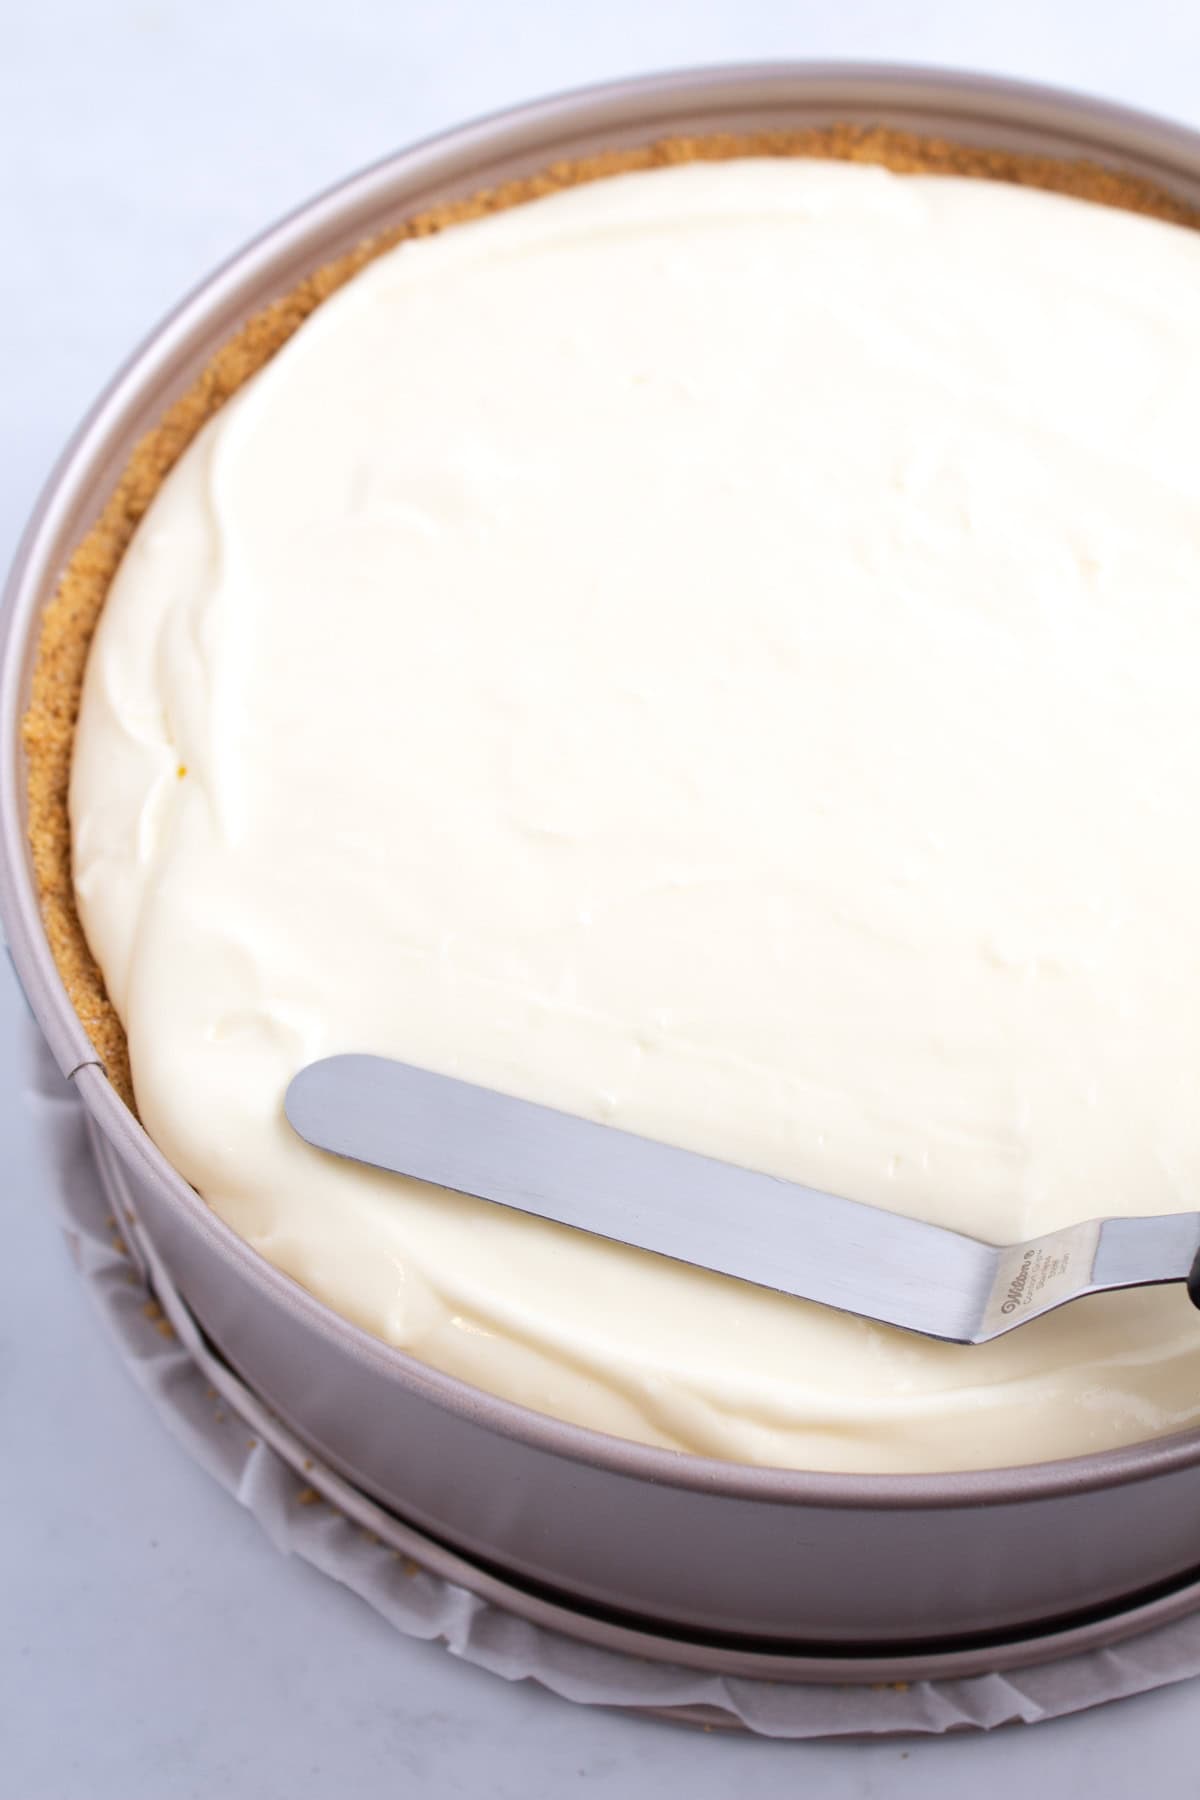
The key to a perfect swirl starts with a smooth surface! Any bumps or uneven spots in the cheesecake batter will affect the final design. Use a small offset spatula-it's the easiest to control-and gently spread the batter all the way to the edges of the springform pan for an even, flawless base.

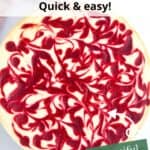
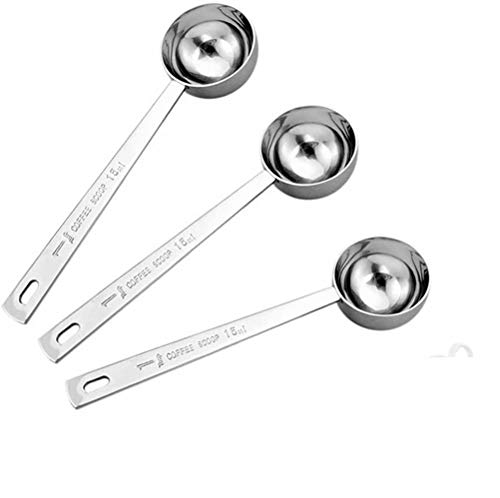
This step decides the final look of your cheesecake swirl! Use a tablespoon to drop about three tablespoons of your swirl mixture in small circles across the surface.
We love a more random, organic pattern, but if you're after a perfectly symmetrical design, try using a condiment bottle for extra control-this helps keep all the swirl dots the same size for a super polished finish.
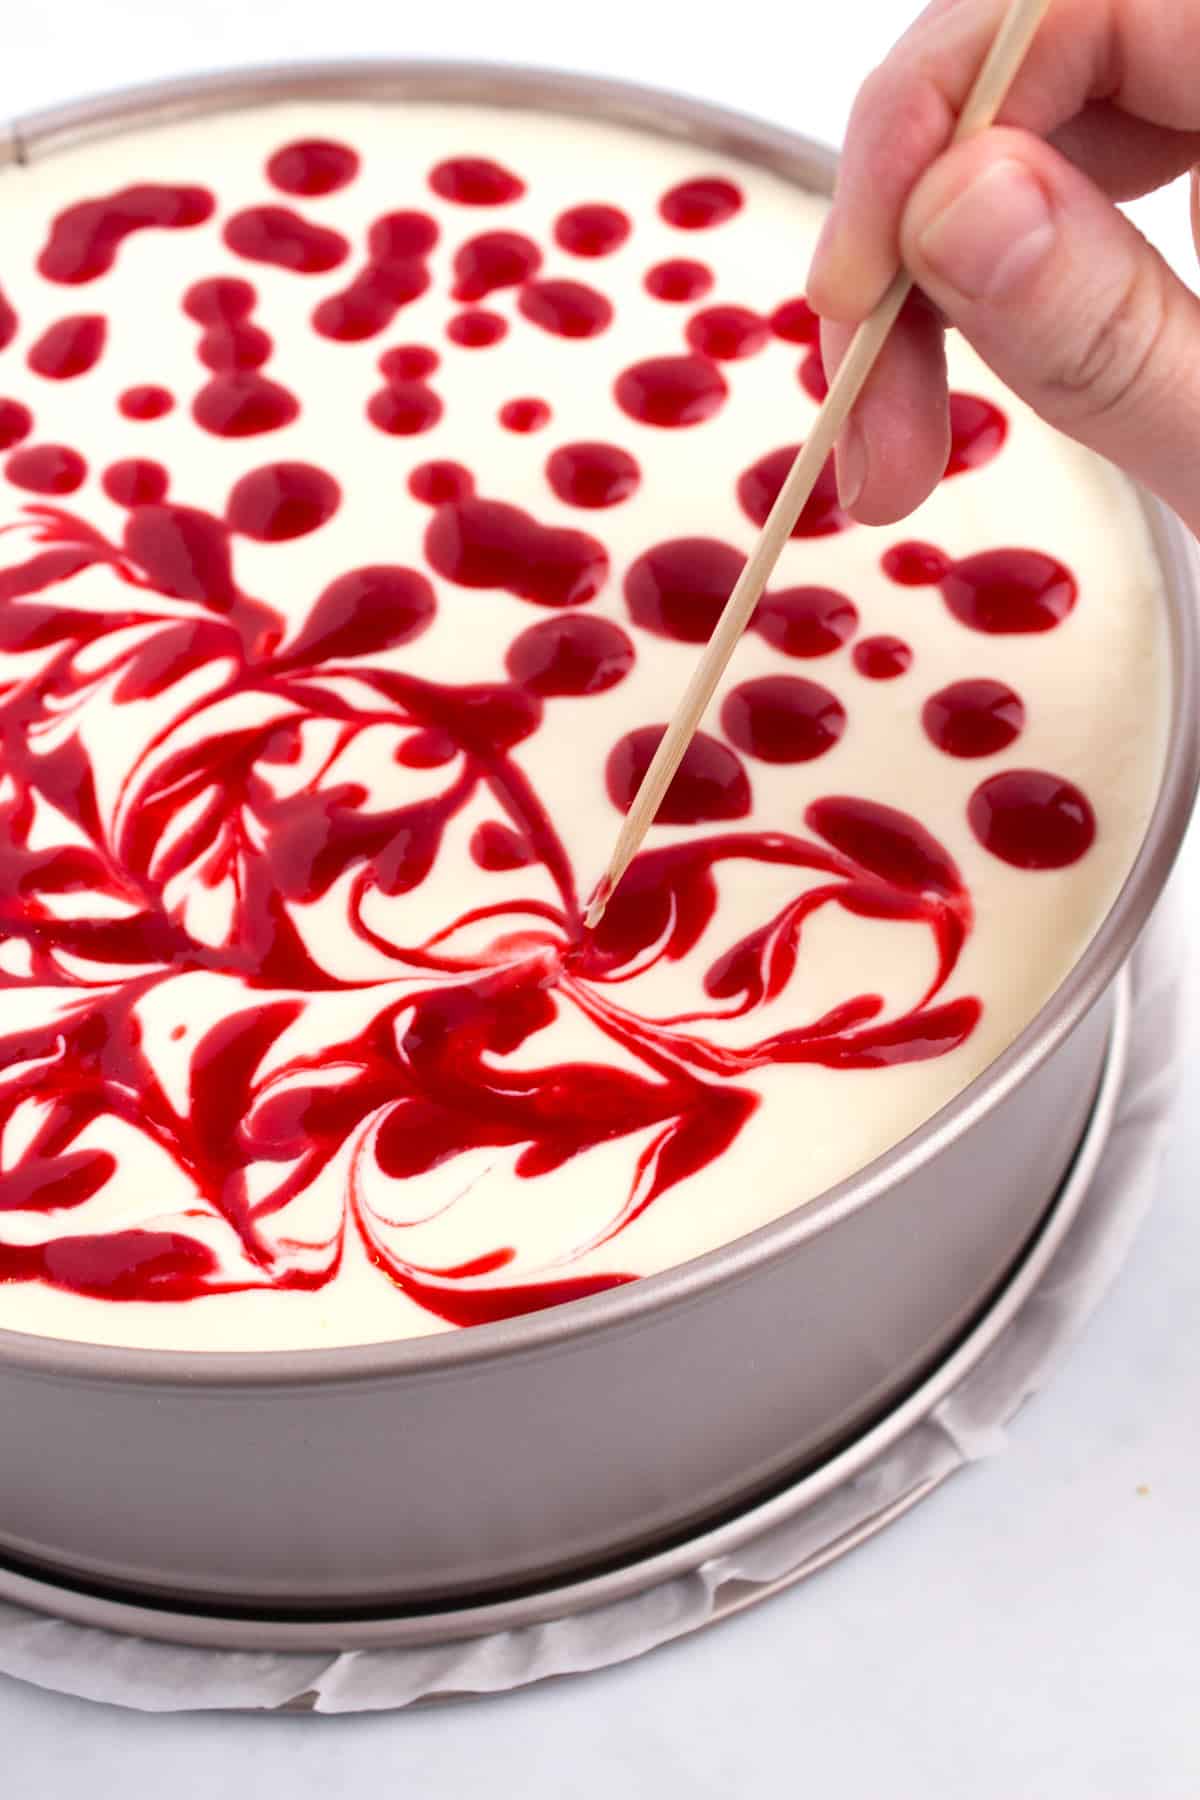
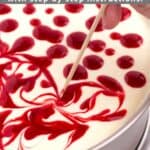
To create a gorgeous random swirl pattern, start by inserting a bamboo skewer into the center of a dollop of sauce, then gently pull outward in a figure-eight or "S" shape. Think big, loopy motions, making sure to swirl toward the edges. Less is more. Over-swirling can muddle the design, so keep it light and intentional.
If you notice any small holes forming, don't panic! Just use the skewer to carefully fill them in. It's rare, but if it happens, slow and gentle movements will fix it. One last tip-don't go too deep! Keep your skewer at about half an inch in to avoid disrupting the layers beneath.
Hint: The tool you use for swirling can make a big difference! A thicker utensil, like a butter knife, can sometimes create cracks or craters in the cheesecake, leaving the top less than perfectly smooth. We've found that using the thinnest tool possible-like a skewer or extra long toothpick-works best for a flawless finish.
Topping ideas for swirled cheesecake
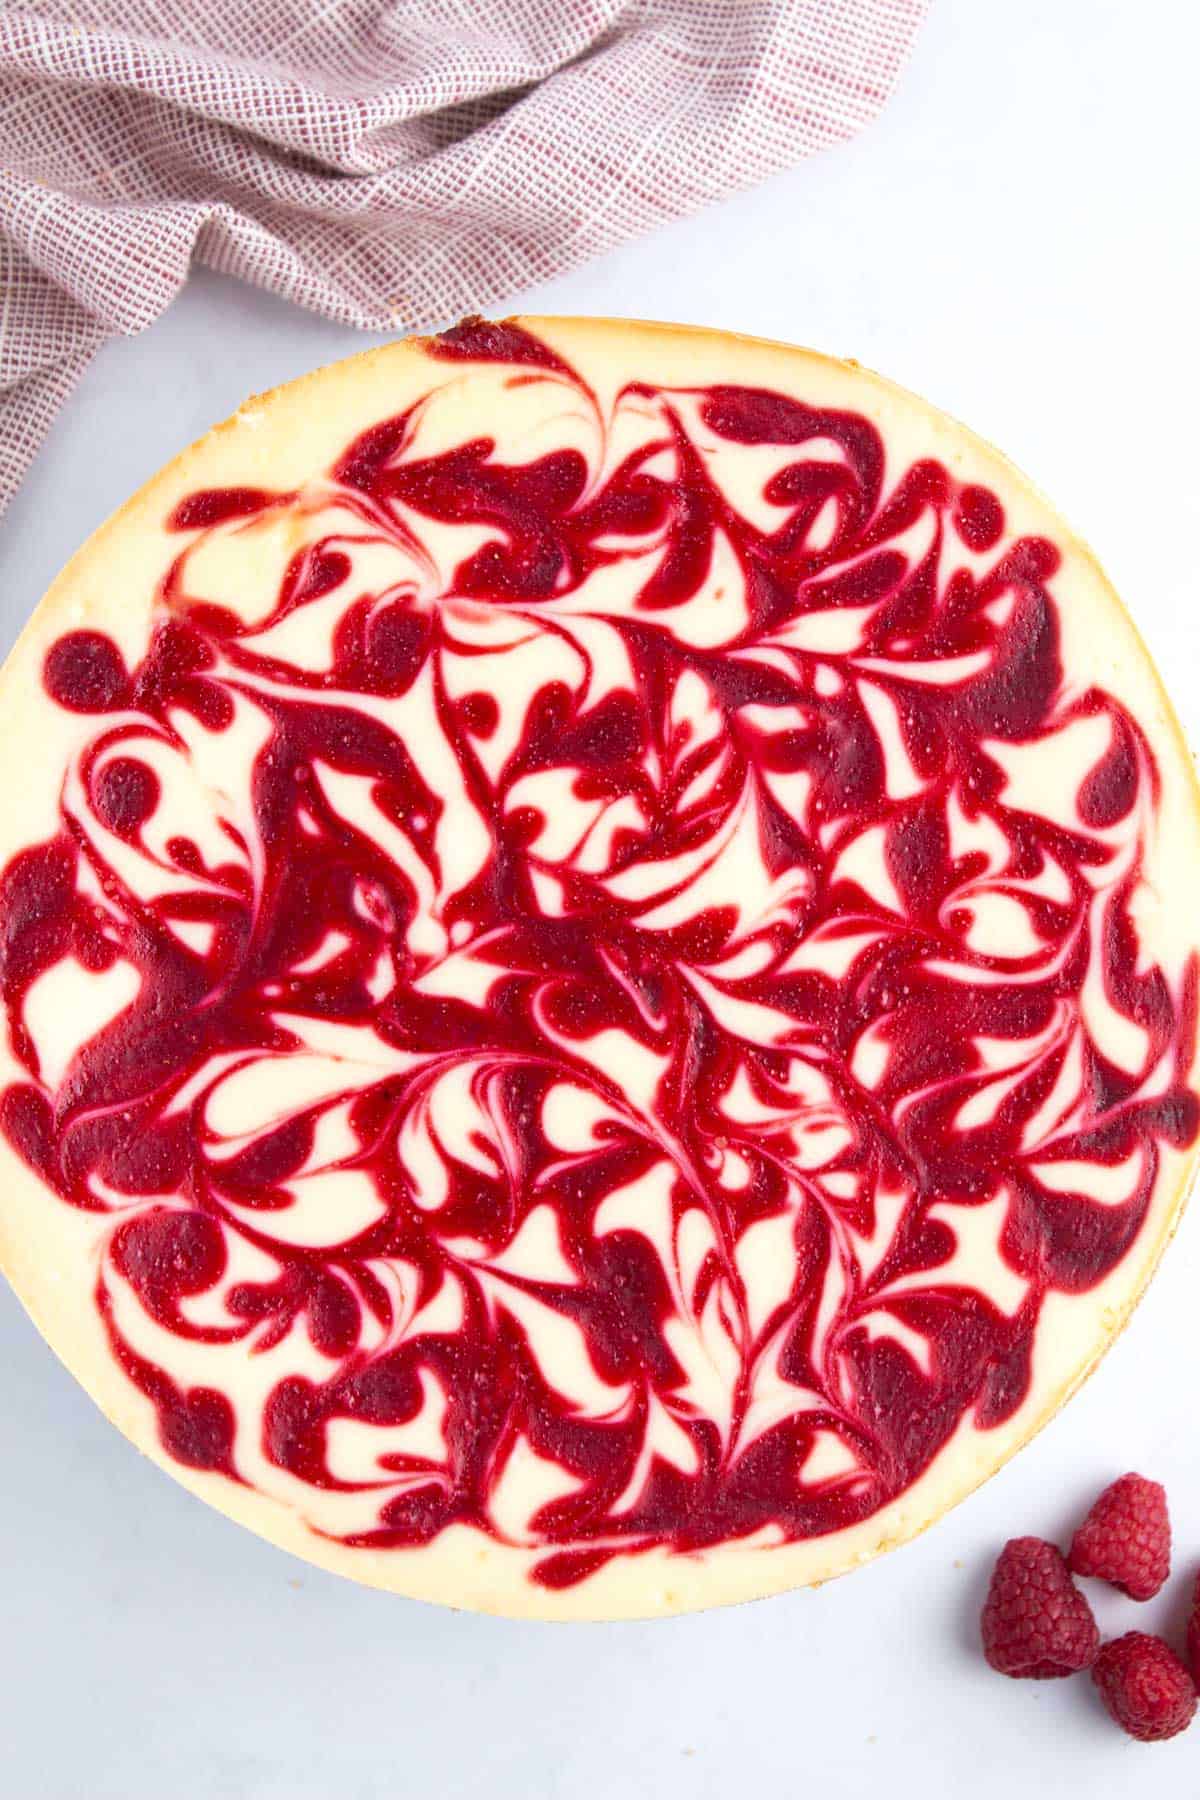
Sometimes swirling cheesecake batter is all about mixing in extra flavor, and other times, it's all about that gorgeous, bakery-worthy top. Either way, a little extra sauce never hurt-so go ahead and spoon it on!
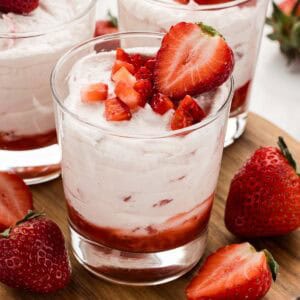
- Strawberry topping for cheesecake
- Raspberry sauce for cheesecake
- Chocolate ganache for cheesecake
How to get swirls in the middle of a cheesecake?
If you want that beautiful swirl inside the cheesecake too, start by adding half the batter to the pan and smoothing it out with a spatula, just like in the first step. Then, drop in about three tablespoons of your swirl mixture-but don't swirl it yet! Repeat the layering process with the rest of the batter and sauce.
When it's time to swirl the top, avoid getting your skewer in the center. Leaving the middle layer in dollops creates a beautiful top without risking cracks. We've found that swirling too deep can disrupt the structure and lead to imperfections in the final cheesecake. Plus the middle gets swirled naturally when the top layer of batter gets poured in.
FAQs
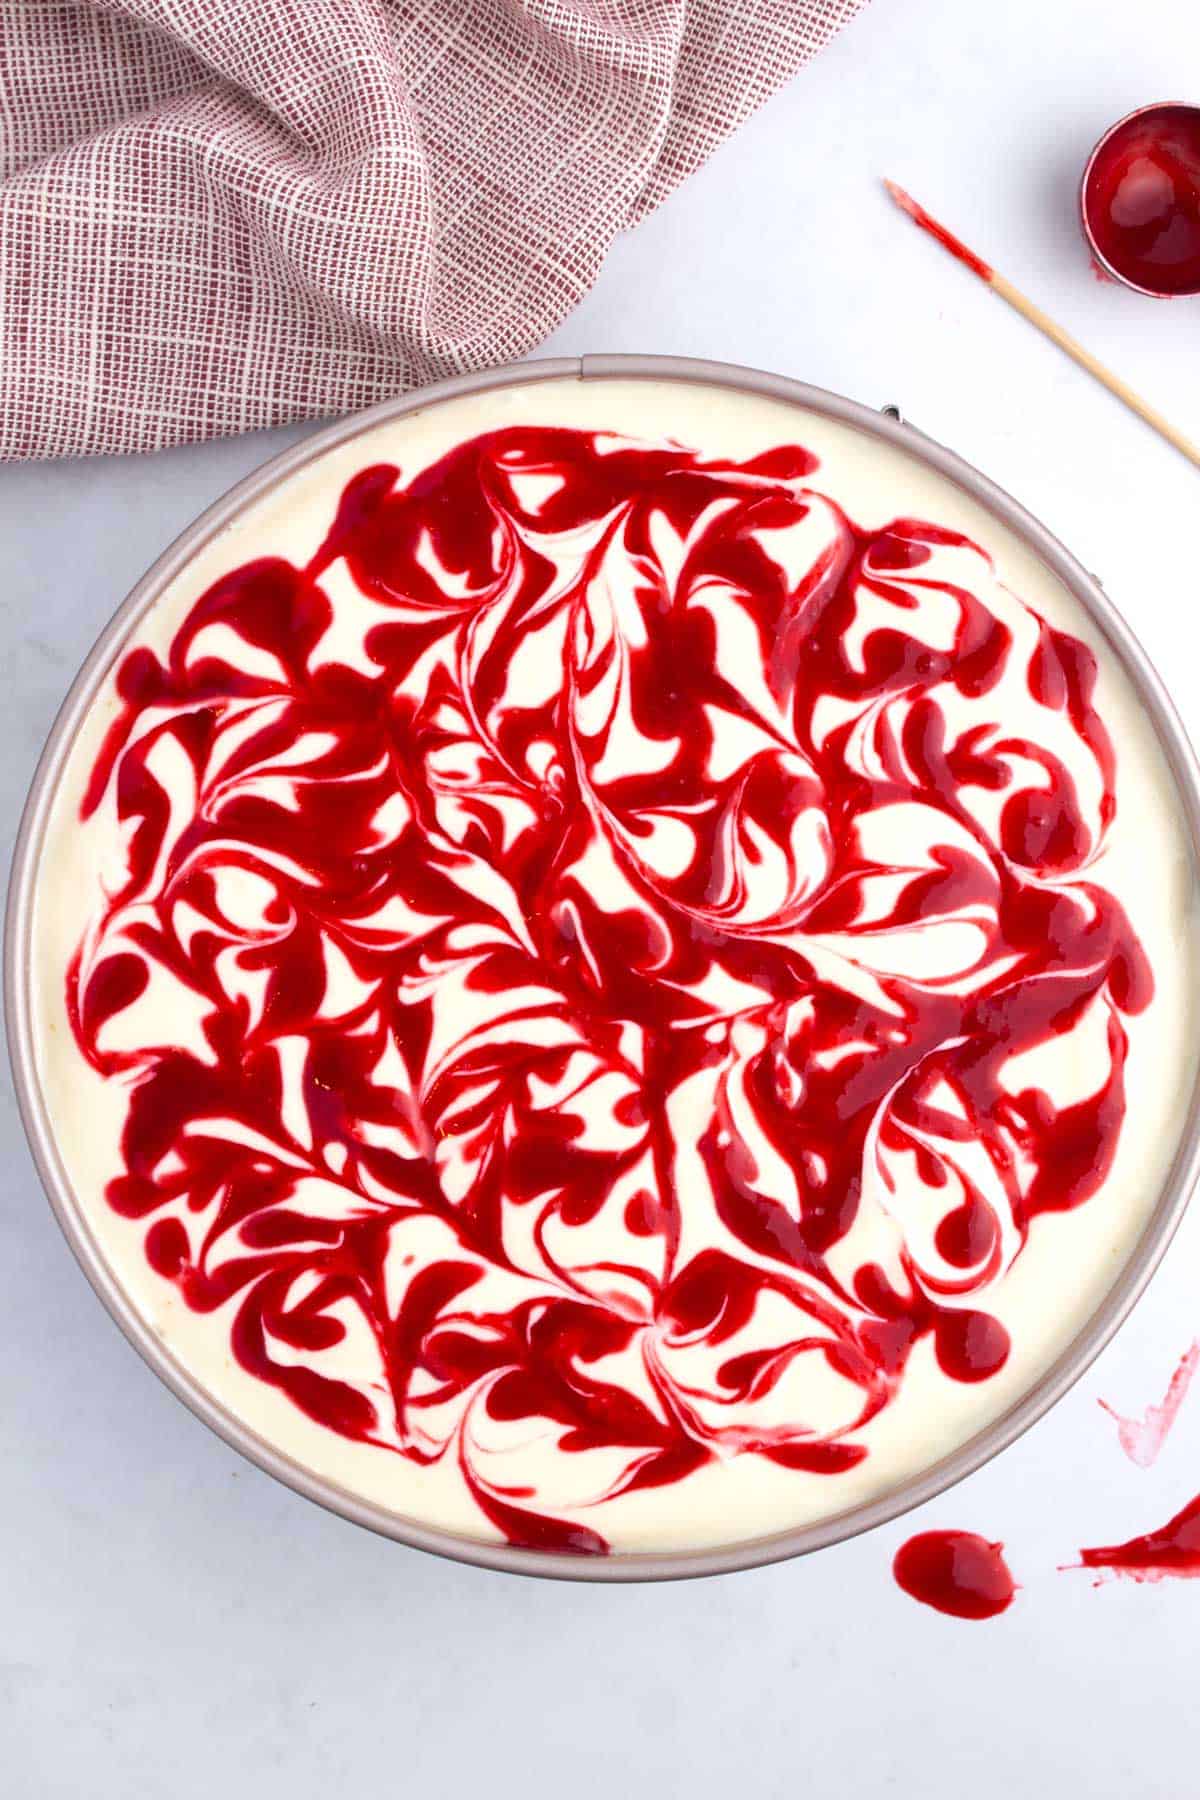
You can definitely use jam for your swirl, but keep a couple of things in mind. First, make sure it's smooth-lumps will create uneven swirls and could cause craters in your cheesecake. Second, thin the jam a little to get the right texture, like the one shown above. If it's too thick, it won't swirl well and might even crack the final product.
Yes! Cheesecake is perfect for making ahead! You can prep it up to 2 days in advance and store it in the fridge. If you need to plan even further ahead, freeze it for up to 3 months. Just remember, if you're adding any sauce or ganache, save that for the day you're serving-it'll keep things looking fresh and delicious!
Tips & Tricks
This is a quick summary of the steps outlined above.
- Make sure the top is perfectly smooth for a flawless final look.
- Next, dollop three tablespoons of your swirl mixture onto the batter in whatever pattern you like.
- Then, grab a skewer and swirl with big, loopy motions-think "S" shapes or figure eights-pulling outward toward the edges. Just don't overdo it! A few intentional swirls are all you need for that perfect marbled effect.
More cheesecake tutorials
Looking for other recipes like this? Try these:
- How To Make a Graham Cracker Crust for Cheesecake
- How To Make An Oreo Crust For Cheesecake
- How To Freeze Cheesecake
- How To Bake a Cheesecake Without a Water Bath
Want cheesecake without a swirl? Try these:
We hope you found this tutorial helpful! If you have further questions that we did not answer, please don't hesitate to leave a comment below so that we can continue to make this guide as comprehensive as possible. Happy baking!
Comments
No Comments